
Bank feeds can be brought in to Jim2 to speed up the bank reconciliation process. Jim2 has the ability to filter transactions by merchant in settlements, can show the total for matched transactions and you can also un-match a cardfile from a bank feed record.
 |
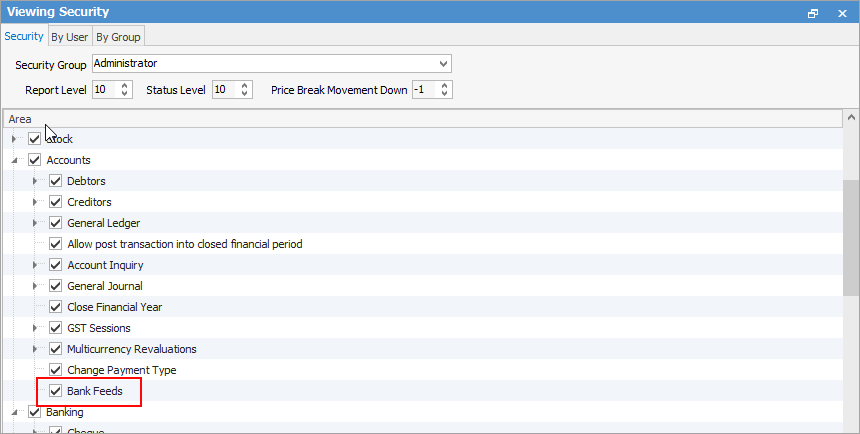
Security needs to be allowed for Bank Feeds via Tools > Security > Accounts > Bank Feeds.
 |
Afterpay |
|
Amex for Business |
Greater Bank |
ANZ |
Heritage Bank |
ANZ (NZ) |
|
ANZ Global Transactive |
NAB Transactions |
ASB |
Paypal |
ASB Fastnet |
Qld Country Credit Union |
Bank of New Zealand |
St George |
Bank of South Pacific |
Suncorp |
BankSA |
Westpac |
Bankwest |
Westpac Connect |
Bendigo Bank – Extended CSV format |
Virgin Money VISA |
BOQ |
VISA |
Braintree |
Zip Pay |
 |
Note: If using ANZ Direct (NZ), please ensure you tick Use new report style in ANZ. |
If your bank is not listed, please contact support@happen.biz to arrange to set it up.
For an introduction to Bank Feeds, copy and paste this link into a browser: https://youtu.be/hKgbrHk07Lg.
Jim2 transaction matches to imported transactions as follows:
▪Auto matching will match by card code, invoice and payment number first.
▪Then by amount.
▪If it cannot match by card code, then by amount, only if there is a record with that amount.
▪The date needs to be plus/minus 4 days from the bank statement date
You can also partially allocate a payment, and the remainder will be saved as a credit/prepayment on the debtor. You can also enter a payment and not allocate to an invoice at all. This will be entered as a prepayment on the debtor account.
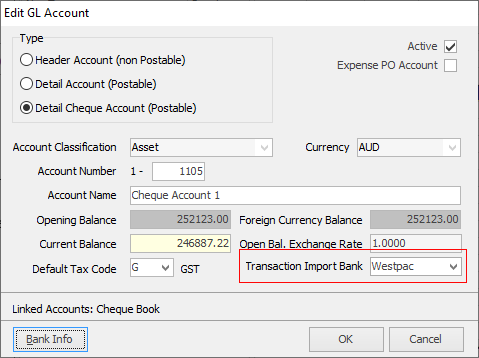
Go to Accounts > General Ledger and edit the bank account. Select the Transaction Import Bank name from the dropdown – this will pick up the mapping for the feeds.
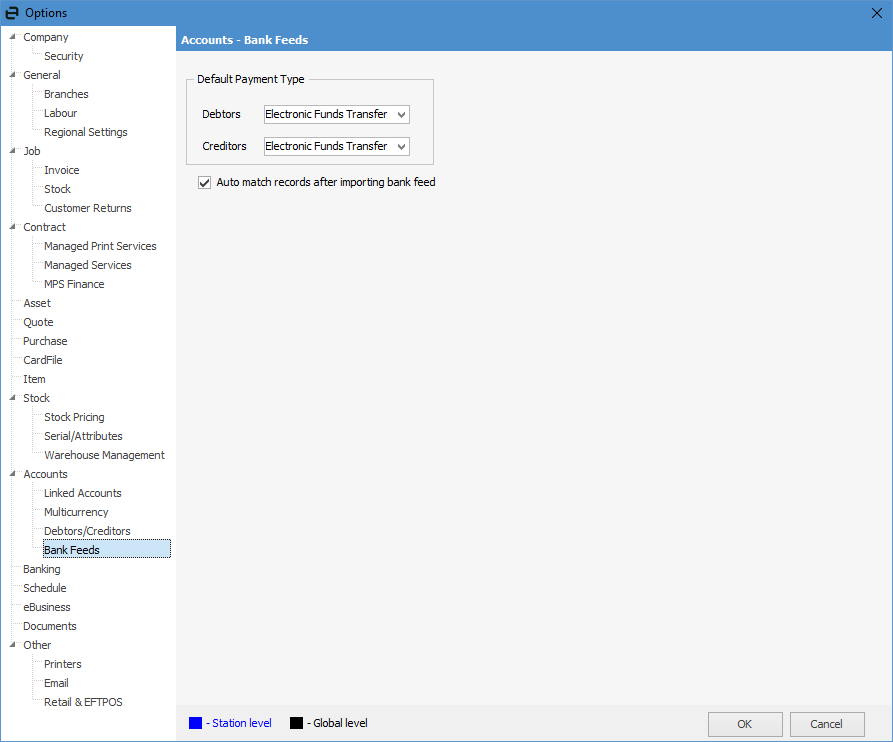
On the ribbon go to Tools > Options > Accounts > Bank Feeds and select the Default Payment Types, and whether you would like Jim2 to automatch records after importing the file.
You then need to export your bank feeds from your bank as a CSV file. The resulting file would look something like this image, having the first line as headings line, then entries following that. Any blank or additional lines will need to be removed.

Go to Accounts > Banking > Bank Feeds.
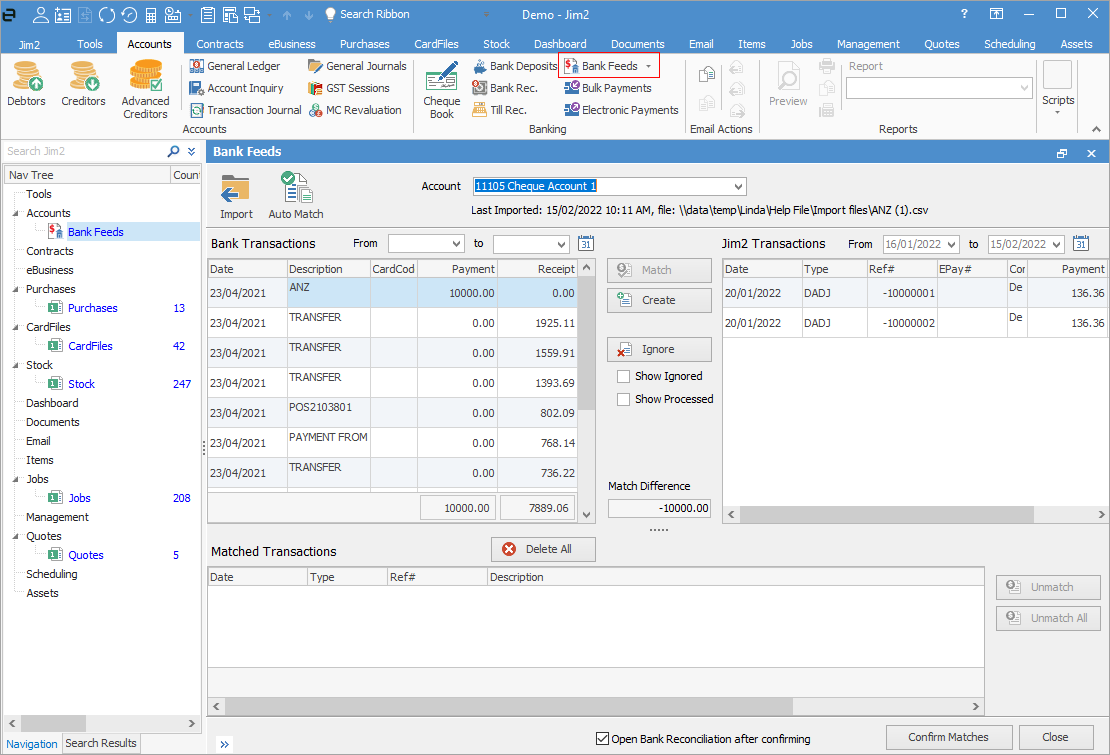
Select the bank account, then click Import and locate the CSV file for importing. The Bank Transactions area will populate with the transactions. The Jim2 Transactions area will display transactions in Jim2 that have not yet been matched.
There is also the option to click the Auto Match icon to automatically match records after importing the bank feed.
Lines with a green background mean Jim2 has found a match against that transaction.
The lower portion of the screen will display anything that Jim2 has auto-matched, and the background will be shaded blue. You will still need to confirm these matches are correct.
Select a line in Bank Transactions, then find the correct line in Jim2 Transactions, click Match and it will appear in the Matched Transactions in the lower part of the screen. If there is no matching transaction in the Jim2 Transactions area, you will need to either create it or ignore it if you are not able to identify the exact details of the transaction. You will need to create the debtor payment which takes you to the debtor record in edit mode, with the payment already applied to the matched invoice(s), to complete the process.
 |
In the left hand area, you can right click on a transaction and select Match with Electronic Payments Session.
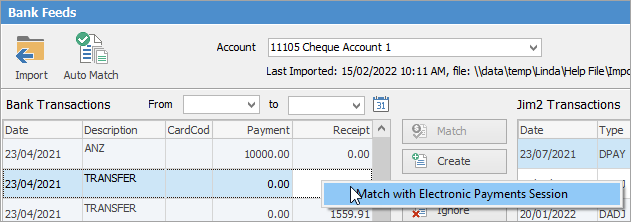
You will receive a pop-up where you can enter the Electronic Payments Session number. |
If you have made any errors, you can click Unmatch, which will remove the matched transaction, or Unmatch All to remove all the transactions from the Matched Transactions area, so you can start again.
If creating a creditor payment, Jim2 will take you to the Creditor screen to complete the entry.
If the transaction is a receipt and Jim2 is able to match it to an outstanding debtor invoice or debtor record by card code or name, the transaction will have a green background
When entering a debtor payment, Jim2 will take you to the Debtor screen to make the entry.
 |
Jim2 allows you to match bank statement amounts to active (non-invoiced) jobs as well. |
Create button
The Create button is used for creating transactions not already entered in Jim2. This includes bank fees, interest received or charged, bank transfers, and general journals. When selecting a payment/deposit into the bank account, the following is available from the Create button:
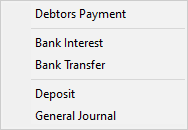
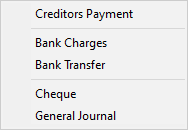
Transactions showing with a green background indicate that Jim2 has found a matching cardfile. Those with a white background indicates cardfile not found.
Selection |
Explanation |
||
|---|---|---|---|
Debtors/Creditors Payment |
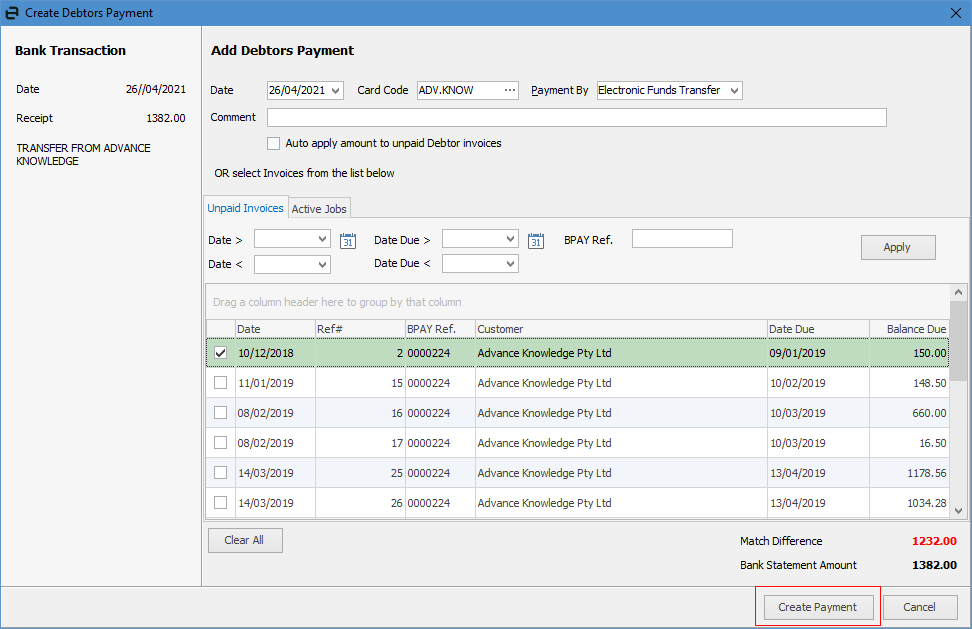
If the background of the field is green, this will pop up a Create Debtors Payment screen listing all unpaid invoices/active jobs. From here, it is possible to find a match (or a number of matches) for the amount against a card code by placing a tick in the box beside the payment.
|
||
Bank Interest |
Bank interest can be added here on the fly. Click on the transaction, then click the Create button to bring up the information. The amount will already be populated.
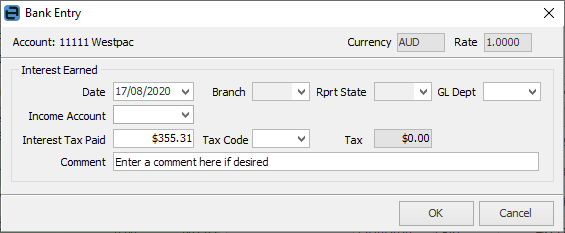 |
||
Bank Transfer |
This allows transfer from another bank account.
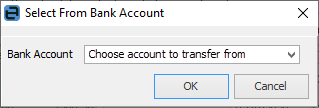
|
||
Deposit |
This will bring up the Adding Deposit screen to enter as a deposit. The amount will already be populated.
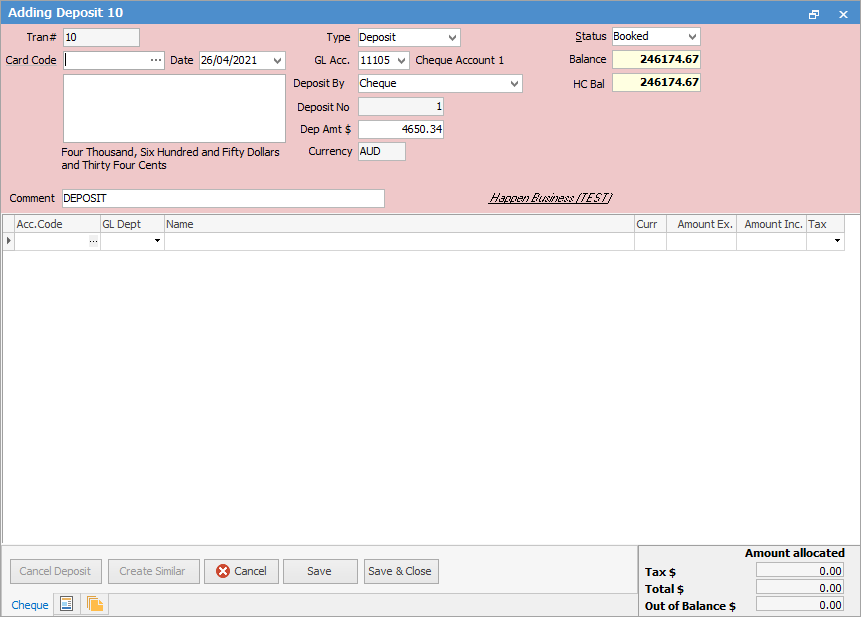 |
||
General Journal |
This will bring up the Adding General Journal screen to enter as a general journal. The amount will already be populated.
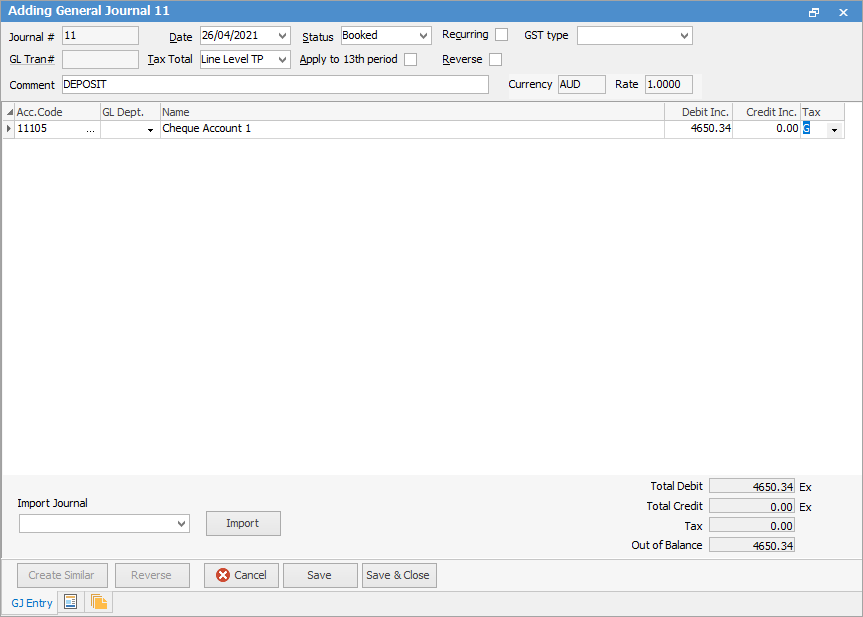 |
Explanation of areas within the Bank Feeds screen:
Field |
Explanation |
|---|---|
Import |
After selecting the bank account, click Import to import the bank feeds .CSV file. |
Auto Match |
Click this for Jim2 to automatically match bank feed information to Jim2 cardfiles, if found. |
Account |
Select the bank account required. |
Bank Transactions |
You can enter specific dates here, if required. |
Jim2 Transactions |
You can enter specific dates here, if required. |
Match |
This button can be used to match Jim2 transactions with bank transactions line by line. Once matched, they will appear in the Matched Transactions area at the bottom of the screen. |
Create |
This button acts in different ways, depending on what is selected in the bank screen. See below for more detailed information. |
Ignore |
Click this to ignore entries within the bank feed.
If transactions have been entered and ticked as reconciled in the bank reconciliation, tick ignore for any that show in bank feeds. |
Show Ignored |
Tick to show ignored entries. |
Match Difference |
This will show the difference between the bank feeds and Jim2 transactions. To be able to reconcile, this figure must be zero. |
Delete All |
This will delete all transactions within the Bank Transactions section. |
Matched Transactions |
This will display all matched transactions from the above two fields. |
Unmatch |
Select a line and click Unmatch to remove it from the Matched Transactions grid. |
Unmatch All |
This will unmatch all transactions and remove them from the Matched Transactions grid. |
Open Bank Reconciliation after confirming |
Ticked will bring up the Bank Reconciliation screen (with all entries ticked in the Reconcile column, ready to reconcile) and show all once Confirm Matches has been clicked. |
Confirm Matches |
This will confirm matched transactions and, if Open Bank Reconciliation after confirming is ticked, the Bank Reconciliation screen will open with all transactions ticked ready to reconcile. |
Further Information