The first time the Scheduling function is used, there is only one view available: the Default view.

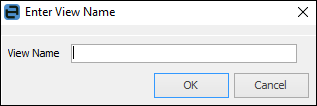
To change the initial view, add resources, change the layout, etc., save it as a custom view by clicking Views and choosing Save Current View As. A message will appear advising to enter a name for this particular view.

Next time the Schedule is opened, quickly change to saved view(s) by using the View dropdown list, as shown in the example below.

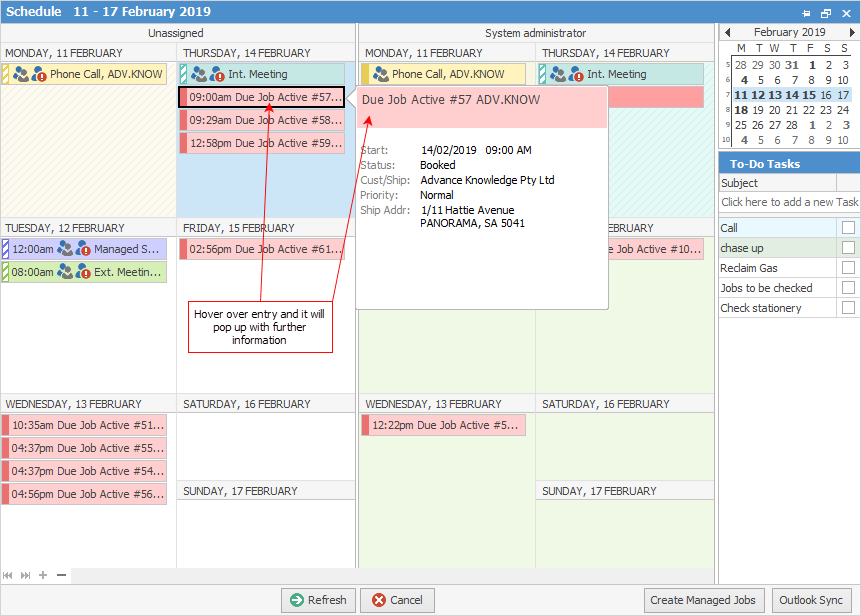
Note: Hovering over a task will show a brief description of the appointment, along with the start and finish times.

Further information