
To create a list of Items, on the ribbon, go to Items > Create Item List.
A new Items list will open.
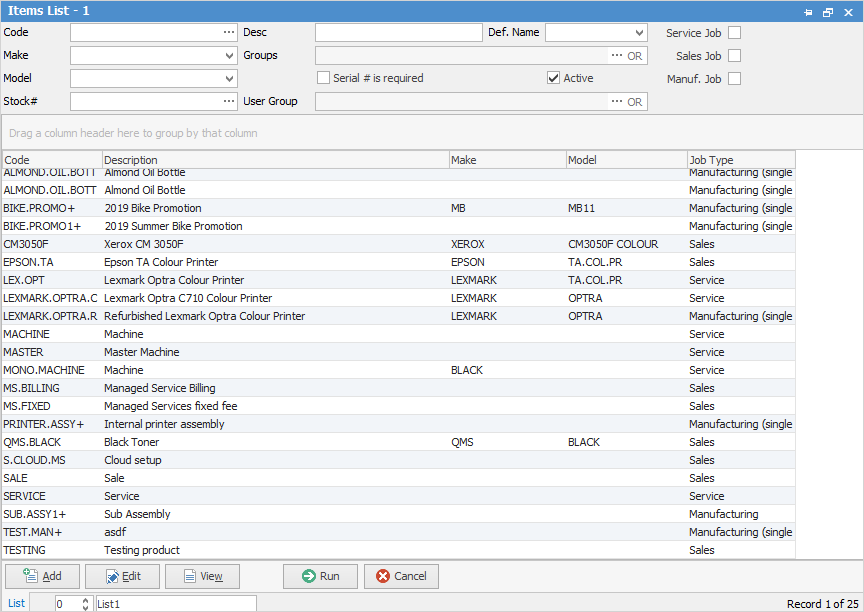
When clicking Run, at this stage a list of all active Items will be generated. However, if data is entered into the various fields and/or the checkboxes are used, the search results will be more refined.
The fields, checkboxes and their use are explained below.
Field |
Explanation |
|---|---|
Code |
Enter the code (or partial code – Jim2 will autofill the rest) to display those Items which match the criteria. |
Description |
Enter a description (or partial description) to find those Items which match that criteria. |
Make |
Shows only Items with this make. |
Model |
Shows only Items with this model. |
Groups |
Enter a report group or groups to display the Items which belong to those groups. See |
User Groups |
Enter User Groups for this Item. |
Def. Name |
Select a name to display those Items which have this Default (user) name on them. |
Serial# is required |
Tick this box to display those Items which have Serial# is required ticked on their Item records. |
Active |
This box is ticked by default to show only active Items. Items cannot be deleted. They must be marked as inactive. Untick this box to include inactive Items in the search results |
Service Job. Sales Job. Manuf. Job. |
Ticking one or more of these boxes will include service and/or sales and/or manufacturing job Items in the search results.
Note: Ticking all three of these boxes returns the same results as ticking none. |
 below for more information on Groups.
Using the above information fields, clicking Run produces a list in a format that can be sorted by dragging the column header to the top of the list results table. To view or edit any of the Items within the list, double click, or use the F2 function key, on any of the fields relating to the Item to display.
 |
On the right-hand side of the Groups field, to the right of the ellipsis [...] is the word OR. If selected, this will change to &. This relates to how use groups within the search. To select two groups and find those Items which are in both groups, use the & option (Item must belong to both Group 1 and Group 2). Tto search two groups and find Items that are in either one of those groups, select the OR option (Item can be in Group 1 or in Group 2). |
There are some additional buttons at the bottom of this form, as explained below.
Button |
Function |
|---|---|
 |
Click to Open an Adding New Item screen |
 |
Click to Edit the currently highlighted Item. Not relevant if the list is empty |
 |
Click to View the currently highlighted Item. Not relevant if the list is empty |
 |
Runs the query and displays an Items list as filtered by data entered into the fields/checkboxes |
 |
Closes the Items list screen |
How to
Add Stock to a Manufacturing Item