The following setups need to be performed in advance of the user acceptance testing process. This should be performed in your training database before attempting in your production database.
On the ribbon go to Tools > Setups > Jobs > Ship Via.
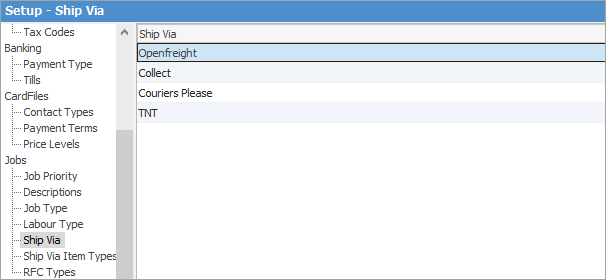
OpenFreight allows you to set up integration for a number of different courier companies.
You can set it up to be used for each carrier service using the Dispatch.OpenFreight script in each case.
Enter details and select the Dispatch.OpenFreight script. Enter Carrier Code and Carrier Service if required.
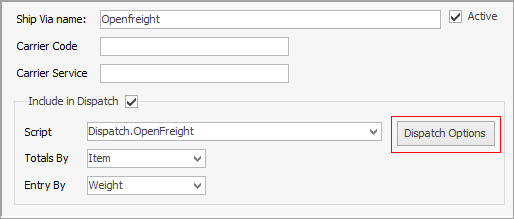
Click on Dispatch Options.
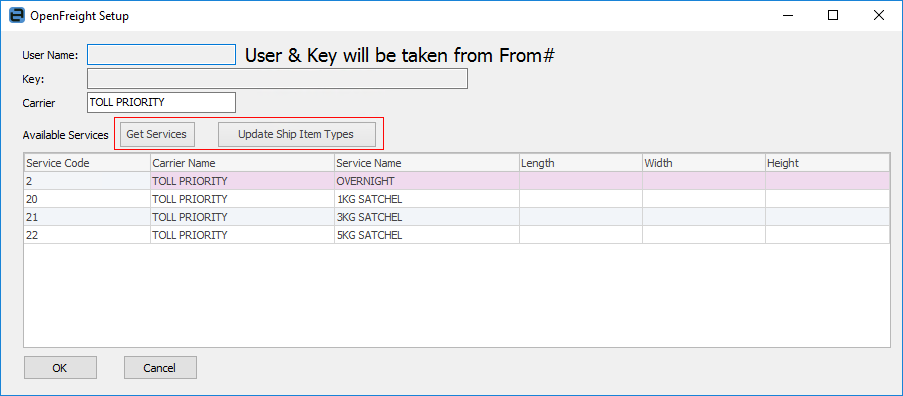 In this image, OpenFreight has been set up specifically for Toll Priority
Enter information from OpenFreight in the top 3 fields, then click Get Services. Update Ship Item Types will update the grid with the latest from the carrier.
Go to Tools > Setups > Jobs > Ship Via Item Types and add types for OpenFreight carriers.
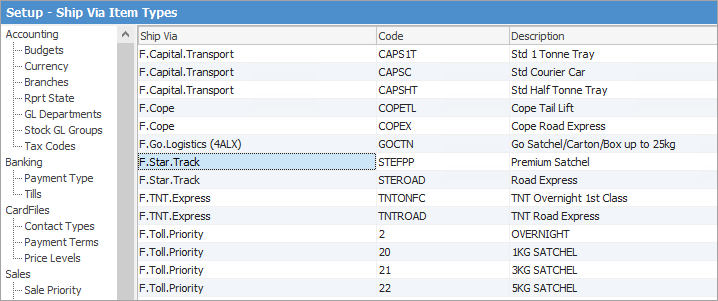 |
It is important to ensure all is working as expected on one shipment to begin with.
Order Creation Create a test order and ensure it has a Ship Via of OpenFreight and that you have selected a Ship Attn on the Invoice Details tab.

Tick the Residential box if the address is a residence. This can sometimes impact the cost of freight from some companies.
Ticked signifies it is residential. Unticked signifies it is not residential. Solid black box indicates it is unknown.
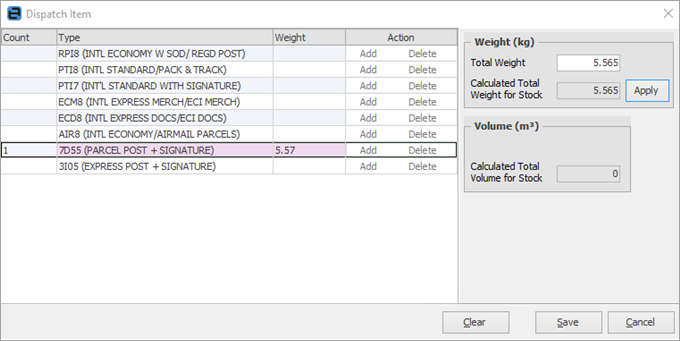
Enter Package Counts Enter the package count and weight next to the correct Type, then click Save.
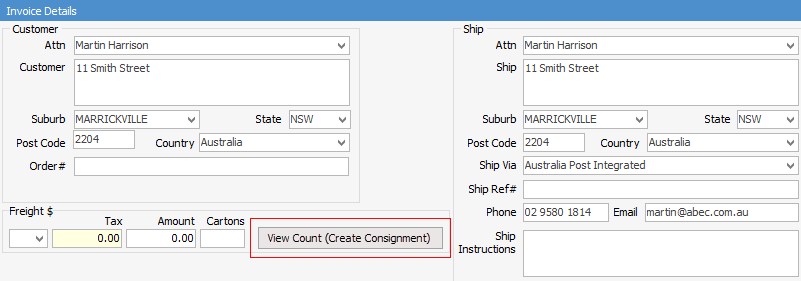
Create the consignment and print the label In View mode, select View Count (Create Consignment).
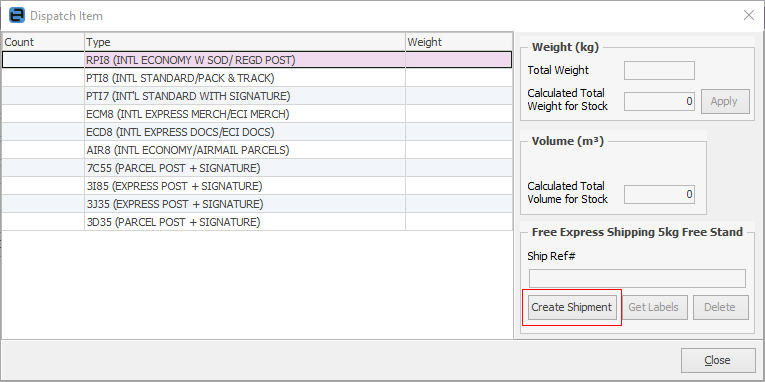
Select Create Shipment.
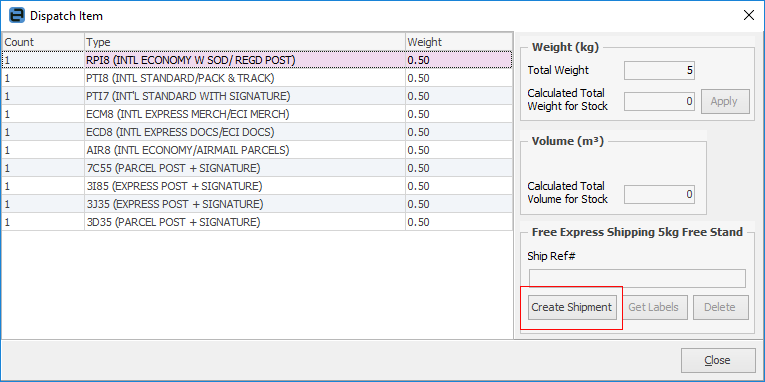
Check the details that will be sent to the carrier.
Select Create Shipment.
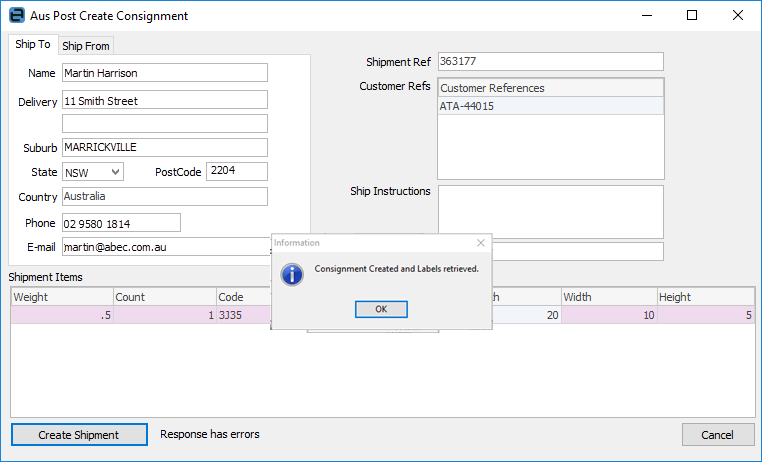
The shipment will be lodged with the carrier and labels will be created and attached to the job in Jim2.
Assuming no missing data or invalid suburb postcode combinations, you will be asked to print the label.
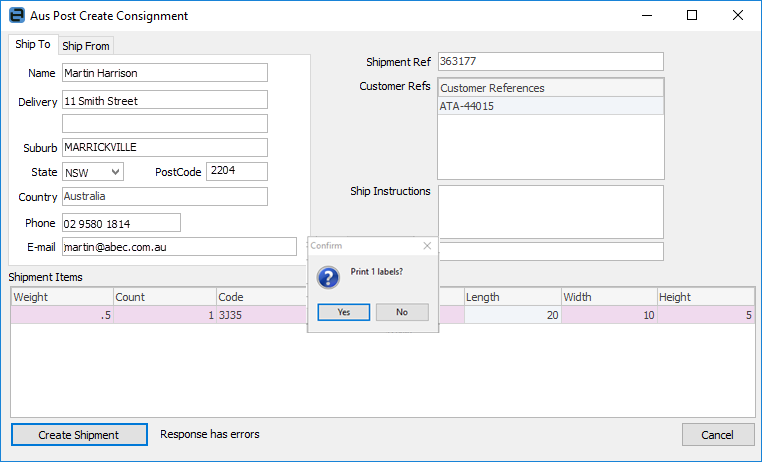
Click Yes to complete the shipment.
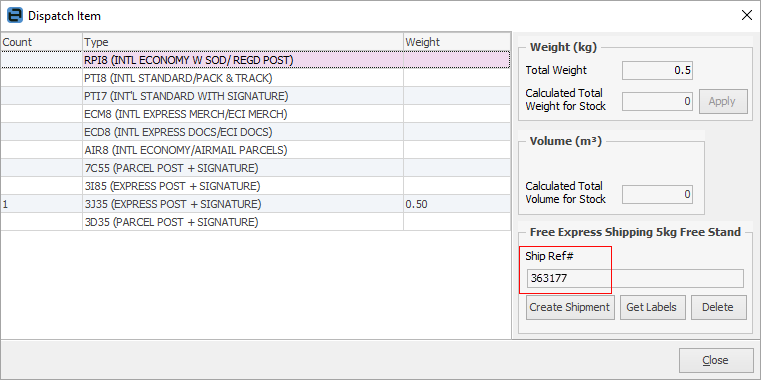
The Ship Ref is now added to the job:
The delivery label is attached to the job on the Documents tab and can be reprinted as required.
The above process is performed throughout the day up until you decide to create a manifest for a group of deliveries. The process is not complete until a manifest has been performed. You can have as many manifests per day as you require.
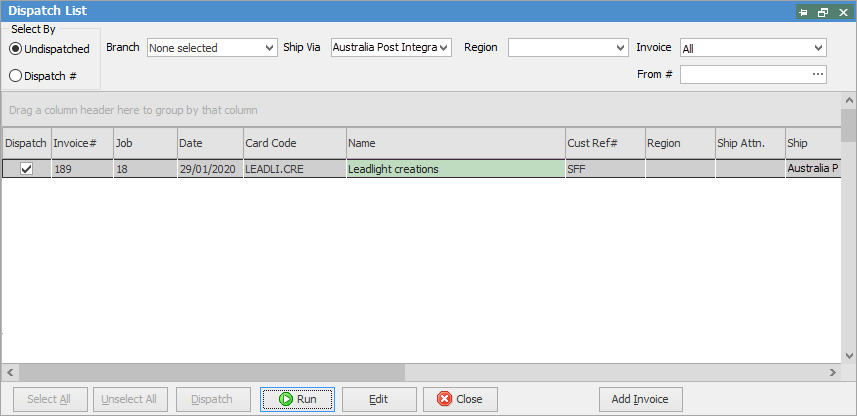
Manifest the Shipments On the ribbon, go to Jobs > Dispatch and select Run to return records based on the selected filter. See here for more information on dispatch.
You can make last-minute changes to shipments or complete the creation of shipments in this area by double clicking on the shipment line.
Select Edit at the bottom of the list and you will be able to select some or all of the shipments to be included in this manifest session, by ticking the Dispatch box. Select Dispatch once you have made your selections.
Click Yes to confirm.
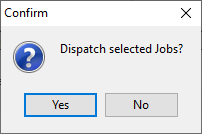
The Manifest will be presented for printing and will also be linked to all applicable jobs for future reference. Select OK and you will be taken to the Dispatch list and session for the shipment you have just processed.
Deleting Shipments You can delete shipments via the Create Shipment button on the Invoice Details tab of the job in question.
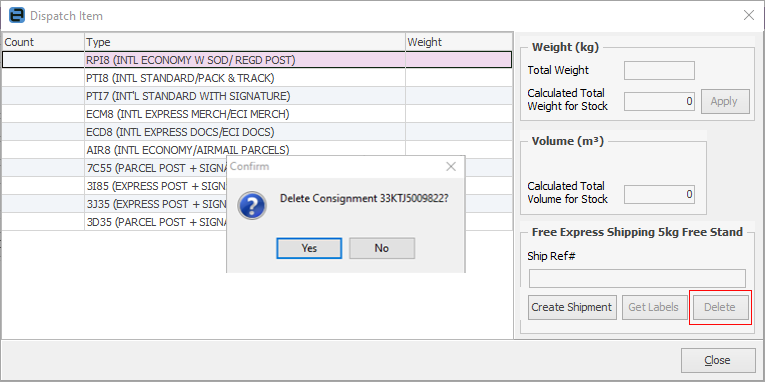 |
Further information

