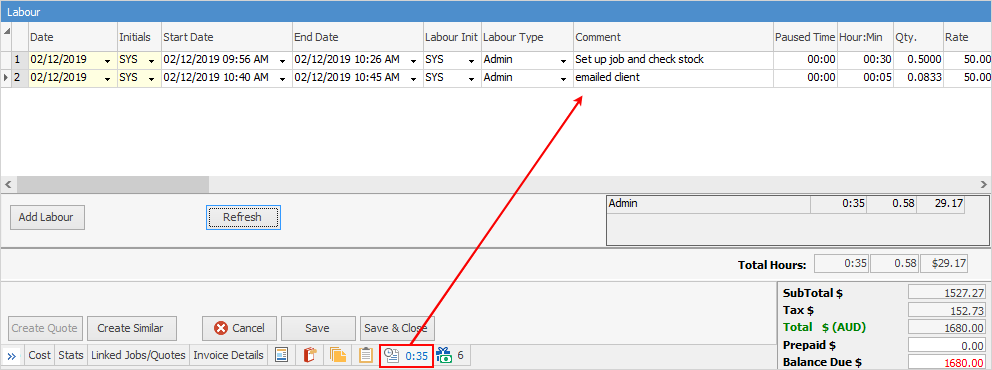
Labour can be added to any object (job, quote, etc.) that has a Labour tab. This can be performed by going to the Labour tab, then Add, by using the F7 function key or clicking the Add Labour icon located in the status bar when the object is in Edit mode. The object’s Labour tab displays a running total of all related actual labour entries.
Located at the top of the New Labour screen (when clicking Add Labour) is the labour time sheet and calendar. Labour times can be selected by choosing a time range with the mouse. As a range is being chosen the Start Date/Time and End Date/Time will be adjusted to match the selection.

The labour entry interval (width of time sheet selection in minutes) can be set via Options. Normally this is set to 1, 5, 10 or 15 minutes, depending on the blocks of time typically worked in. Additionally, the starting time can be rounded to the nearest interval, for example, 5 minutes. |
Multiple labour entries can be added at the same time by clicking Add Labour, then OK, then clicking Add Labour again, etc.
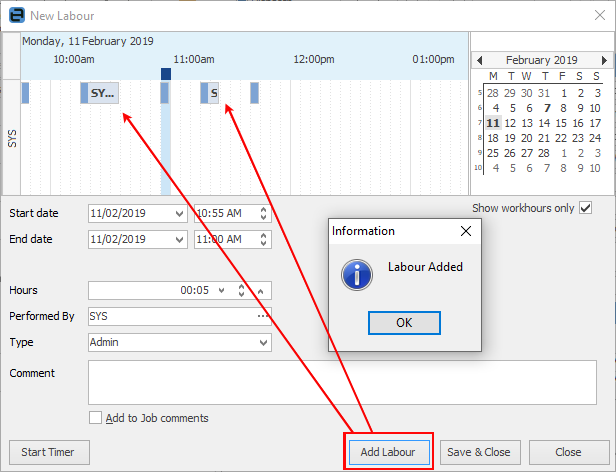
When all entries are completed, click Save & Close. |
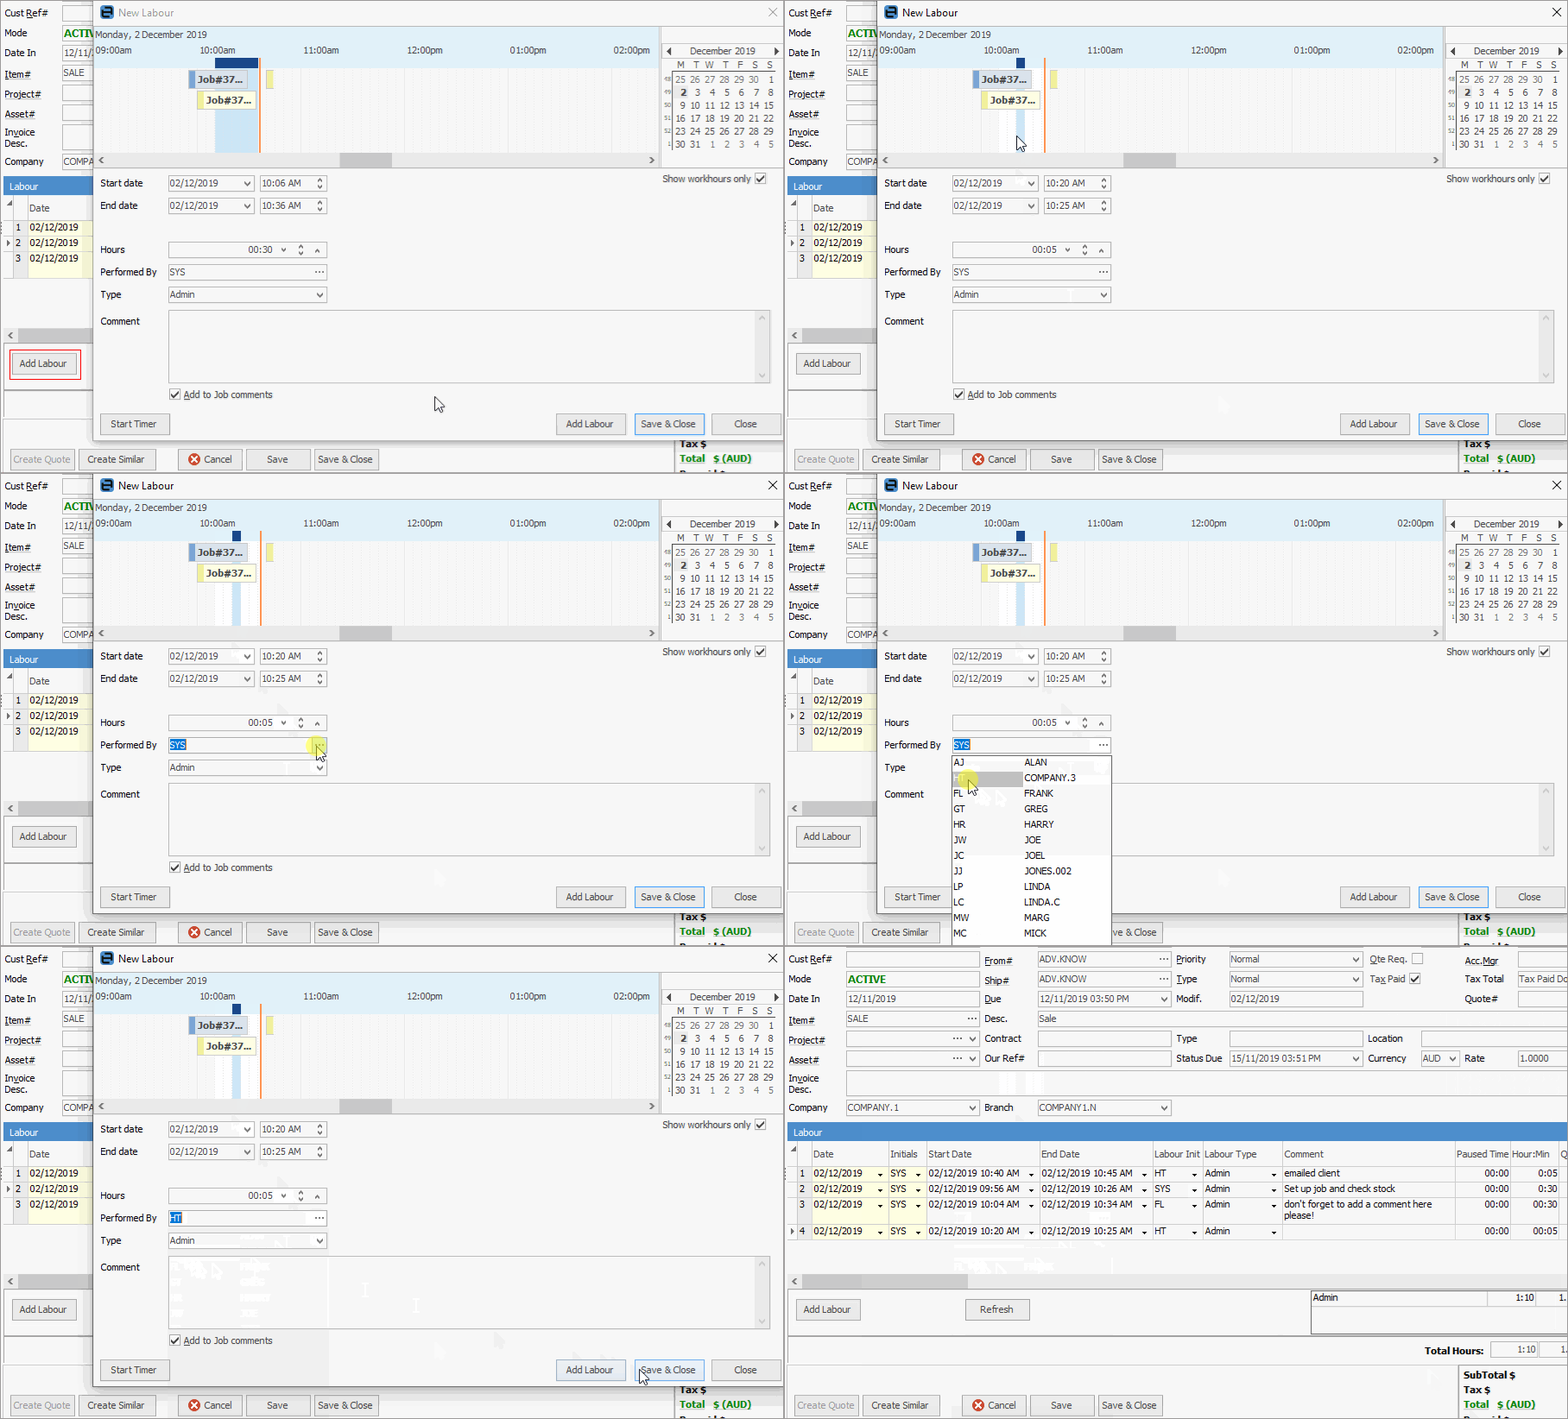
Easily add labour for multiple users by clicking Add Labour, choosing that labour entry in the time sheet, then changing the user’s name. Click Save & Close, or Add Labour to add additional labour entries.
 |
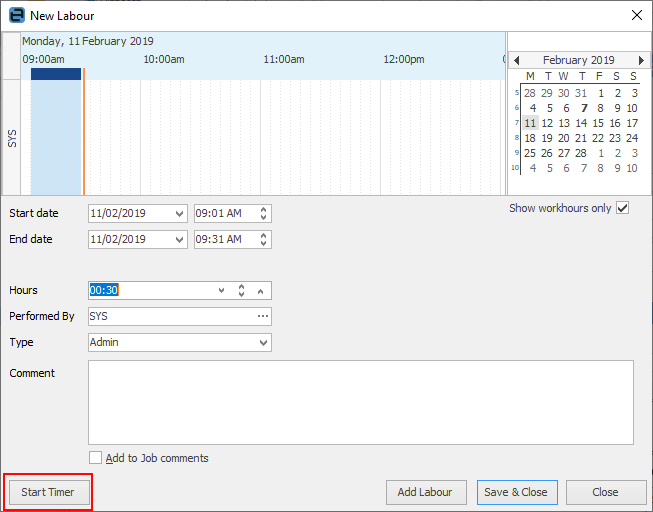
Rather than adding a labour entry, a timer can be started by clicking Start Timer from the Labour Entry screen.
The timer is then accessible via Timers on the status bar. Please see Labour Timers for more information.
Image shows 3 timers currently running |
There are several labour entry settings that can be configured via Tools > Options > General > Labour.
 |
Further information
