
Generally, you will receive an email containing your updated licence key and a reference to detailed instructions for updating your licence.
First, save your licence key file (e.g. jim2.j2k) to a directory accessible from your server where the Jim2 Server is installed.
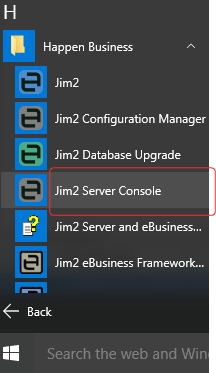
1.On the Jim2 Server, start the Jim2 Server Console.
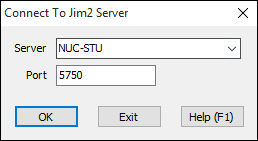
2.Connect to your Jim2 Server.
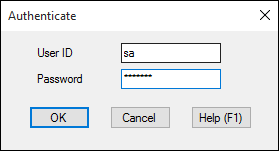
3.If your system is configured to require console authentication then enter the authentication details (SQL Server user ID and password)
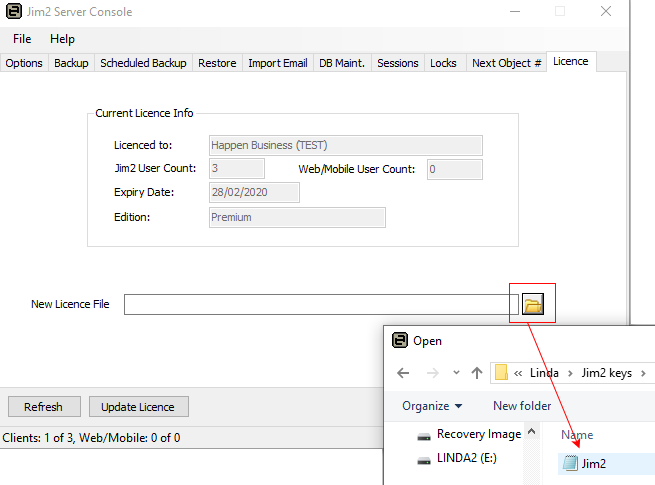
4.Go to the Licence tab and select the licence key file – either enter the file name text or use the folder icon to select the file.
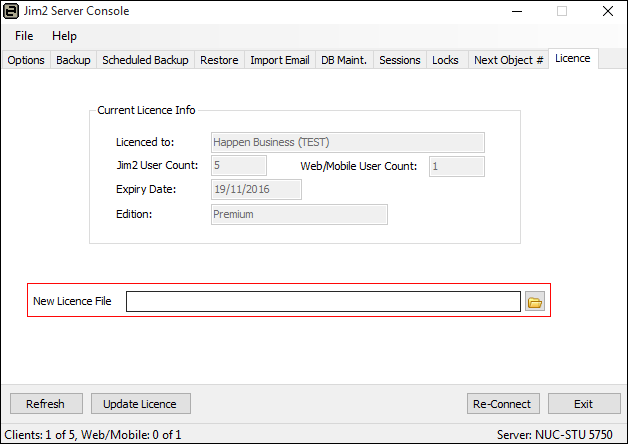
5.Select the folder icon to choose the file.
6.Click Update Licence to load the new licence into Jim2 Server.
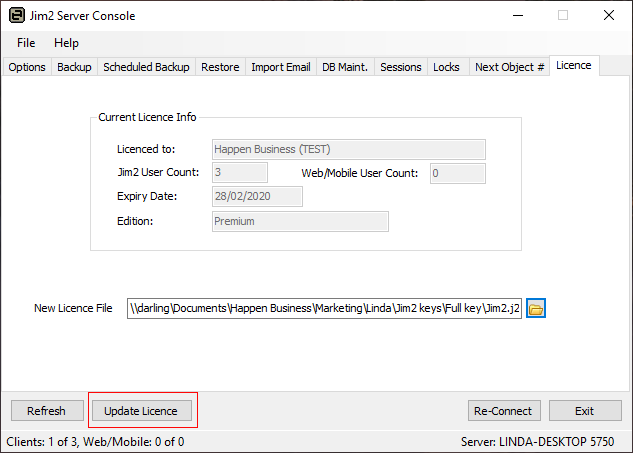
7.You will receive the message, Your Licence has been successfully loaded after clicking Update Licence.
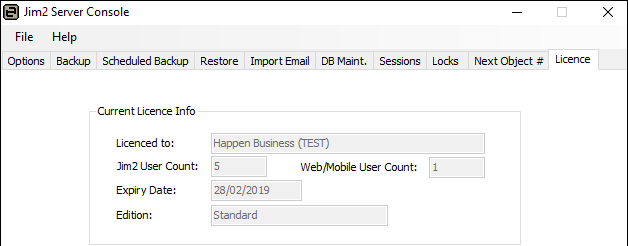
8.The new expiry date will be displayed in the Current Licence Info. You can now close the Jim2 Server Console.
Disable Modules
If your key has been issued because you are no longer using a particular module, you will need to disable that module.
Launch Jim2 Configuration Manager and select the correct Jes$Jim instance. Right click and select Configure:

Select the module, then click Disable.

|
You do not have to restart Jim2 Server for the new licence to take effect, nor do users need to log off whilst updating the key. |
Further information:
Change the Name of Your Database
Move Jim2 to a New SQL Instance on the Same Server
What to do if Backup Drive is Full
