
The first time that you use the Scheduling function, there is only one view available: the Default view.
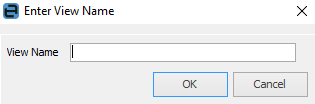
If you change the initial view by adding resources, changing the layout, etc. you can save it as a custom view by clicking Views and clicking Save Current View As.

You will be prompted to enter a name for this particular view.
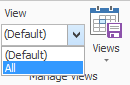
Next time you open the Schedule, you can quickly change to your saved view(s) by clicking the View drop-down list, as shown in the example below.
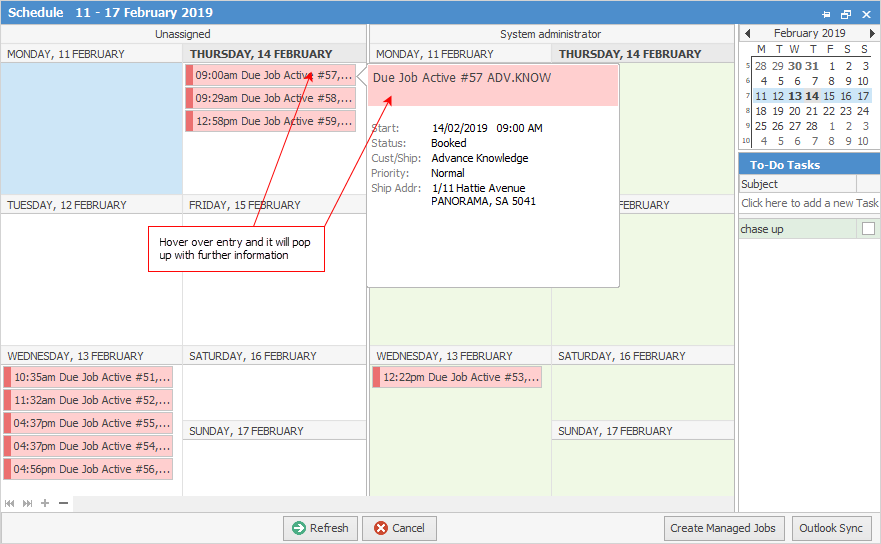
Note that hovering over a task will pop up a brief description of the appointment, along with the start and finish times.
Further information: