
|
To add expenses into Jim2, necessary Options, any required Setup defaults (ie. Branches (if branches are enabled), Sub-Branches and GL Departments) must be entered first, as does the setup of the vendor's cardfile. |

1.On the ribbon go to Purchases > Add Purchase.
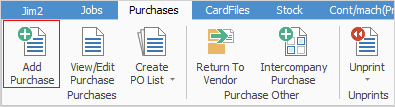
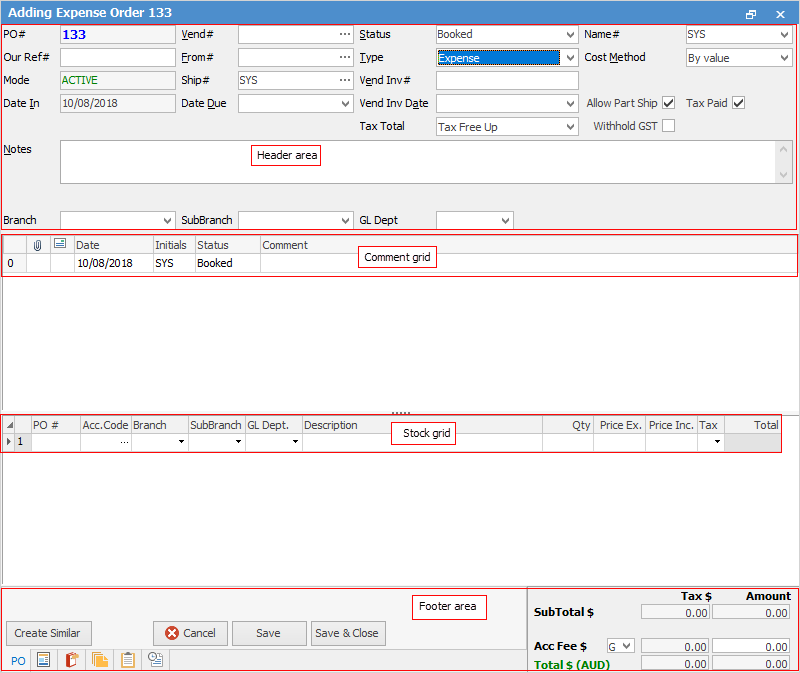
Jim2 automatically opens a new Purchase Order form in Add mode. Choose Expense from the dropdown list in the Type field of the header. Some fields in the header and other areas of the form will be added/removed as appropriate, and Adding Purchase Order xxx in the header will change to Adding Expense Order xxx.
|
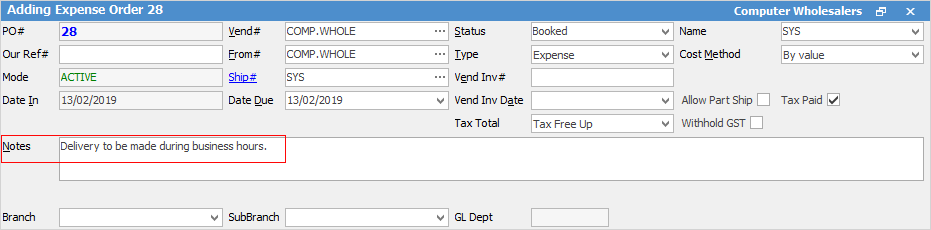
The Adding Expense Order form will display default fields which include the PO#, Status, Ship#, Type, Date In, Cost Method, and Tax Total. A field's default information can be overridden by using the Tab key or mouse to move to that field, highlight and edit it. The exception to this are the PO# and Date In, as these fields cannot be edited by users. |

|
Some letters in the field names within the header are underlined, eg. Vend#. Using Alt+ the underlined letter will jump to the field beside that heading. |
Jim2 is designed to prompt user input by placing the cursor at the appropriate fields that the user is required to complete. The Enter key will move the cursor to the next user input field in the expense order entry pattern. The pattern is as follows:
▪Vendor Card Code#
▪Vendor Invoice Date
▪Vendor Invoice#
▪Notes – Shipping or payment notes
|
Note: Branch in the header of an expense order is only required for the Acc Fee if it is used, otherwise it has no effect.
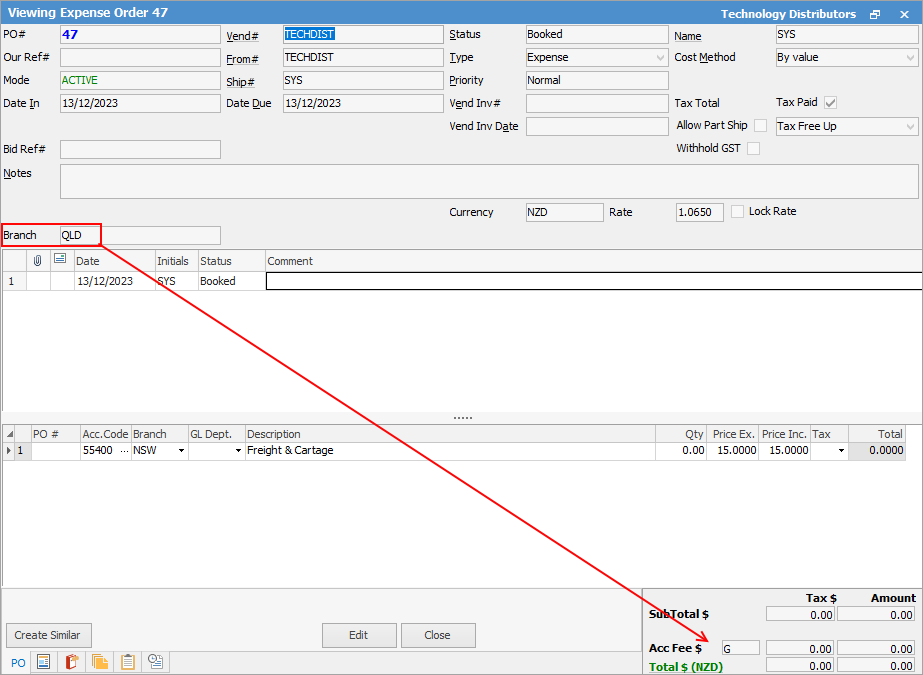
Branch in the stock grid can be entered, however the branch used on the original PO will override the branch entered here if this expense order is linked to a PO. |

2.Select a vendor in one of the following ways:
▪Start to enter the vendor card code. Jim2 intuitive type will begin to (numerically/alphabetically) pre-empt the choice of names from the card code list as information is entered.
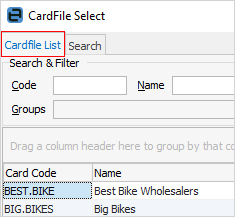
▪Click the ellipsis [...] beside the Vend# field to display the search screen.
▪A full list of vendors can be accessed via the CardFile List tab , then choosing from the list.
|
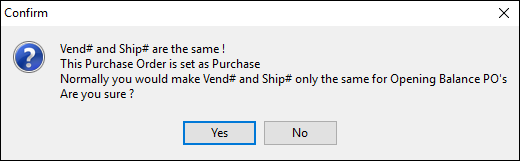
If the Vendor# and Ship# are the same on an expense order, when finishing a confirm message will appear asking if this is correct. It would be highly unusual for an expense order to have the same Vendor# and Ship#.
 |
|
Jim2 uses information and calculations from the vendor cardfile records, to automatically add default information into certain fields of the expense order. To change any of these default values, move to the field to change and use the dropdown list in that field, or highlight and change the entries. |
3.Select a date that the vendor has promised the goods will be delivered by as the due date, or use the required days information entered in the vendor's cardfile.
4.If required, enter a specific message in the Notes field in the expense header – any special delivery or payment messages (this message will appear only on this expense order).
5.Add comments or stock to this expense order. The F3 function key will move to the Comment grid and the F4 function key will move to the expenses grid.
|
If adding multiple expense lines to the grid, at the end of the line the Enter key will move to the next line in the grid, ready to insert another expense code. |
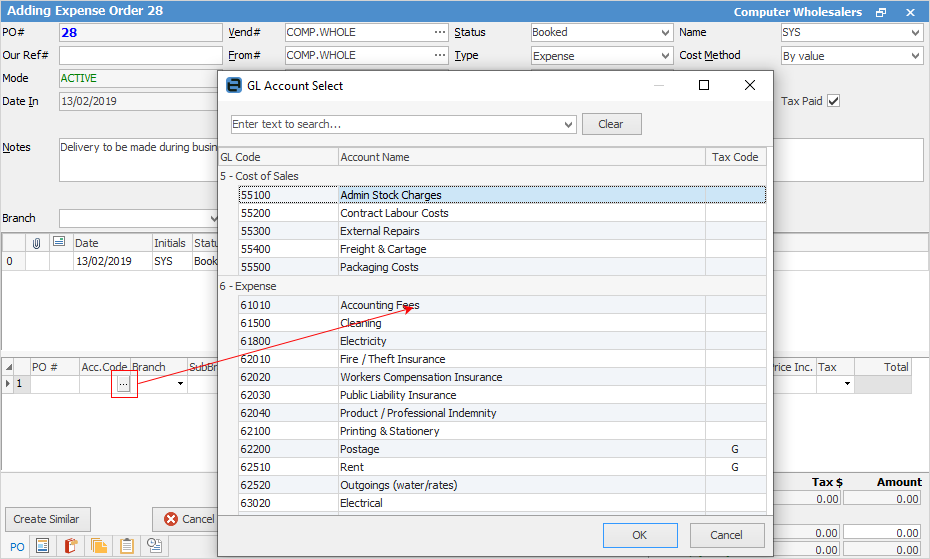
When selecting the ellipsis (...) beside Acc. Code in the expenses grid, the GL Account Select screen will appear, enabling searching both GL Code and Account Name fields.
|
The PO # column in the expenses grid is only used when linking an expense to a purchase order. |
Once the status has been changed to Finish, a message appears asking whether the total figures in this expense order match the invoice that has been sent from the vendor. This feature is extremely useful when vendors calculate tax amounts differently, for example line level, or overall.
Placing an expense order on the status of Received will not update the linked purchase order, general ledger, or the creditor until the status is Finish.
An expense order can also be created from an email, and the email linked to the expense order.
|
A Return to Vendor cannot be created for goods and services purchased on an expense order. A Negative Expense Order must be created. Create an expense order as above with the Qty as a positive amount, but enter the dollar value as a negative, eg. -$100.00. |
Small variances in GST can occur due to the different methods employed in software packages to calculate the GST. In Jim2 it is calculated at a stock line level on purchase and expense orders.
The default Tax Total method is set for the database in Options, however change this at an individual order level.
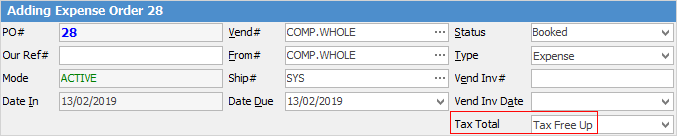
•Tax Free Up means the excluding GST price is being used to calculate the GST, eg. 10.00 x 1.1 = 11.00
•Tax Paid Down means the GST inc price is being used to calculate the GST, eg. 11.00 ÷ 1.1 = 10.00
Changing the method often resolves any variance but there will be times where neither method calculates exactly, as the result does not calculate to 2 decimal places.
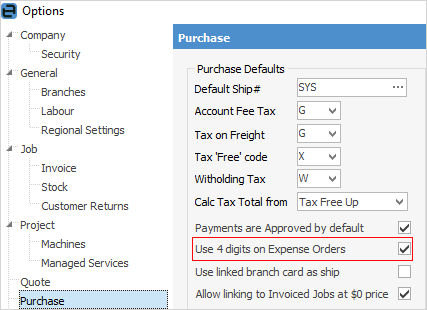
The format on expense orders can be changed so they are to 4 decimal places instead of two via Tools > Options > Purchase.
If an expense order is cancelled accidentally, edit the expense order and change the status to what is required.
An expense order can be applied to a purchase order at any time, and also unprinted at any time.
How to
Add a Document to a Purchase/Expense Order
Fix Incorrect Pricing after PO on Finished Status
Link Expenses to a Purchase Order
Print a Purchase/Expense Order