
Below is a summary checklist of how to move Jim2 to a new SQL instance.
The procedure assumes a basic knowledge of SQL Management, Jim2 Client and the Jim2 Server Console.
Migration Checklist
SQL Instance Setup
▪Install the new instance on the existing server (including Management Studio, if not already installed).
▪Ensure SQL TCP Protocol is enabled for the new instance via SQL configuration manager.
▪Update SQL Authentication to mixed, and update password policy (if applicable).
▪Enable SQL sa user, and update password as appropriate. (Store this information in a safe place, as Happen Business does not store this information.)
▪Add an additional firewall rule to the new instance
–Sqlservr.exe (usually found in: C:\Program Files\Microsoft SQL Server\MSSQL<version>.<instance_name>\MSSQL\Bin\ ).
–See existing rule for reference.
|
If SQL is installed manually (not via the Jim2 Installer), ensure TCPIP is enabled via the SQL Server Configuration Manager:
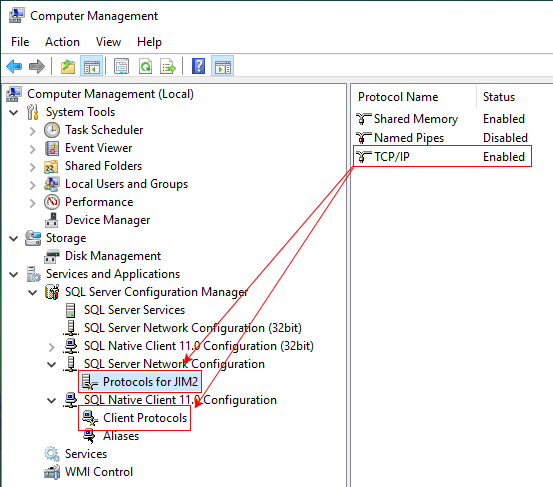
If SQL Express 2016 is installed manually, it is recommended to name the instance JIM2. |

Jim2 Migration
▪Ensure all users are out of Jim2.
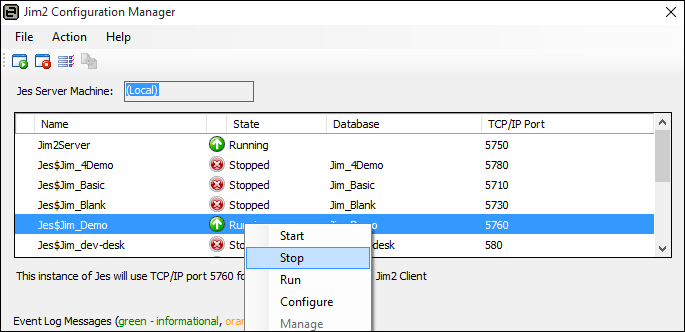
▪Via the Jim2 Configuration Manager right click on the Jes Instance and click Stop Jes. This will also disable the sending and receiving of emails.
▪Back up the database.
▪Via Jim2 Configuration Manager, Stop Jim2 Server Service.
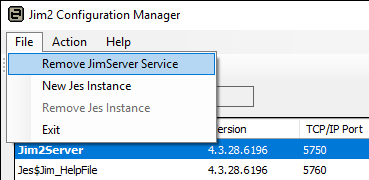
▪Remove Jim2 Server Service.
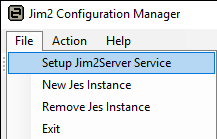
▪Add Jim2 Server Service and ensure it is pointing to the new instance name.
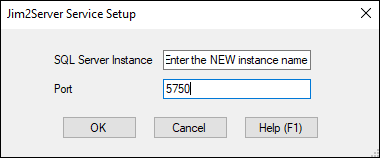
▪Right click configure Jim2 Server Service.
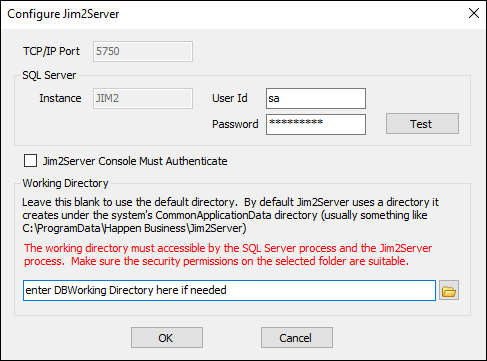
–Add the sa and password, then click Test.
–Update DBWorking Directory if needed.
▪Start Jim2 Server Service
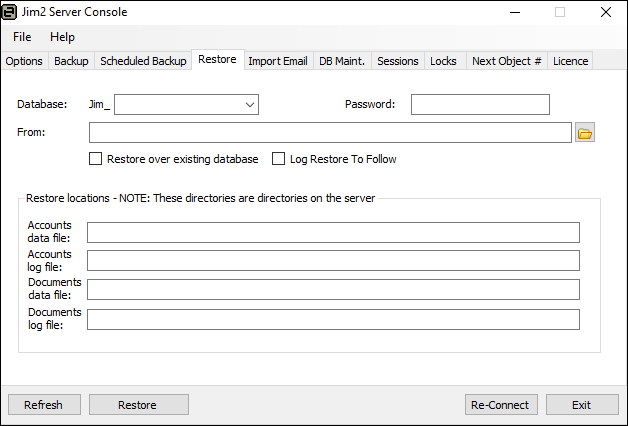
▪Restore the Jim2 backup, which will restore it to the new instance.
▪Start Jes.
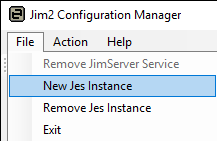
▪Start the Jes service.
▪Log on enable Email in Jim2.
▪Test with Jim2 Client on workstation and server.
▪Ensure the scheduled backup is configured via the Jim2 Server Manager.
Further information
Move Jim2 Database to a New Location