
Scheduling a backup ensures that there is always a copy of work separated from the main data files, as it would not be stored on the same server as Jim2. Manual backups allow for incremental backups to be performed, and the folder structure ensures they are in different locations to the main database. These backups can be used for restoring in an emergency, or to prepare a training database.
 |
The Jim2 database is re-indexed each time a backup is performed. |
The Jim2 Server Console has a number of backup options. Following is an explanation of each option.
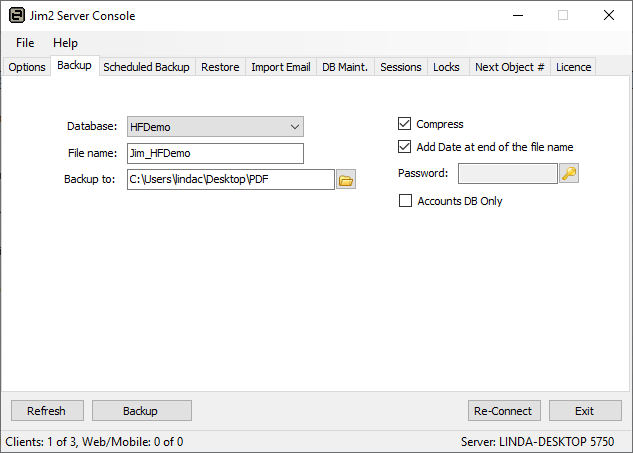
Backup
Field |
Explanation |
|---|---|
Database |
Here is where to choose the database to back up. |
File Name |
Enter a name for the backup file. |
Backup to |
Choose the destination of the backup file, ensuring it is a different location to the live database, ie. not on the same drive. |
Compress |
Tick to compress the backup file, which will make it smaller. |
Add Date at end of file name |
This is useful in assisting to track the latest backups. If Add Date at end of the file name is not ticked, any file with the same name will be overwritten. |
Password |
Add a password for security, if required. |
Accounts DB only |
Ticking Accounts DB Only includes only the accounting database file, not the document database file (the document database file stores emails and documents). The accounts database is considerably smaller. |
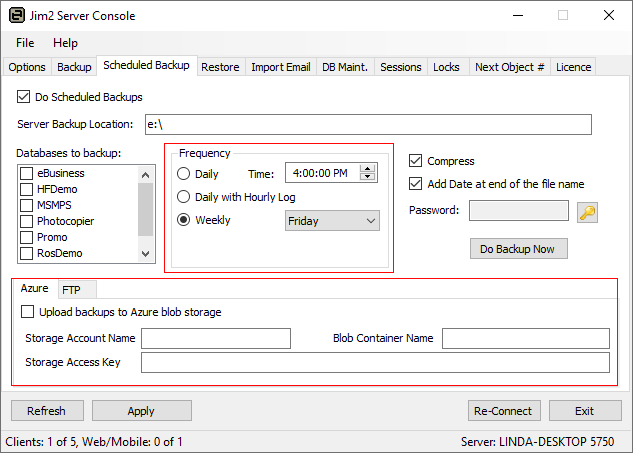
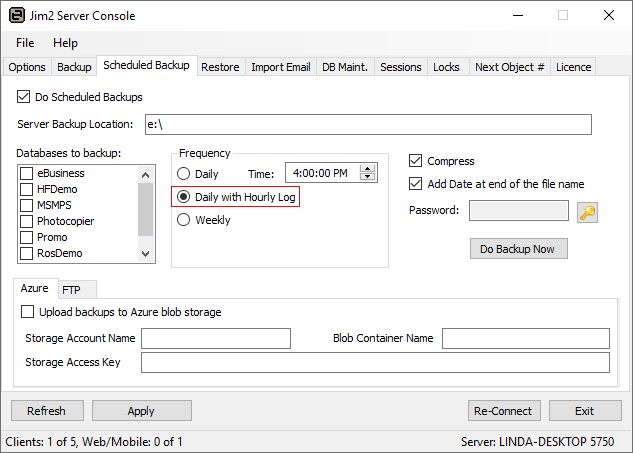
Preferences are also set here for scheduled backups.
Frequency
Daily, daily with hourly incremental log or weekly backups can be run.
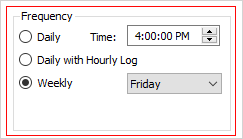
Daily – Jim2 Server will perform a full daily backup at the time specified.
Daily with Hourly Log – Jim2 Server will perform a full daily backup at the time specified, then logged incremental backups will be performed every hour until it is time to perform another full backup.
Weekly Backup – This option will perform weekly-only scheduled backups*.
 |
*This option is only recommended for customers performing a reliable alternative daily VSS-aware backup of the Jim2 databases.
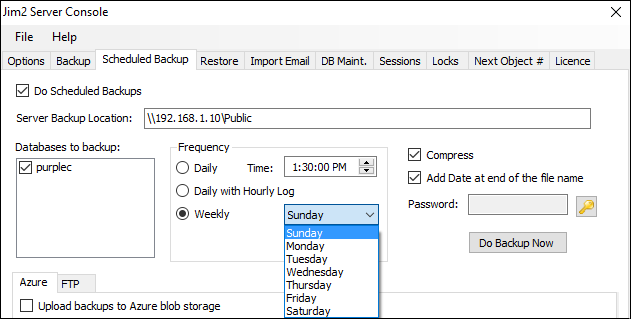 Choose the Weekly option with the appropriate day and time to run |
Compress – Compressing will make the backup file smaller.
Add date at end of the file name – This is useful to assist in tracking the latest backups.
Password – Add a password for security, if required.
Each day a full backup is taken, then smaller hourly incremental backups are taken throughout the day. The process starts again the next day with another full backup, then the hourly incremental set will begin again.
The incremental log backup will increase the storage requirements on a daily basis, however they are generally small incremental files.
In the event of major server failure, this provides a 1 hour recovery point, meaning the databases(s) can be restored within 1 hour of when the failure occurred, rather than having to go back to the previous full backup and potentially having to re-key lost data.
The main consideration is the power of the server to do the backups during the day, without Jim2 performance suffering and user experience being affected. The best way to establish this is to turn it on and monitor it. If users complain about Jim2 performance, change to a more suitable form of backup. Likewise if space is an issue.
Restore
Restoring a backup
|
If restoring from an older backup, the database update program must be run immediately after restoring, prior to launching the restored database. This ensures the database matches the version of Jim2 currently running.
Note: Jes cannot be started until the database update has been performed. |
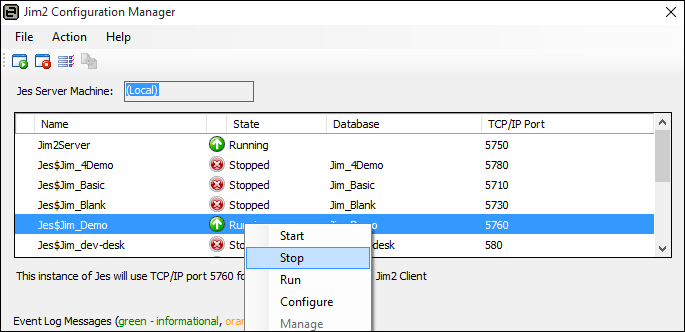
▪Ensure Jim2 is closed, and the Jes instance has been stopped via the Jim2 Configuration Manager.
▪Go to the Restore tab.
▪In the Database field, select or enter a new name for the database.
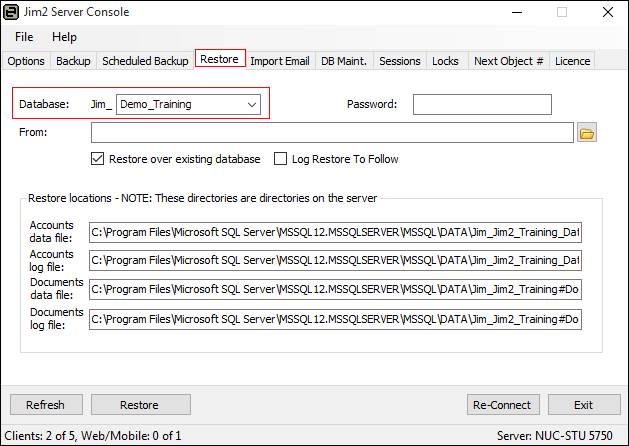
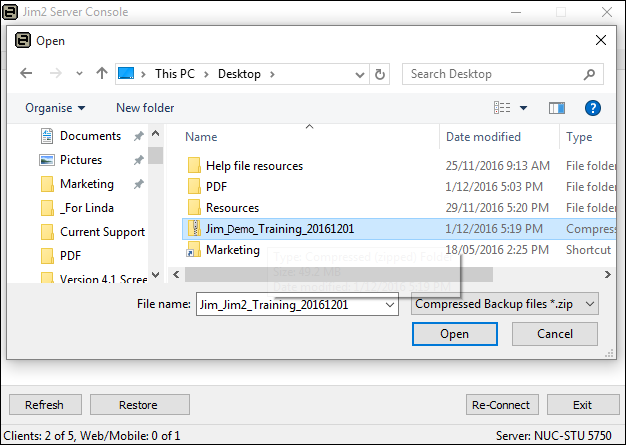
▪In the From field, locate the backup to be restored.
▪Tick Restore over existing database – this will restore this new database in the existing one's place.
|
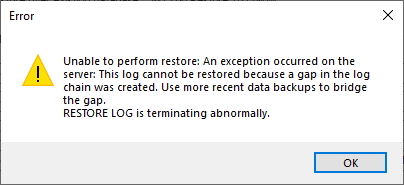
Note: Restore over existing database must always be ticked when overwriting an existing database. If not ticked, the following message will appear.
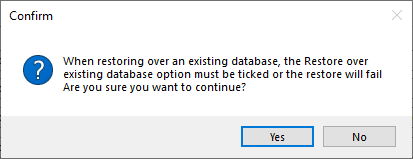 |
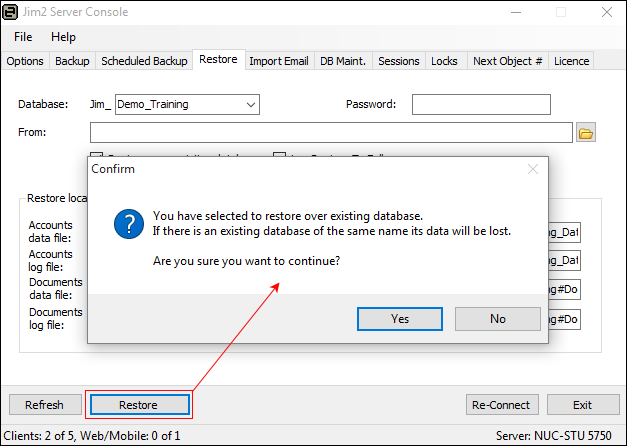
▪When ready, click Restore. A confirmation message will appear. Ensure everything is correct and click Yes.
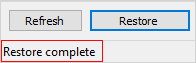
▪When the restore is complete, the console will advise the restore is complete in the lower left-hand corner:
▪Exit the Jim2 Server Console, then run the DB Update program before restarting Jes.
Restore from incremental backup
The restoring of an incremental backup chain requires all incremental files to be available up until the time of the backup to be restored.
1.Ensure that the applicable Jes instance has been stopped prior to proceeding
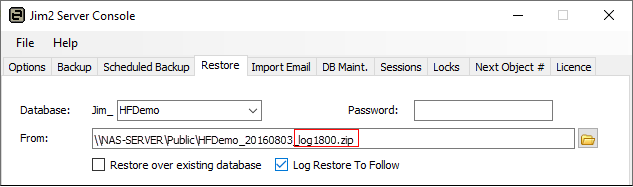
2.Restore the full backup with Log Restore To Follow ticked.
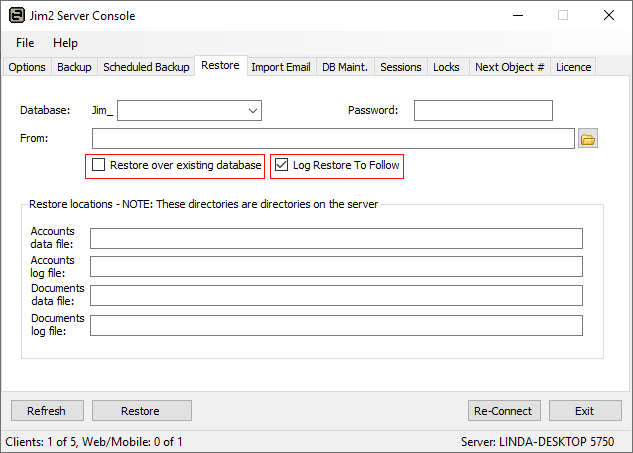
To restore over an existing database, tick Restore over existing database. By ticking Log Restore To Follow, a special SQL restore is performed informing SQL Server that additional incremental log backups are also to be performed. Click Restore and the initial full database restore will be performed.
3.Restoring the incremental log backups will cycle though the process of restoring each of the incremental backups in the order in which they were taken. If an attempt is made to restore a log backup in the incorrect order, an error message will appear and the restore will be aborted.
|
The backup file names will have _logXXXX appended, where XXXX represents the time of the processed hourly backups. |
Continue the process of restoration with Log Restore to Follow ticked until the second last of the incremental chain has been restored.
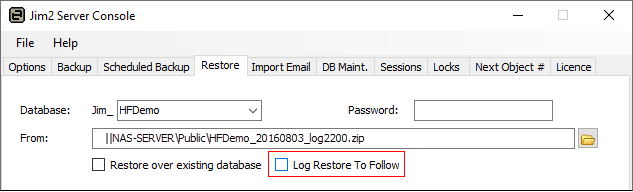
4.For the final restore, untick Log Restore To Follow, signalling to SQL Server that this is the last one in the incremental chain to be restored. Continue with the final restore and the process is completed.
FTP and Upload Azure option
This provides the ability to FTP an off-site copy of the database. It is also possible to configure the completed backup to be uploaded to Microsoft Azure blob storage.
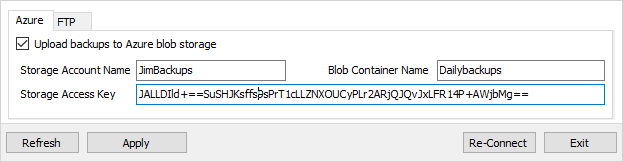
Once the Azure account and storage container have been created, enter the details in the location provided and click Apply.
Further information