To save time entering attribute values, you can set up templates to quickly apply to a particular stock. Access attribute templates from the Stock (Attributes tab), Purchase and Job screens. This is how a templates work:

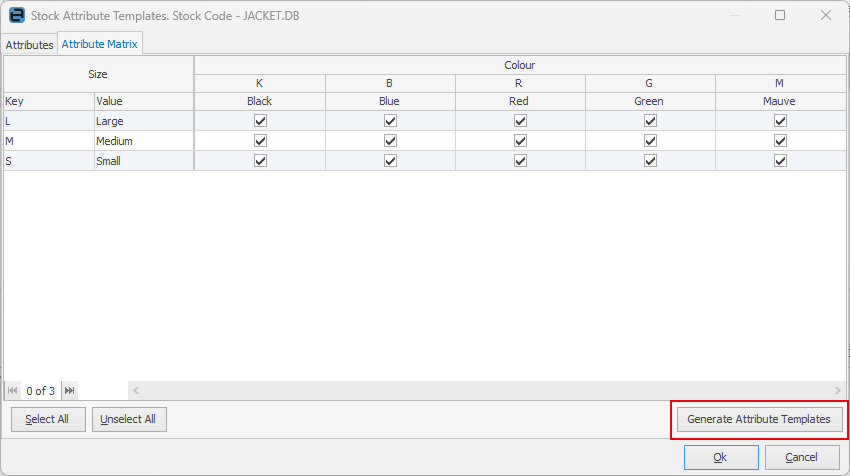
In Edit mode, click Attribute Templates. Create a new template from the Stock Attribute Templates screen by clicking Generate Attribute Templates.
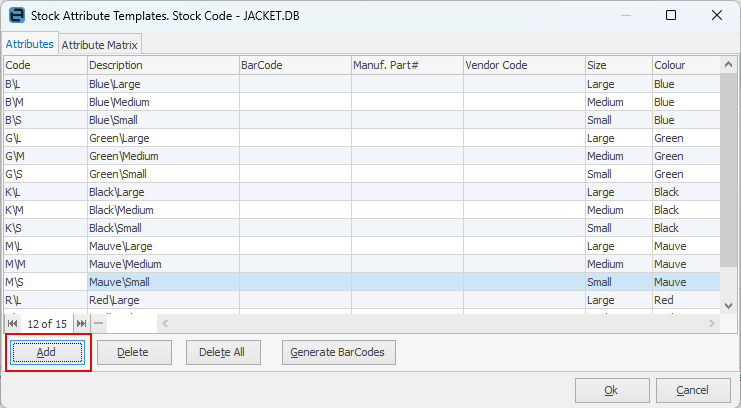
Click Add.
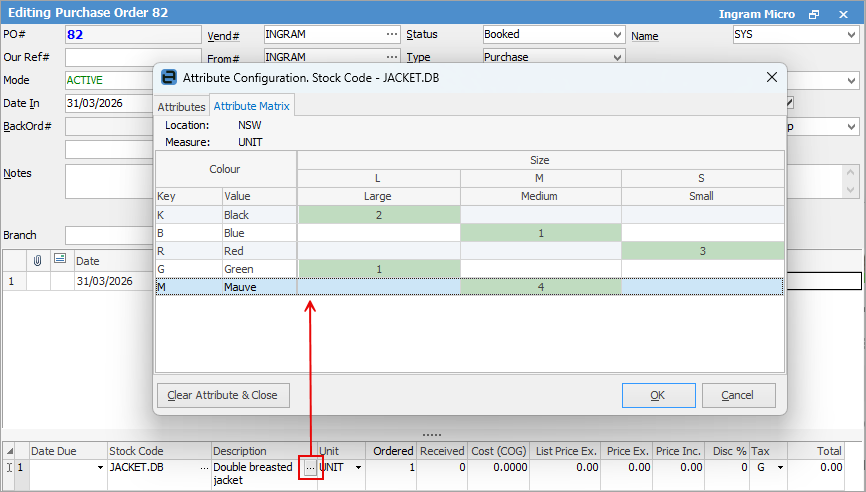
The Attribute Configuration screen will appear.
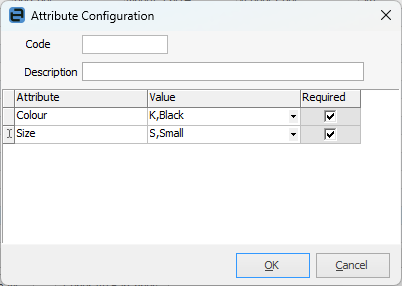
Notice that the colour and size will be filled in, if the default values were set up earlier.
Create another Attribute Template called Womens1 with attribute values of Colour: Blue and Size: Small. Fill in the fields as shown, then click OK to save and close.
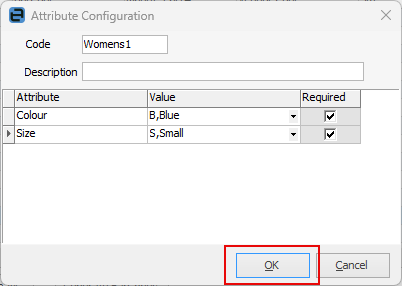
Newly added templates will appear with a green background.

The Attribute Matrix can also be set up to show which attributes are available for selection, without adding a template.
 |
Note: The Attribute Matrix tab will only appear for those attributes with the type Bound. |
Go to the Attributes tab which will populate with all the possible combinations.
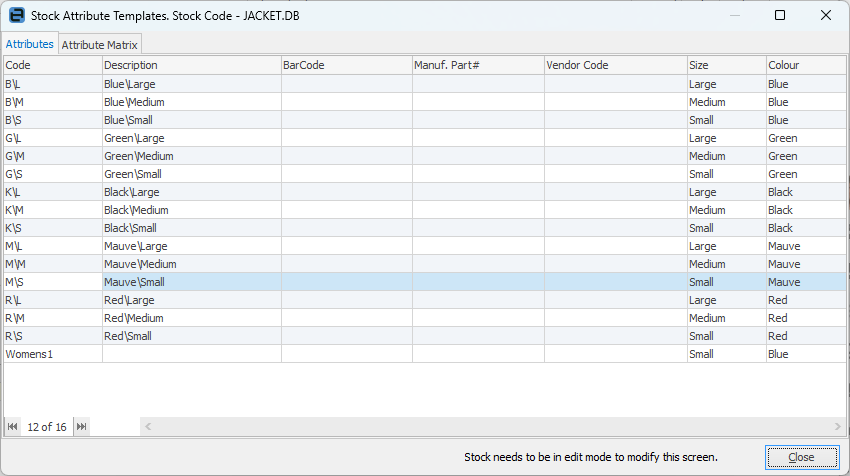
In the above image, you can see Code, Description, BarCode, Manuf. Part# and Vendor Code, all of which are free text fields. The other fields are not editable. Note that you can add and delete here, however anything deleted will only show Edit history once deleted.
The barcode entered in the attribute template screen can be used to match stock when adding in the stock grid of the below objects:
▪Job
▪Quote
▪PO
▪Promo
▪Stock transfer.
It will match the barcode and bring across the attributes associated with that attribute template. When clicking OK, Jim will check for duplicate barcodes and issue a warning if any are found.
The other two fields are only used by Jim2Commerce.
When entering attributes on a purchase order, job or quote use the Attribute Matrix tab to enter quantities, etc.
You can export stock attribute templates from a stock list, where you can add up to two attributes into the stock attribute table. Upon importing back into Jim2, at point 3/4 click Synchronise first, then complete the import.
Further information