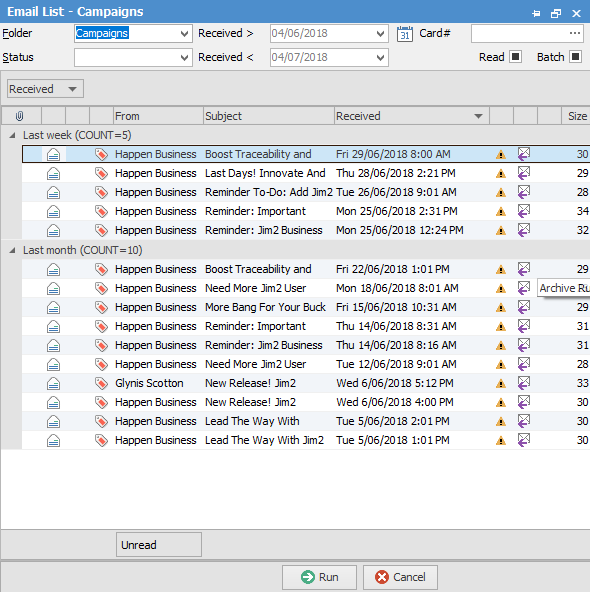
Checking that Jim2 is receiving emails is a simple process. Please take your time to read through this information, and follow the examples to check your incoming email.
The best place to start is to create a new email list.

The latest email will be on the top of the list. You can see the time and date that Jim2 received it.
Click Send And Receive
You can click Send and Receive in the ribbon to force Jim2 to check for email now:

If the Jes service is not running, Jim2 will notify you when you select this icon. You should review any warnings and take the required action (such as starting the Jes service on the Jim2 Server).
After using Send and Receive, you should re-run your email list again to see if there is anything new.
Test the Email Account
The receiving email accounts are set up in Tools > Setups > Email Accounts. You can test that the settings are correct by using the Test button.

If the test is successful, you will receive information showing how many emails are waiting on your email server for Jim2 to collect:

If the test is not successful, you will receive information as to why (eg. wrong password, etc.).

Please review the account settings and adjust as required. You can click Test as many times as required to test new account settings.
If the account says there are no emails waiting and you are sure there are, you may need to check with your ISP or IT support so they can confirm that email is getting to the email account.
Be sure to check that POP3 Enabled is ticked. You can test successfully, but it will not collect if it is not ticked!
Advanced Troubleshooting
Any issues that Jes had in receiving email will be recorded in the Windows Application Event Log on the Jim2 Server. Please review this log for errors. Also, whilst troubleshooting it is advisable to disable any virus scanners and/or firewalls to eliminate them as possible causes.
Further information:
Diagnosing Outbound Email Issues