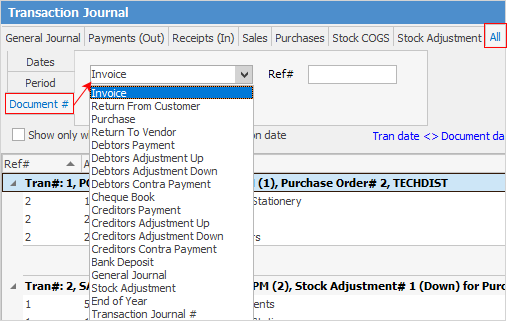
The Transaction Journal is a list of all the transactions created throughout Jim2. When each transaction is created and added to the transaction journal, it will have a unique transaction journal number. These cannot be duplicated or edited.
Each transaction will have a header showing information relating to the transaction, and the details showing the general ledger accounts altered by the entry.
 |
Transactions coloured blue mean the transaction and document date are different. Transactions coloured red mean those transactions are reconciled. |
Header Fields |
Explanation |
|---|---|
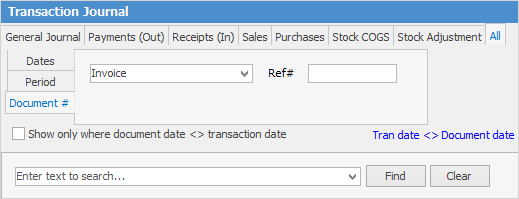
Dates |

Two choices are available in this area to bring up transactions based on these dates. ▪the Document date is the date that the transaction impacted on the general ledger accounts. This is the date entered in the Date field in the general journal ▪the Transaction date is the date the transaction was entered into Jim2. This is the actual date of entry, ie. entered today but entered a different date in the Date field of the general journal. |
Period |

Select a financial period. Tick 13th period only to show transactions only for that period.
In normal accounting practices there are 12 reporting periods in a financial year. Each of these periods is represented by a calendar month, and is a defined chronological period. The 13th period isn't an actual period of time – it is merely a place-holder period that contains year end adjustments so they don't affect a particular reporting period. |
Document # |

Select the document type.
Note: This field is only available under the All tab. |
Show only where document date <> transaction date |
Will display only entries where the document date is not the same date as the transaction date. |
TranDate <> Document Date |
This will display in blue text in the grid if the document date (the date the transaction impacted on the general ledger accounts) is different to the transaction date (the date the transaction was actually entered.). |

Detail Fields |
Explanation |
||
|---|---|---|---|
Ref# |
Reference number of that document/transaction.
|
||
Account |
General ledger account code. |
||
Branch name (If branches are enabled). |
|||
GL Dept |
General ledger department. |
||
Acc. Name |
Actual account name. |
||
Debit |
The debit amount. |
||
Credit |
The credit amount. |
||
Tax |
Displays the tax code used (X does not display on system transactions). |
||
Curr |
Currency. |
Total debit and credit fields at the bottom of each tab show the total values for the entries being displayed.
All transactions created are fully balanced double sided entries. Single sided journals cannot be entered into Jim2.
 |
If the background of the transaction is in a light blue colour, this means that the transaction date does not match the document date. If any of the transaction lines are red, this means that particular line of the transaction has been reconciled. |
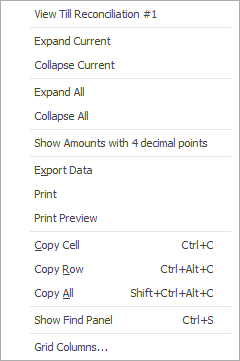
If security allows it, right click in the grid where there are a number of choices available.

Right Click Menu |
Explanation |
|---|---|
View ...# |
Select this to open the object related to the highlighted transaction. |
Expand Current |
Expand the currently selected transaction – shows header and detail information. |
Collapse Current |
Collapse the currently selected transaction – shows header information only. |
Expand All |
Expand all transactions. |
Collapse All |
Collapse all transactions. |
Show Amounts with 4 decimal points |
View transactions showing four decimal places (useful where expenses have been linked to purchase orders, and the split incorporates four decimal places). |
Export Data |
Export all data from this screen in XLSX format. |
Select to print all in grid. |
|
Print Preview |
Select to preview prior to printing. |
Copy |
Copy highlighted. |
Copy All |
Copy all in grid. |
Copy Row |
Copy only the row. |
Show Find panel |
Displays the Find panel above the grid.
 |
Grid Columns... |
Allows adding more columns. Also allows removal of columns. Select the column to add, then drag it to the position required in the columns within the grid. To remove, click and drag to the Grid Columns... window, or drag down away from the header area. |
Further information