
Having a good quality company logo in reports is very important, however there are some important points to consider when adding a logo.
For a good quality logo in Jim2 Reports:
▪start with a high quality image of the logo. Resolution should be RGB and 300ppi at the correct size (do not resize an image up, as it will pixelate and produce a poor quality image)
▪save the image file in PNG file format
▪the height and width ratio should be as close to 27:84.4 mm as possible. If the height and width ratio of the logo is not close to this, it will be disproportionately stretched.
Ideally, the logo should be created at the correct size/resolution in image editing software.
Even if the logo looks great when previewing in Jim2, it may not look quite as good after converting to PDF. The compression offered by PDF conversion means there is a point where it is necessary to balance image performance against document size. These issues are universal with all PDF documents, as they will usually sacrifice image quality to make sure the file size as small as possible.
This makes troubleshooting PDF conversion quality issues difficult. Some workarounds are:
▪make sure the logo is the correct size for the space following the information above, where the aim is a good preview of the logo quality in Jim2
▪produce the logo at 300 ppi (this helps dramatically when compressing)
 |
Never resize a logo up in size or resolution as it will result in a very poor quality image. If resizing down, it must equate proportionately to the correct size at 300 ppi, otherwise it will pixelate. If unsure, please email support@happen.biz for assistance. |
▪test the logo by inserting it into a Word document and creating a PDF. The quality of the Word output is similar to how Jim2 outputs a PDF. If it looks good in a PDF from Word, it will look good in a PDF from Jim2.
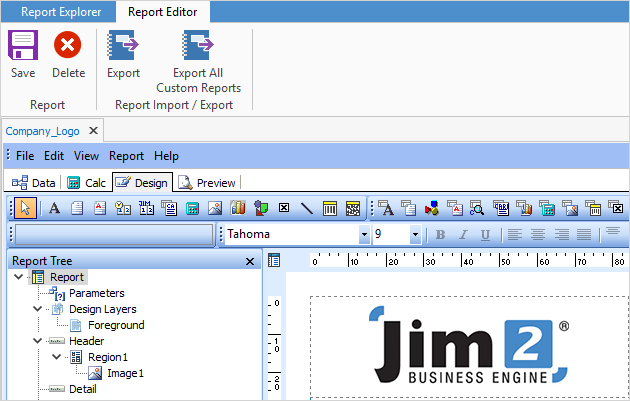
The instructions below will add or change the company logo for system reports in Jim2.
▪On the ribbon, go to Tools > Report Designer > Logo > Company_Logo.
▪Double click on the Company_Logo file.
▪Right click the current logo and select Picture, then browse for the logo file.
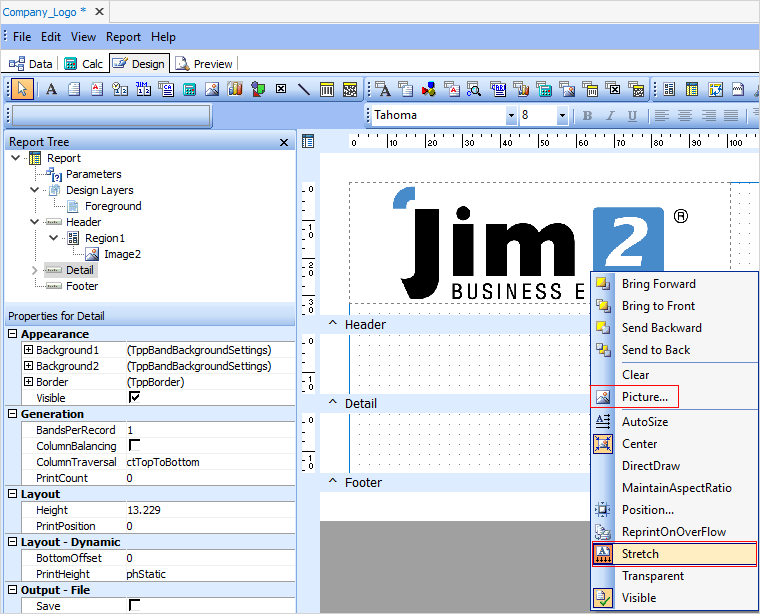
▪Ensure only Stretch is selected, as in the above image.
▪Go to the Preview tab to see how it looks.
▪When finished editing, save the Company_Logo report and close Report Designer.
▪Click the Refresh icon in the quick launch toolbar.

View a report (such as an invoice or quote report) to check and review the logo changes.
|
Do not change the name of the report – it must be Company_Logo, otherwise errors will appear when producing reports. |
Using the above information, the logo can be changed at any time.
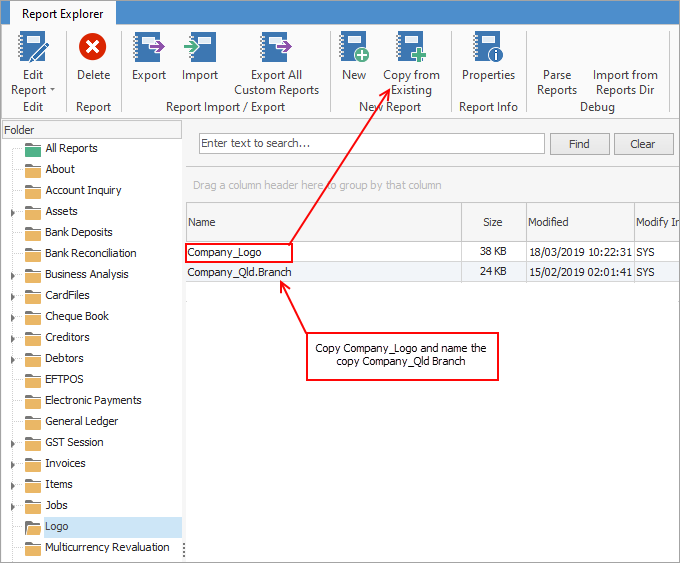
Branch Logos
If separate logos are to be used for the various branches, these will need to be set up in Report Designer. Branches need to be set up, along with a branch card code first.
On the ribbon, go to Tools > Report Designer.

Navigate to the Logo folder in the Nav Tree and select Company_Logo, then click Copy From Existing on the ribbon. Copy the report and add an extension as per the card code (ie. card code is Qld.Branch, rename to Company_Qld.Branch), then add the new logo.
How to
Add a Signable Report for Jim2 Mobile
Set up Back of Page Text on Invoice
For more detailed information regarding Report Designer please refer to www.digital-metaphors.com (copy and paste into a web browser).