
To create a single level manufacturing job, go to Jobs > Add Job.

(See below for information on Multilevel Manufacturing jobs). Select a customer in one of the following ways:
▪Start entering the customer name. Jim2's intuitive type will begin to pre-empt the choice of names from the card code list as information is entered.
▪Click the ellipsis [...] beside the Cust# field to display the full list of customers, then choose from the list.
Enter a customer reference (for example, name of the person who requested the job) in the Customer Ref# field.
|
This alpha/numeric reference should be supplied by the customer so that they can match this job with their own internal procedures, personnel, purchase orders or work orders. If multiple jobs are required for the same reference number (work order), use Job List to monitor the progress of the work order. |

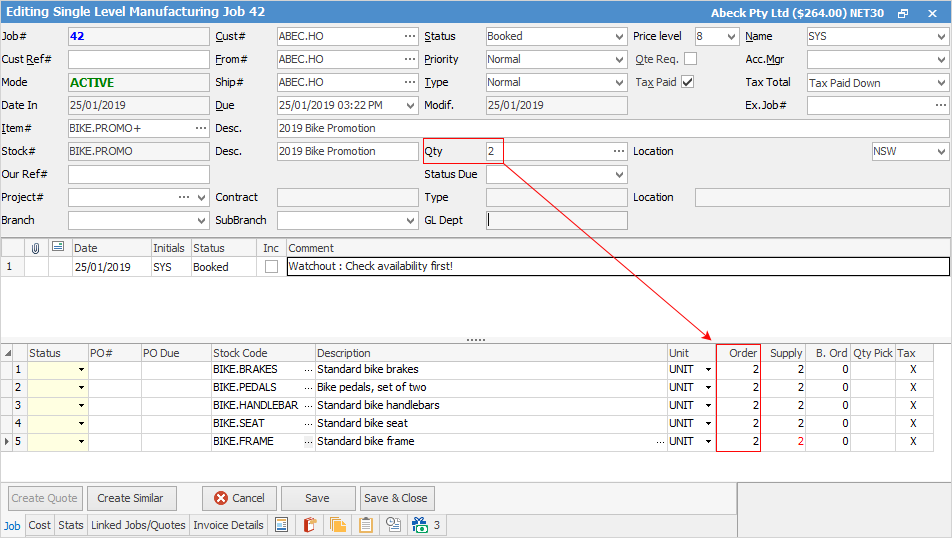
In the Item# field, enter the Manufacturing Item code. Once the Item code has been entered, the job will change to a Manufacturing job.
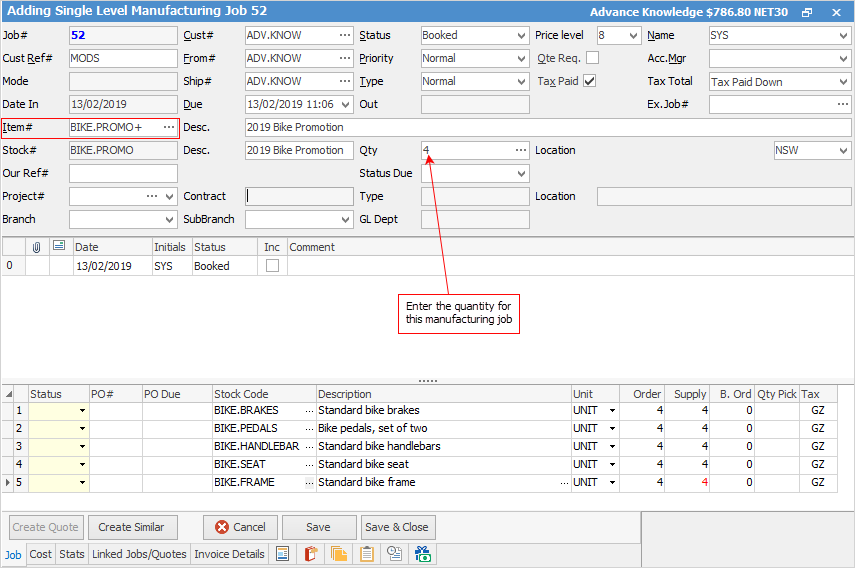
When adding a Manufacturing Item to a job there are four fields that will be added to the Sale or Service job form – Stock#, Description, Location and Qty of stock to be manufactured. These fields are filled in from the Item setup information, except for the Qty and Location fields.
When moving away from the Item# field, Jim2 changes the job card to display the description and stock code details of the desired manufacturing Item, and has moved the cursor to the Qty field, prompting for the quantity to manufacture.
|
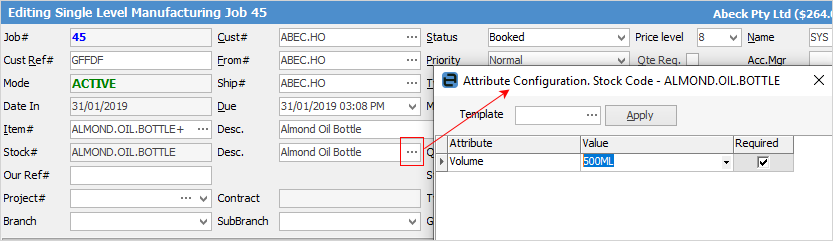
If the manufacturing stock has Attributes on purchase ticked, prior to finishing the job the attributes need to be selected. This is located in the Desc. field in the Job header:
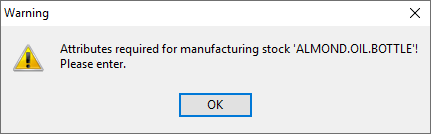
If attempting to set the job to Ready upon Finish without selecting attributes, the following warning will appear:
 |
|
Some letters in the field names within the header are underlined, eg. Cust#. Using Alt+ the underlined letter will jump to the field beside that heading. |

|
Only whole quantities can be manufactured, ie. it is not possible to manufacture, say, 4.5 of something. |
The order of stock added to a manufacturing job is the same order as it is on the manufacturing Item.
Use the dropdown list to choose the location this stock is to be manufactured to. The Location field will default to that set up in the user's cardfile.
Qty is the quantity to be manufactured. Enter the quantity and the stock grid fields will be filled with the required stock and quantities. Enter the serial number (if required) in the Serial# field.
|
Manufacturing job also handles Fixed Quantity stock, for example a machine setup. Stock used in the manufacturing process is added to the stock’s related manufacturing Item. This is the stock required to manufacture one product. When changing the quantity to manufacture, the stock is multiplied by that quantity.
Ticking the Fixed Qty box on the manufacturing Item’s stock will keep that stock’s quantity the same, regardless of quantity of stock being manufactured. This is useful for stock like Machine Setup, where there is one machine set up per manufacturing job, regardless of the quantity of stock being manufactured. |
Enter the desired quantity, then tab away from this field. On doing so, a Confirm screen will appear, asking to re-add the stock to this job. Click Yes.
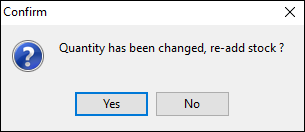
Jim2 will automatically re-add the appropriate stock codes and quantities to this manufacturing job.
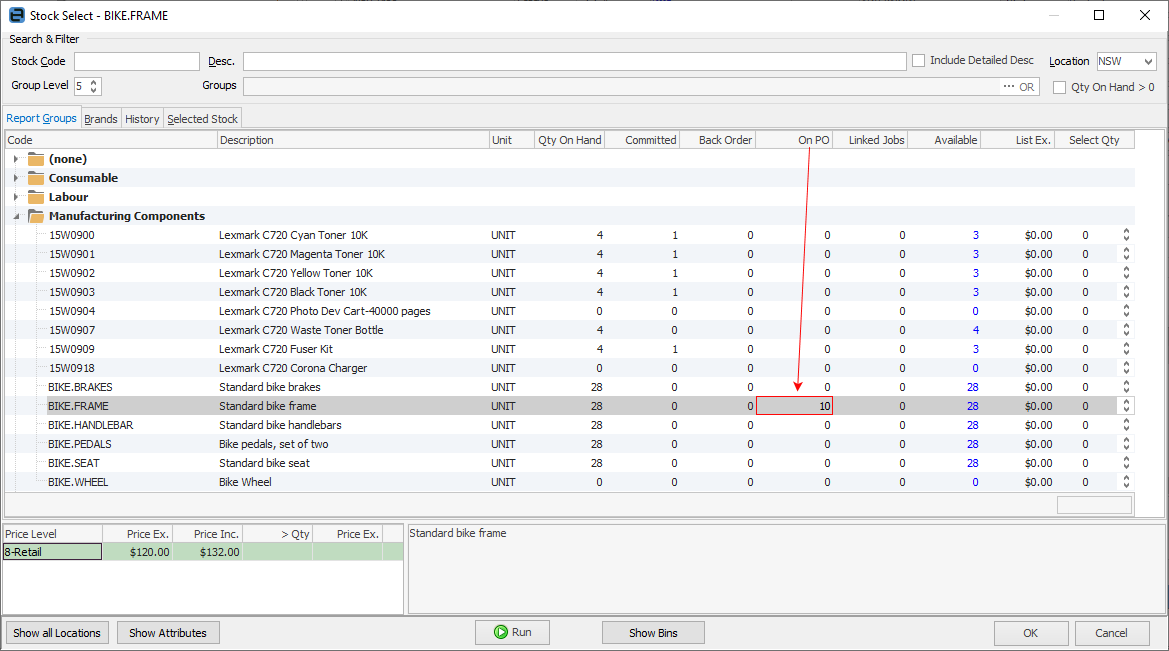
If adding stock via the Stock Select screen, the On PO column will display the number of stock being manufactured:
Once the job is ready to manufacture, change the status of the job to Finish. At this point, there are two options:
1.Depending on the workflow, set the job to Ready. An example would be where one person has completed a section of the job, however further work needs to be performed.
2.Manufacture the job. This, in turn allows for invoicing of the job.
From the ribbon, select the Manufacture Job icon,  and the screen shown below will appear.
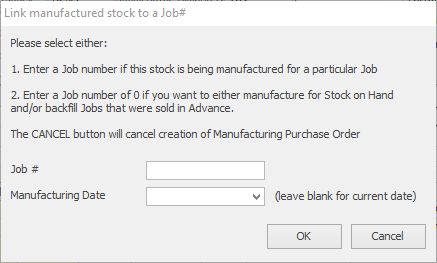
Choices are:
Option Number |
When to Use This Option |
|---|---|
1.Enter a Job Number |
Do this if this manufacturing job is to be linked to a specific service job, sales job, or order. A manufacturing purchase order will be created.
A manufacturing job can be linked to a sales job line, but only if the manufacture job is not set to Max 1 Qty. |
2.Enter 0 as a Job Number |
Enter 0 to place the manufactured product straight into stock on hand, and/or backfill jobs sold in advance. A manufacturing purchase order will be created. |
Manufacturing Date |
Specify the date of manufacture if desired. |
Cancel |
Click Cancel if there is a reason to not manufacture at this stage. The manufacturing job will go to the status of Ready, and will reserve the stock, ready to manufacture. Should stock components need to be freed up, go back to the manufacturing job and select the Set Job as Not Ready icon. |
If a job number was applied, or 0 entered and OK selected, a manufacturing purchase order will be created.
Once the job has been manufactured, the Invoice# field shows the Purchase# field. Click the ellipsis [...] to open to the Manufacturing purchase order.

Now, the bikes for the Winter sales promotion have been manufactured.

As manufacturing stock can be sold in advance, Jim2 allows the option of manufacturing it for a specific job/customer, and not automatically backfilling any sold in advance. There is only one opportunity to assign the job number.
Once the job is manufactured, the Invoice# field shows as the Purchase# field, which will open the manufacturing purchase order.
|
If a job has been cancelled accidentally, edit the job and change the status what is required.
Note: You can edit a job on the status of Cancel or Finish, but you cannot edit it once the job has been manufactured. In this case, the job must be unprinted. |
Once a stock is set up for multilevel manufacturing, add a job and select the related Manufacturing Item. If the stock code is SUB.ASSY1, the linked Manufacturing Item would be SUB.ASSY1+.
The only difference from a standard (single level) manufacturing job is an additional Cost field.
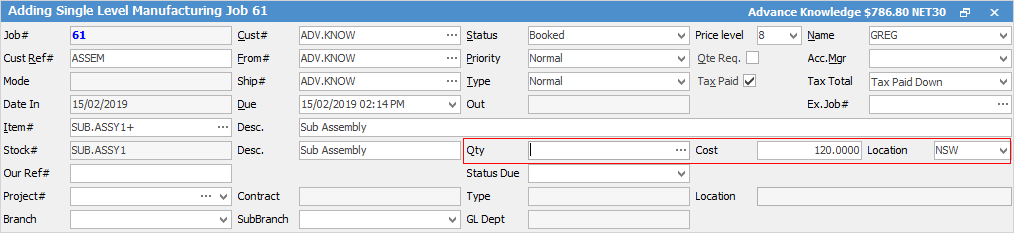
It will be populated with the default cost specified in the manufacturing stock code (Details tab), and it will show the default cost of 1 unit. The cost can be changed at any time up until the point of selecting the Manufacture icon.
Regardless of how many products being manufactured, the cost figure is the cost to manufacture one unit.
The totals displayed on the Cost tab of the manufacturing job have been updated to display the total fixed cost, the estimated actual cost, and the difference. This difference would be expected to be posted to the linked Fixed Cost Offset general ledger account when the Manufacture icon is selected.
•It is possible to unlink a manufacturing job from a sales job when the manufacturing job is cancelled.
•A manufacturing job can be unlinked from a sales job when the Ex. Job field is edited and is no longer the sales job.
•It is not possible to allow stock to be selected for auto manufacture if it is already linked to an active manufacturing job.
Further information
Kitting v Packaging v Manufacturing
How to
Add Stock to a Manufacturing Item
Add Single Level Manufacturing StockAuto Create Manufacturing Jobs and POs
Include Labour in Cost When Manufacturing