
The Action Wizard is designed to assist in the process of creating and assigning templates to actions at multiple levels.
Templates can be made available to projects via the following:
▪Asset level – all projects that fall under a particular asset will have access to templates associated to that asset.
▪Action level – all projects using this template will be restricted to the action level set here.
▪System Type level – all projects that fall under the Project System Type (ie. Managed Service) will have access to templates associated at Project System Type level.
▪Project Type level – all projects with the same Project Type will have access to templates associated at Project Type level.
▪Project level – individual projects can have templates directly associated.
* Template restrictions may prevent some associations from being applied.

|
Once the Action Wizard has finished, click Refresh from the top left of the Jim2 screen to see the changes. |
The wizard moves through a series of steps to configure the various associations between Project Type, Action and Project Template.
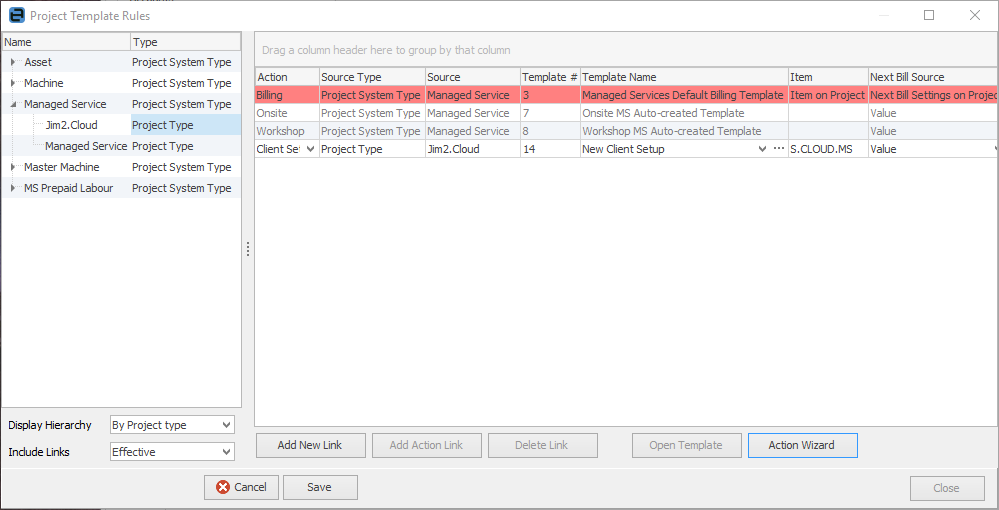
On the ribbon, go to Projects > Template Rules to display the Project Template Rules screen.
The left-hand pane of the screen provides a hierarchical view of Project type and Action associations, and can be changed to By Project Type, By Action, or By Action Group.
Selecting an Action or Project type will display a list of the associated templates in the body of the Project Template Rules screen.
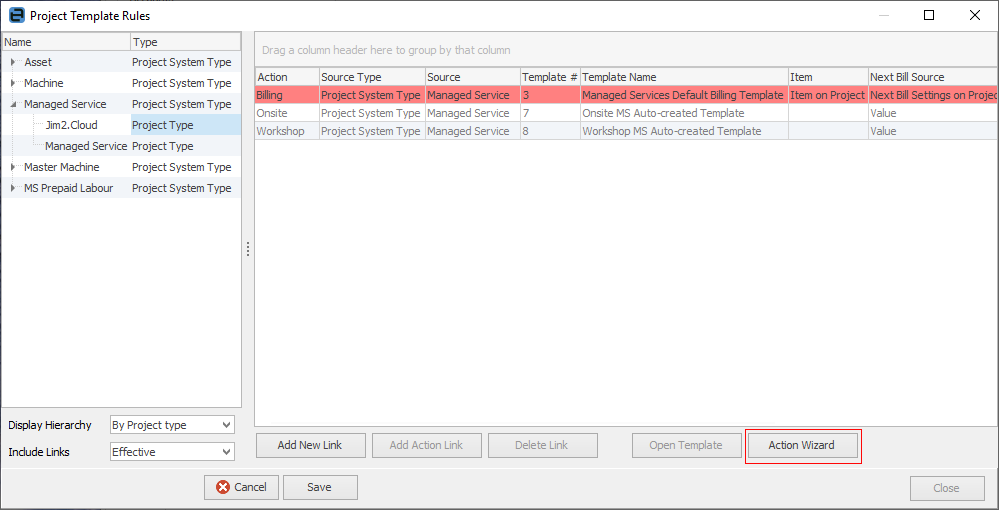
Click Edit, then Action Wizard.
Using the Wizard, based on the above:
1.Select Template Rules on the ribbon.
2.Highlight Jim2.Cloud Project Type as per the image above.
3.Click Edit, then Action Wizard.
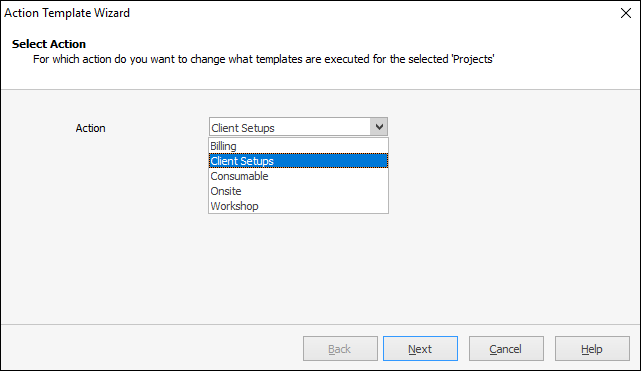
4.The Select Action screen is displayed. Choose Client Setups from the dropdown list as per the example below, then click Next.
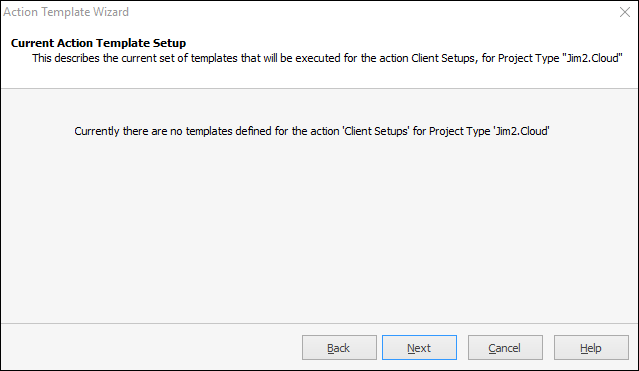
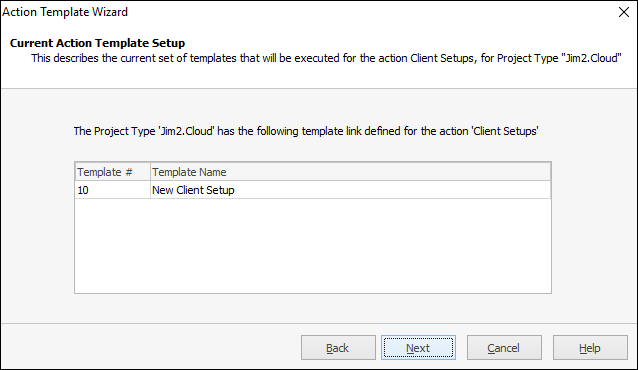
The Current Action Template Setup screen is now displayed. As there are no existing templates associated, click Next.
*If the action already had templates assigned to it a different screen will appear where the existing templates are displayed as per below:
After clicking Next where no templates are yet associated to the Client Setups:
The Change the Action Template Setup screen is displayed.
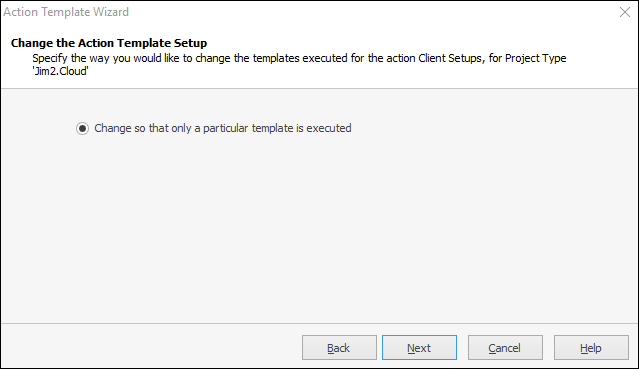
As there is only one choice, choose it and click Next.
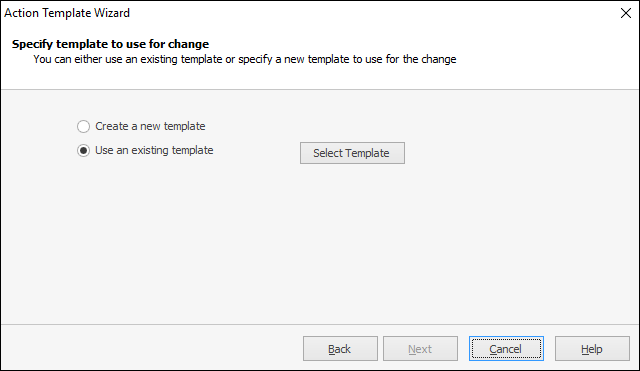
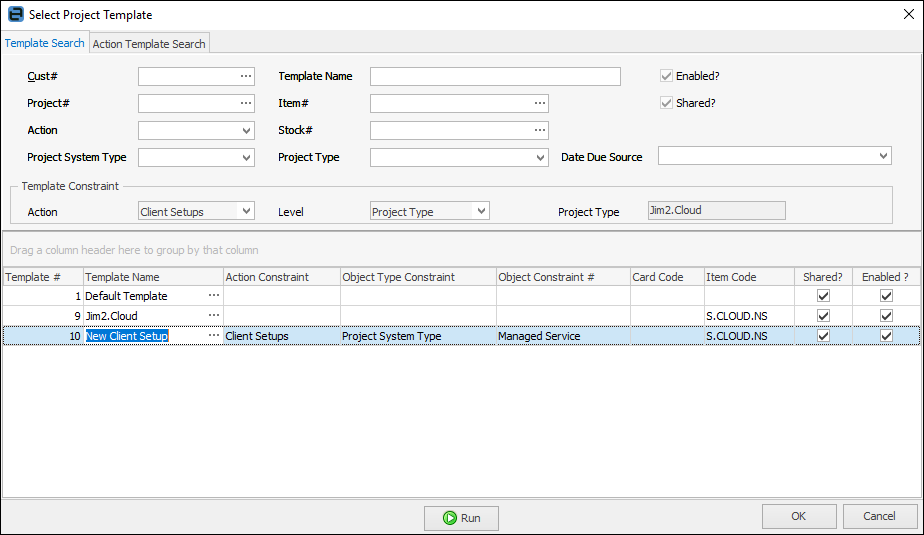
Here, also create a new template. For this example, choose Select Template to be presented with the Select Project Template screen. It is worth becoming familiar with this screen as it is used often. Scroll or search for the template New Client Setup, select it, then click OK.
The template to use or change screen will appear. Select a template, then Next.
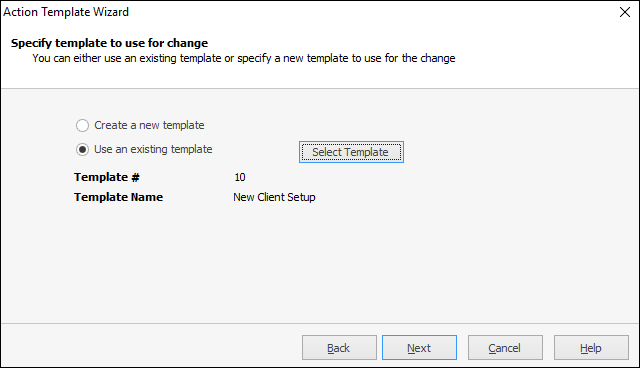
The next screen will display a confirmation of the selection.
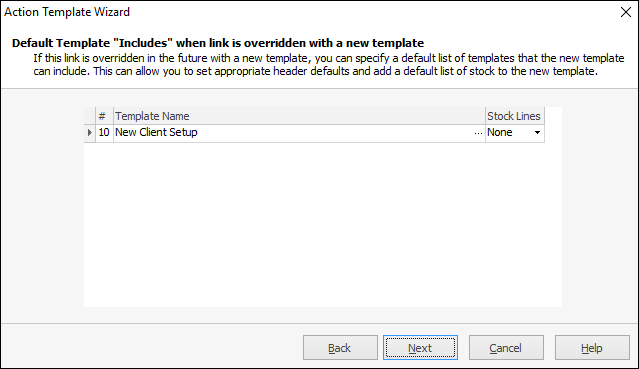
Choices are:
None:
Append:
Insert:
Click Next to see the Override Options screen.
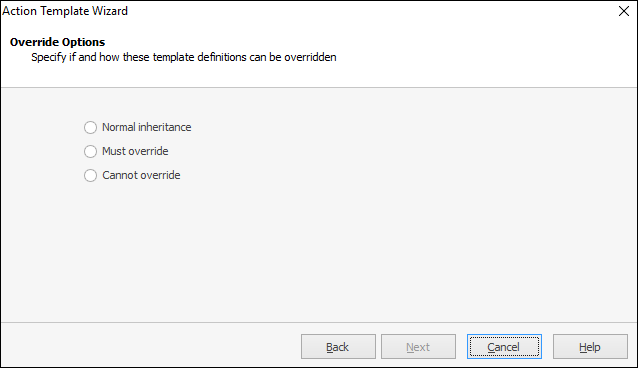
Choose from one of these three options:
▪Normal inheritance – this option would be used for most shared non-billing templates, and billing templates that are specific to a particular project.
▪Must override – this is used by the Jim2 Default template, and ensures that the template cannot actually be used for the generation of a job. When at project level, templates in the grid are shaded pink.
▪Cannot override – this ensures this specific template is used in the creation of a job.
Once the choice has been made, click Next. The When should this template be executed screen is displayed:
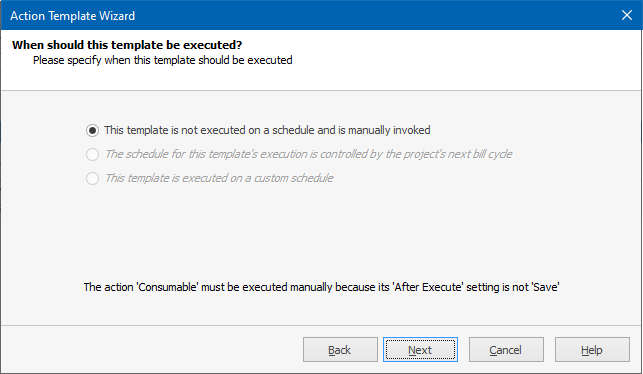
Here is where set a scheduling option. The other options allow to either configure the template to inherit its scheduled (billing) date to that of the Project it is executed from, or to specify a custom date.
Choice |
Explanation |
|---|---|
This template is not executed on a schedule and is manually invoked |
For non-billing templates, this is the best choice. |
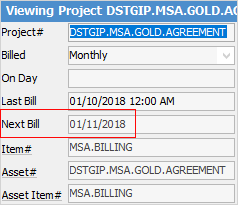
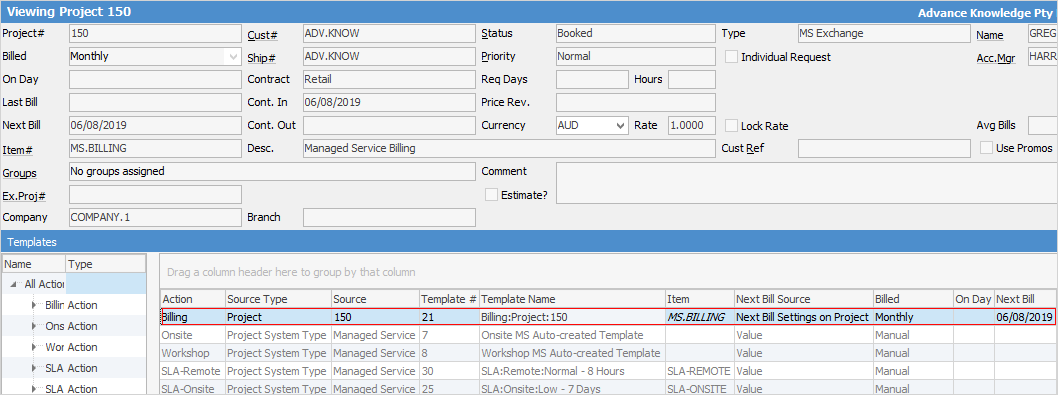
The schedule for this template's execution is controlled by the project's next bill cycle |
This template will execute based on the next bill date on the project.
 |
This template is executed on a custom schedule |
This example shows the template attached to the billing action, using a custom schedule.
When executing this template manually,
the next bill date in the header of the project will remain the same, but the next bill date of that template under the Templates tab will be updated. |
Click Next to continue with the Manual option selected.
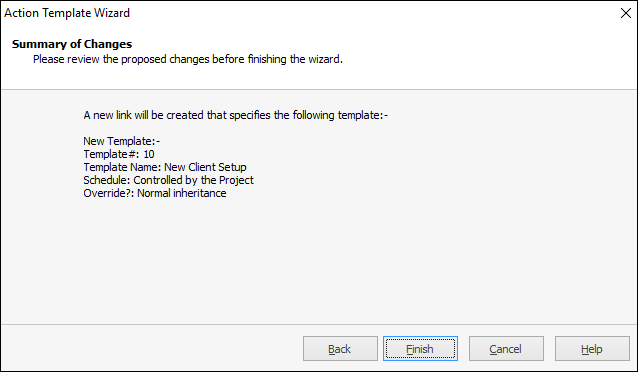
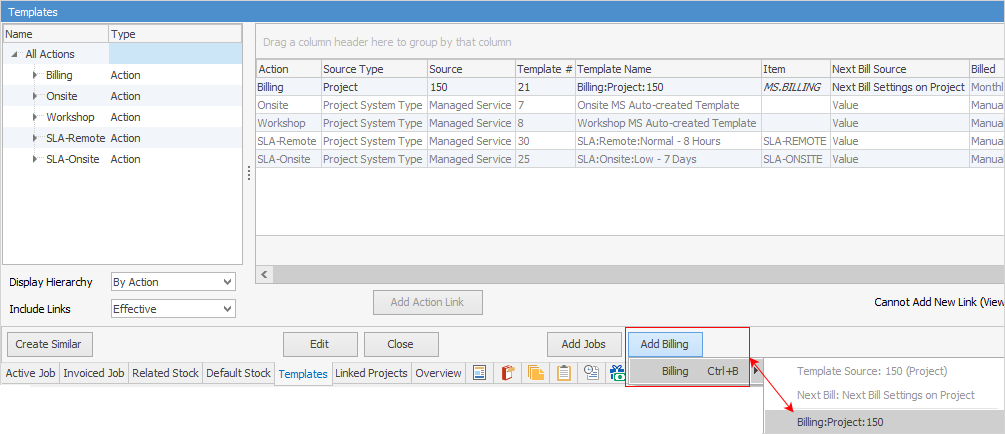
As above, confirmation of the selection will be displayed. Click Finish to go back to the Project Template Rules:
Now see the new association, and must click Save to finalise the update to the rule.
 |
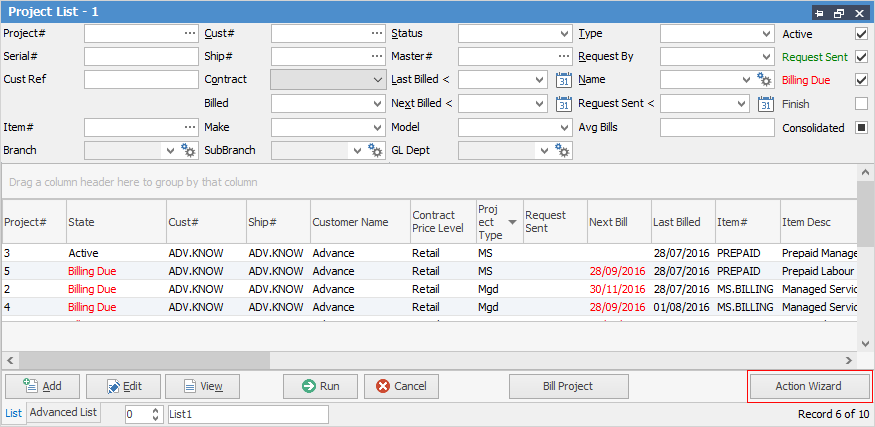
Unlink a template (or a list of templates) using the Action Wizard. 1.Run a Project List, and click Action Wizard. 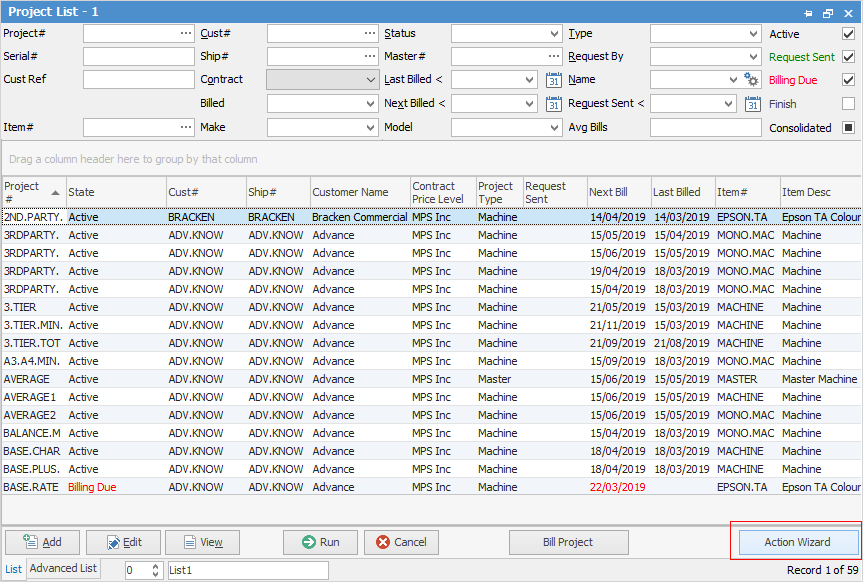 2.Choose the relevant action and click next 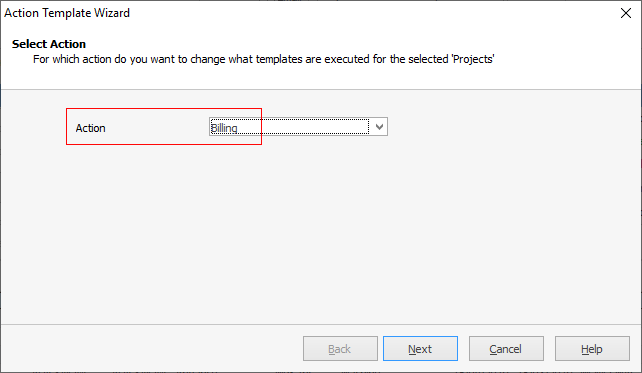 3.Select the following option. 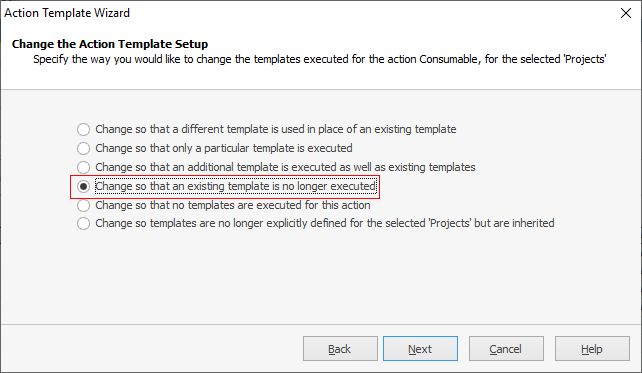 Click Next, then choose the template to unlink. Click Next and Finish. |
Further information
Template Rules and Action Wizard
How to
Generating Jobs Using Project Templates
Non Billing Template Setup and Usage
Project Template Creation (with examples)
See all Templates that have been created
Use Template Merge Functionality