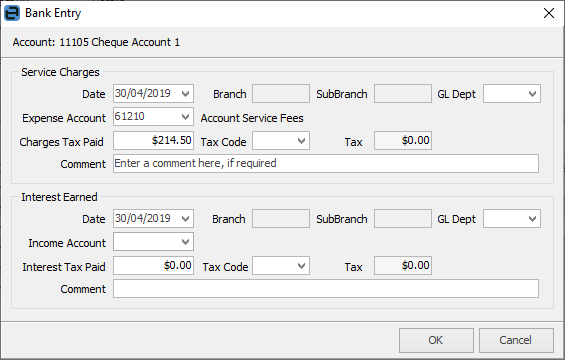
Entry of bank fees and interest is performed via the Bank Entry button at the bottom of the Bank Reconciliation screen.

1.Select the correct bank account and click Edit.
2.Click Bank Entry.

3.The date will default to the statement date selected in the bank reconciliation header. This date can be changed.
4.Select a GL Department for the expense or income side of the transaction.
5.Select the expense or income account for this entry. If an account is chosen for the fee entry and it is not an expense account, the following message will appear – this is just confirming that this is correct. If so, click Yes.

6.Enter the value of the bank fee or interest as the tax paid value.
7.Select the appropriate tax code and the tax amount will be automatically calculated.
8.Enter a comment.
9.Click Save – the entry will be added to the details grid in the Bank Reconciliation screen and will automatically be reconciled.
 |
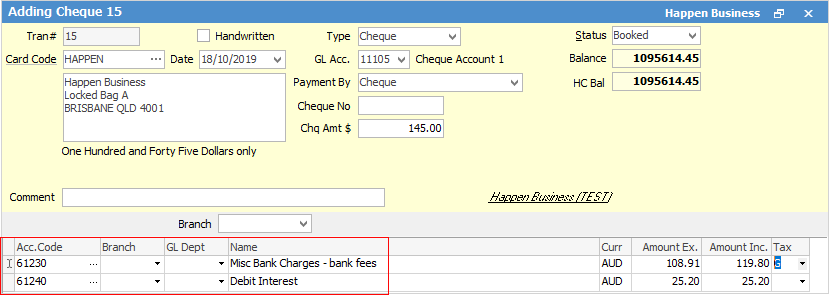
Bank fees can be added via the Cheque Book if preferred. In some companies, one person will check and enter the transactions from the bank statement and another will complete the bank reconciliation.
 |
If an entry has been confirmed in a bank reconciliation, it cannot be cancelled or reversed without cancelling the bank reconciliation. You can raise a new bank transaction and backdate it to the same date for the same value in reverse (as long as the period is still open). This will then need to be included in the bank reconciliation.
Further information
Bank Reconciliation Details Grid
Enter Initial Bank Reconciliation
Locate a Previous Bank Reconciliation