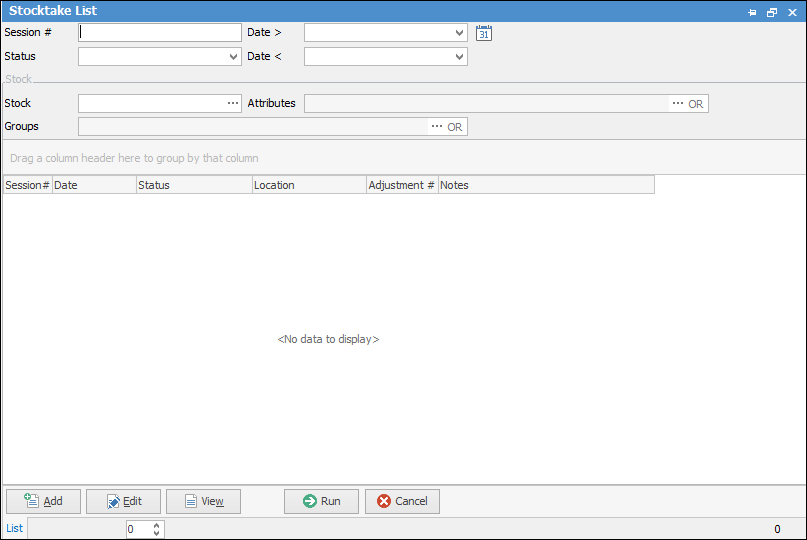
On the ribbon, go to Stock > Stocktake.

An empty Stocktake list will be displayed.

|
As with all other lists in Jim2, pressing Run will display all stocktake sessions, while various criteria entered in the header will filter the display, as shown in the example below. |

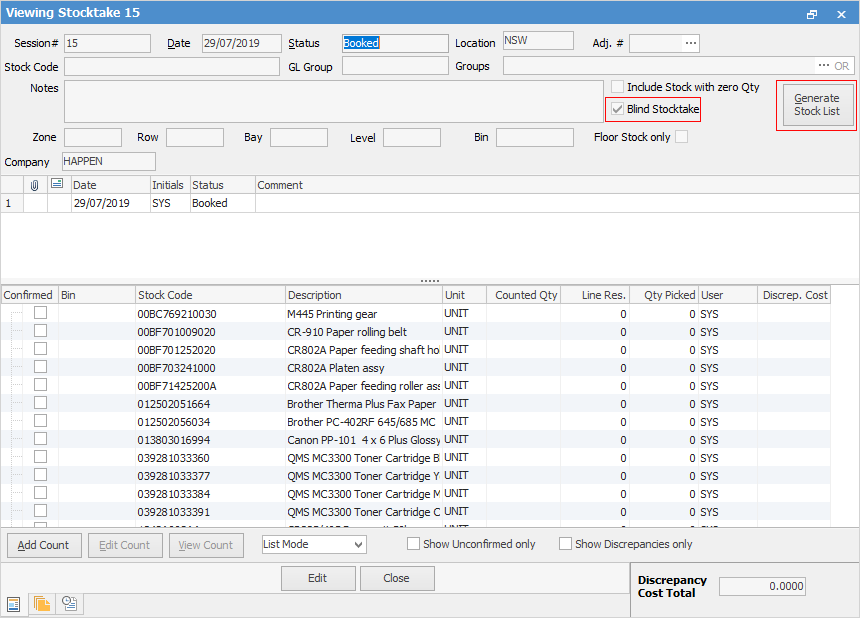
Click Add to create a new stocktake session, then click Generate Stock List. A new stocktake session will be created defaulting to the user's current stock location. Confirm location and date and enter any additional selection criteria such as Stock Code, GL Group, Stock Groups, etc. This uses normal Jim2 group methodology.
|
When you add a stocktake session, you can change the date at any time before you set it to Finish. |
For example, click Blind Stocktake. This type of stocktake will produce stock count sheets for users to fill in, not knowing what the quantity should be.
Click Generate Stock List.

If Include Stock with Zero Qty is ticked in the header, any stock with no location will show in all locations, ie. if you select NSW location and tick as mentioned, any stock that is not in a location will show in the stocktake list.
Stock never transacted against will show in all locations.
Stock that has had transactions but has none on hand will show only in the locations transactions were from.
In the footer there are checkboxes for Show Unconfirmed only and Show Discrepancies only. Once counts have been added, ticking either of these boxes will show only those unconfirmed or with discrepancies.
When in a stocktake session, the Discrepancy Cost column (at far right) is calculated using an average cost. Once the stocktake is confirmed and the stock adjustment has been raised, it will use the exact cost of the stock being written off, as this can vary between different purchase order receipts.
|
Once a Stock List is generated, all stock in that list will be locked. The purpose of the lock is that a stable snapshot is required during the stocktake session. No transactions can be performed against any stock in the list until either the stocktake is completed and the status changed to Finish, or the stocktake is performed and the status changed to Cancel.
For this reason, it is good practice to create a number of smaller stocktake sessions rather than one large one. This is easily achieved by using a combination of Locations and Groups. Furthermore, it is recommended to perform any major stocktake outside of business hours, to prevent impacting normal business activities. |
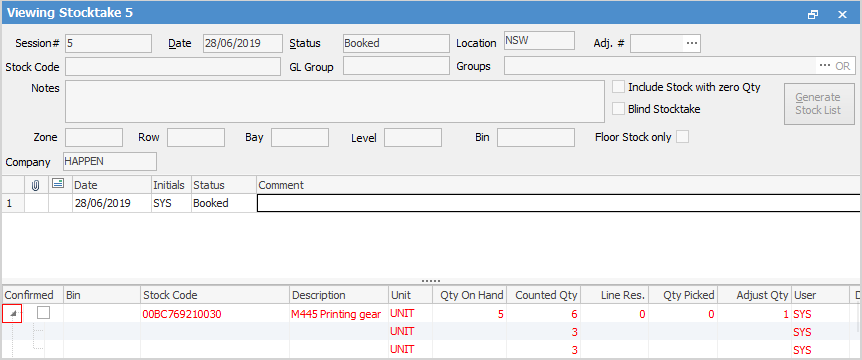
Multiple users from multiple computers can add their counts into the same stocktake session and same stock code at the same time. The stocktake session is not edited to add a count. The user right clicks on the relevant stock code and adds their count to the count window. The arrow on the left hand side expands to show the various count records for each stock code.

How to

