Dispatch can be found on the ribbon, under Jobs > Dispatch.

 |
Note: By default, the dispatch list will only display jobs that are less than 100 days old, based on the date in. Should you wish to see more, a global variable can be added to accommodate this via Tools > Global Variables:
 |
1.Click Dispatch on the ribbon and the Dispatch List screen will appear. Upon opening, the list will automatically run, based on jobs which are:
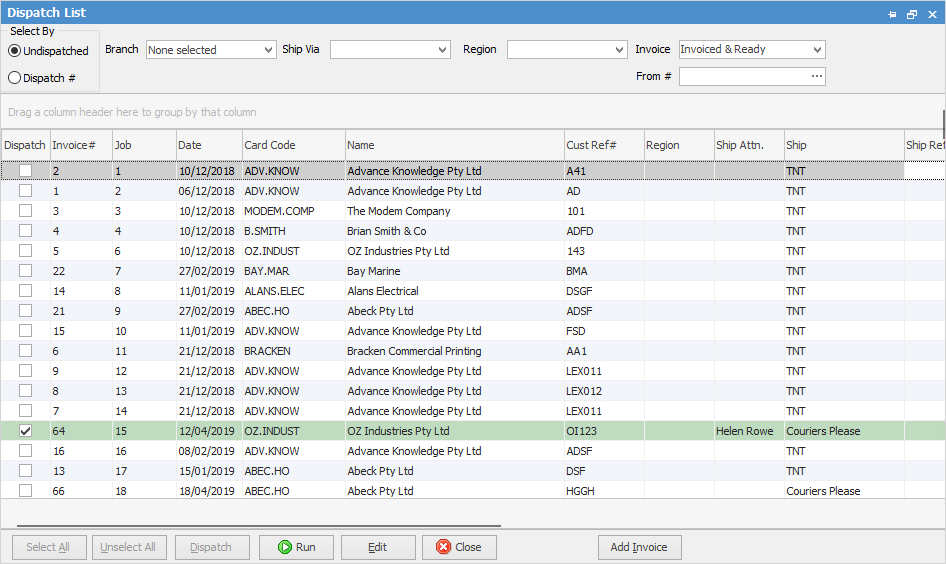
▪invoiced and ready
▪not previously dispatched
▪Branch not selected (if branches are enabled)
▪Ship Via not selected
▪Region not selected.
|
A dispatch list can be pinned, however it cannot be renamed, nor can a refresh time be set. |
2.Enter any other information, then run the list again.
Field |
Explanation |
|---|---|
Branch |
Choose a branch, or leave blank. |
Ship Via |
Choose the ship via method, ie. TNT, Couriers Please, etc. |
Region |
If regions have been set up, select the appropriate region, otherwise leave blank. |
Invoice |
Choices: All, Not Invoiced, Invoiced & Ready, Picked (note, Picked only works if the company is licensed for Advanced Warehouse Management). |
From # |
Select the appropriate cardfile (this field denotes the customer or site that this job will be shipped to or collected by upon completion), based on the Ship# on the job. |
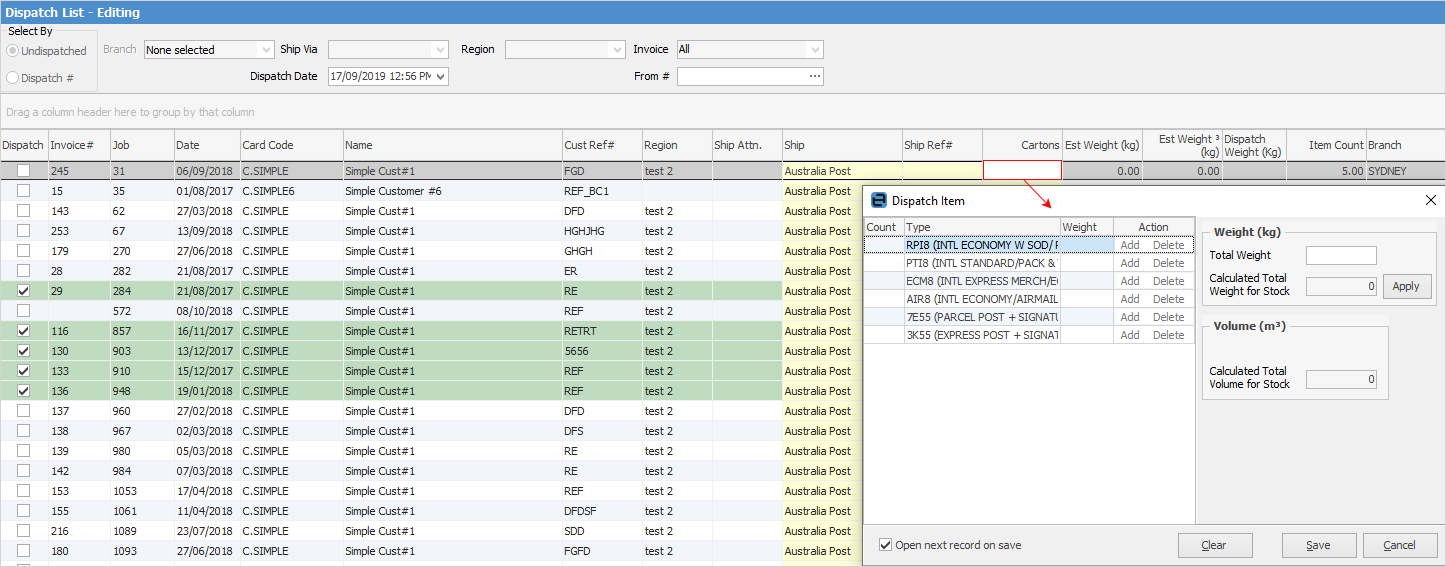
The Ship, Ship Ref# and Cartons fields can be edited (fields will be coloured yellow). In the Ship field, change the ship via (ie. from TNT to Couriers Please). A ship reference number can also be entered in the Ship Ref # field.
When selecting the ellipsis [...] in the Cartons column in Edit mode, select the Ship Via Item Types, ie. choose the type of carton, and add further information.
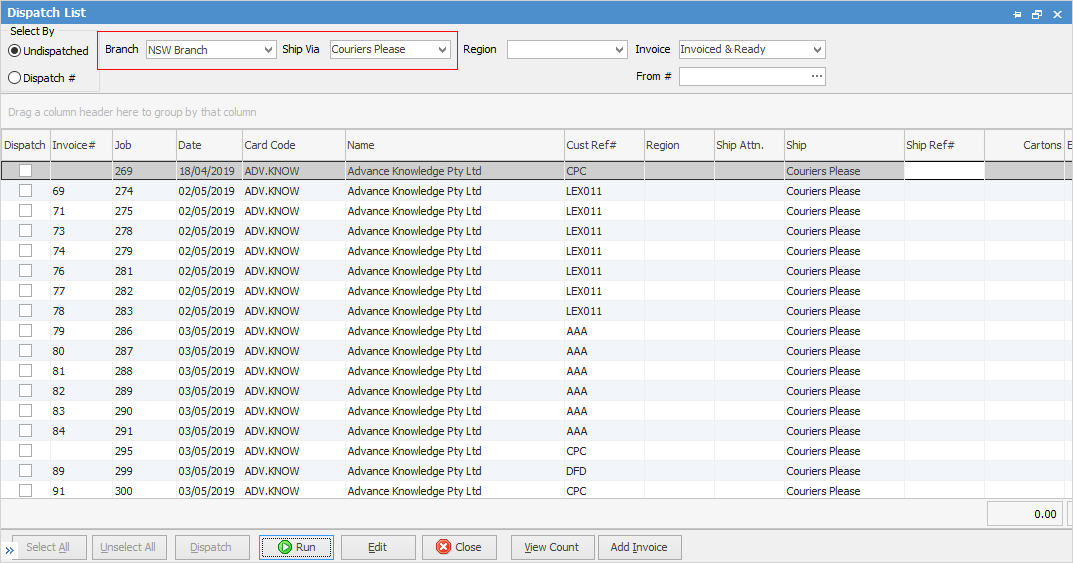
The example below shows the results for invoiced and ready jobs in the NSW branch, which are to be shipped via Couriers Please.
3.Click Edit, in order to proceed.
4.Tick off each job to be dispatched, or click Select All.
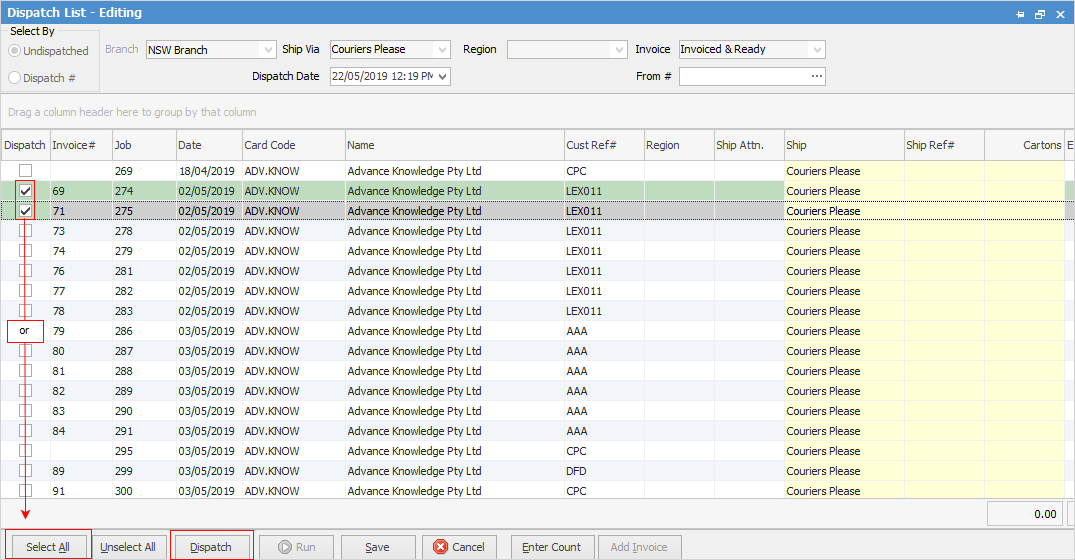
5.Click Dispatch (in the footer) to create a Dispatch session for the chosen jobs. This can be saved at any time prior to creating the session, to be continued at a later time.
Upon selecting Dispatch, a dispatch session number will be created, and the dispatch list for that session will open.

6.The dispatch session is now complete, and can be printed or exported as required.
Further information