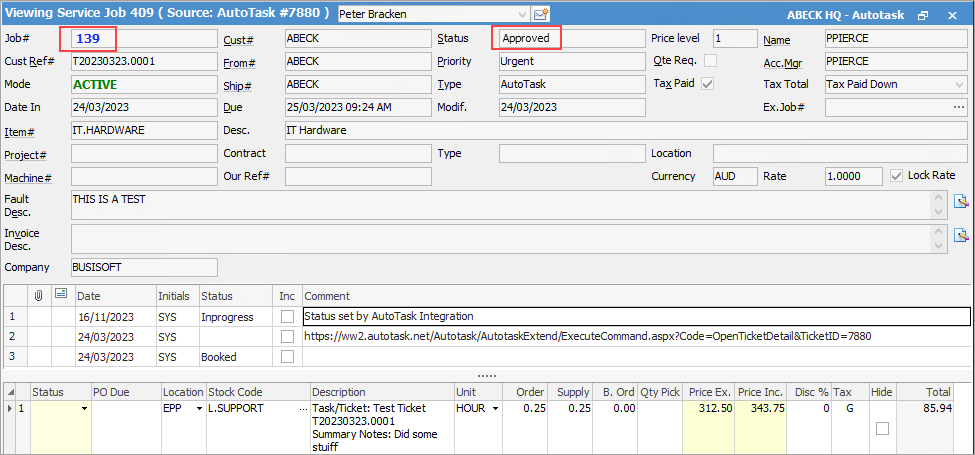
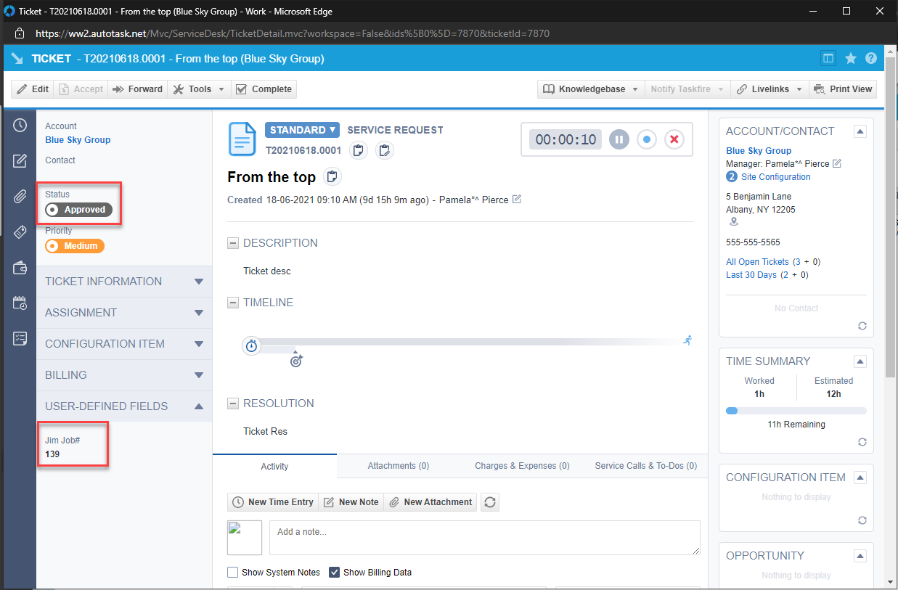
Tickets created in Autotask are synced into Jim2 via scheduled polling. Once created, the Jim2 Job# is updated into the Autotask ticket for internal reference.
As Billing items on the Autotask ticket are posted and approved, the billing stock and actual labour time is added to the corresponding Jim2 job.
Before the Jim2 job is invoiced, the Autotask posted billings should be invoiced in Autotask.
When invoiced in Jim2, the Jim2 invoice number will be synced in as the Autotask invoice number.
Tickets with Billing over longer time periods There will be times when a ticket is left open, and billing items are posted, approved and invoiced over a period of months. If, during a billing item sync, the Jim2 job matching that ticket has been invoiced, a new Jim2 job will be created. The Autotask ticket will then be updated with the latest Jim2 Job#. This is ideal for project billing. |
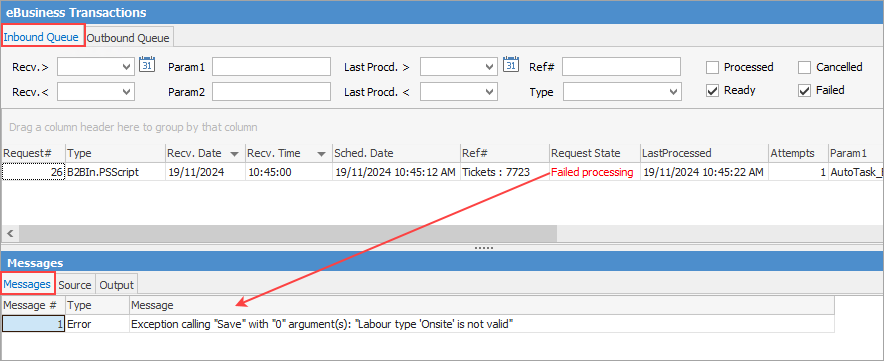
The eBusiness queue gives you visibility of data transactions in and out of Jim2 and Autotask, and it is very helpful in initial setup troubleshooting.
In the example above, you can see the Labour type 'Onsite' is not valid. In this instance, we would go into Jim2, fix the issue, then right click Queued Transaction and ReProcess.

Each time the job processes, any additional issues will be highlighted and detailed in the message section. Add the required data or update you mapping until tickets begin to flow into Jim2 without assistance. The queued transaction will move to a status of Processed when successful.

You will also notice the Source tab next to the Message tab. This contains the transformed data coming from Autotask that is being inserted or updated in Jim2. This is purely informational, and may help with initial troubleshooting. |
Header and stock grid 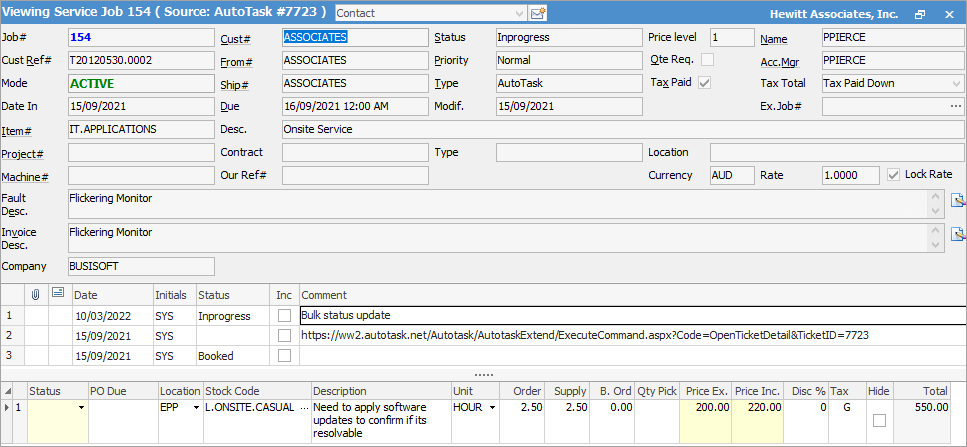
Actual labour grid 
Jim2 list using the new job Source option 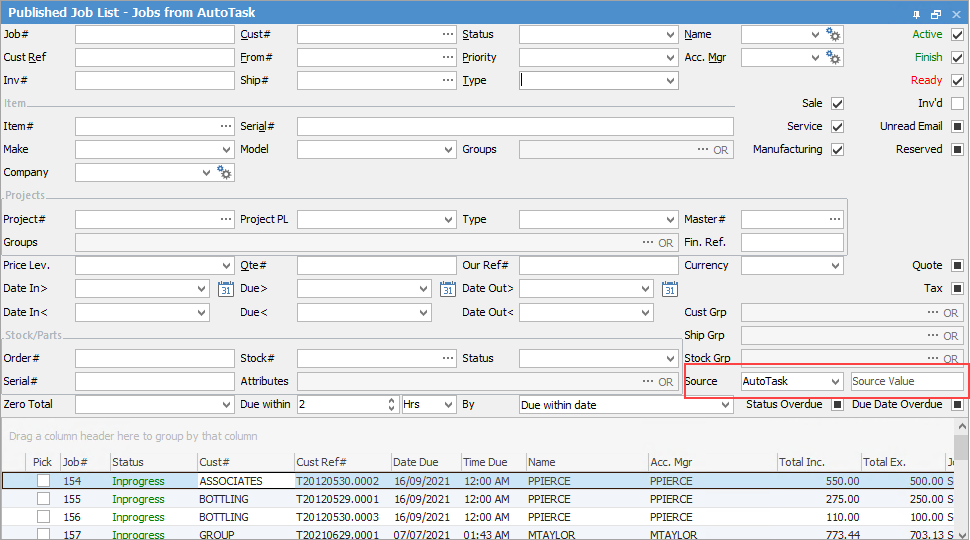
 |
Further setup information
Autotask Connector Lookup Mappings
Autotask Connector Resource Mapping

