
Please follow these steps to set up MPS Connectors.
1.Open up the Jim2CM (Jim2 Configuration Manager). Select the Jes instance, then right click and select Configure.
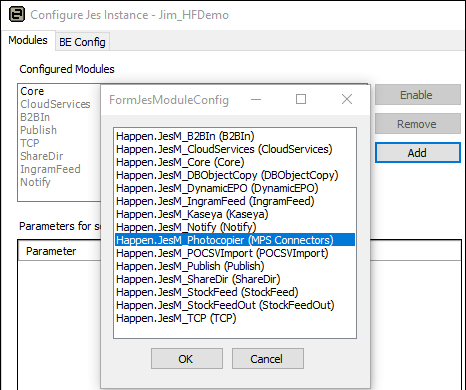
2.Select the MPS Connectors module. If it’s not in the list, click Add and add the Happen.JesM_Photocopier (MPS Connectors) module to your configuration.
3.Click MPS to set up the MPS Connector
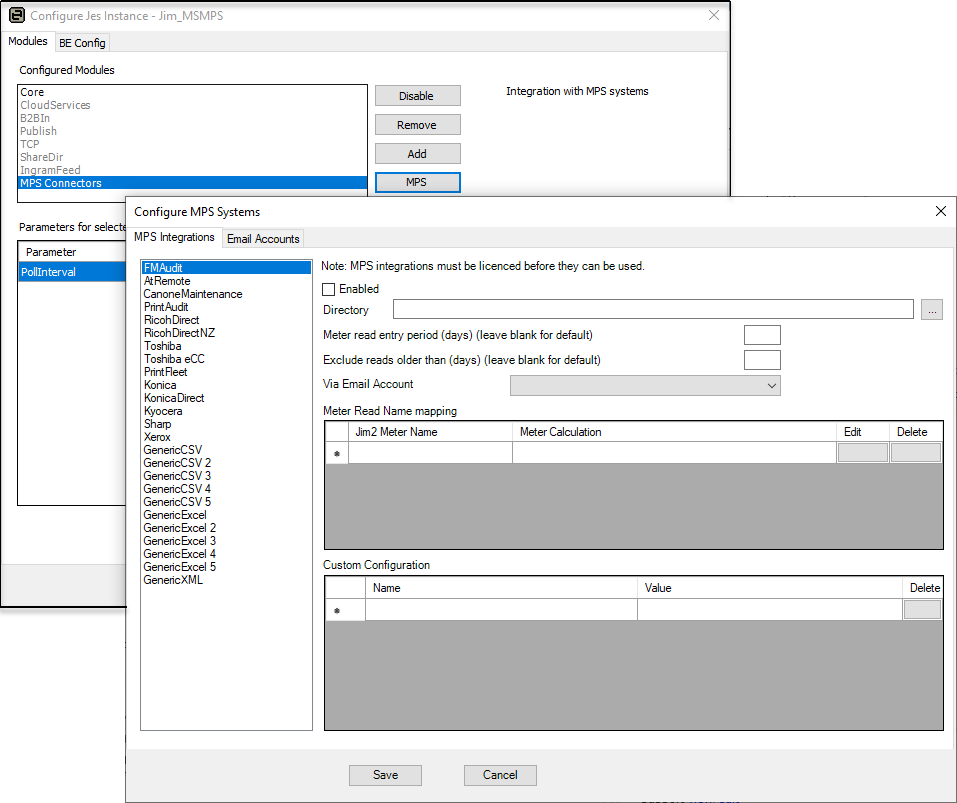
The Configure MPS Systems screen is displayed. This allows you to configure the MPS Connector selected. Enable/disable the MPS integration, and enter how the meter reads are received (email via a POP3 email account, or by file in a specified directory).
|
The MPS Connectors you use must be licensed. Jes will fail to start if you attempt to enable an MPS Connector you are not licensed to use. |

4.Set up the meter mapping or calculations (depending on MPS Connector).
5.Once complete, click Save.
6.Stop and Start the Jes Server.
After a Feed Has Been Received and Processed
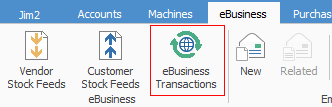
After the reads have been submitted, you need to go to the eBusiness Transactions Inbound Queue in Jim2 to diagnose any issues that might have occurred.
See Also