
Dispatch can be found in the ribbon, under Jobs > Dispatch.

1.Click Dispatch, and the Dispatch List screen will appear. Upon opening, the list will automatically run, based on jobs which are:
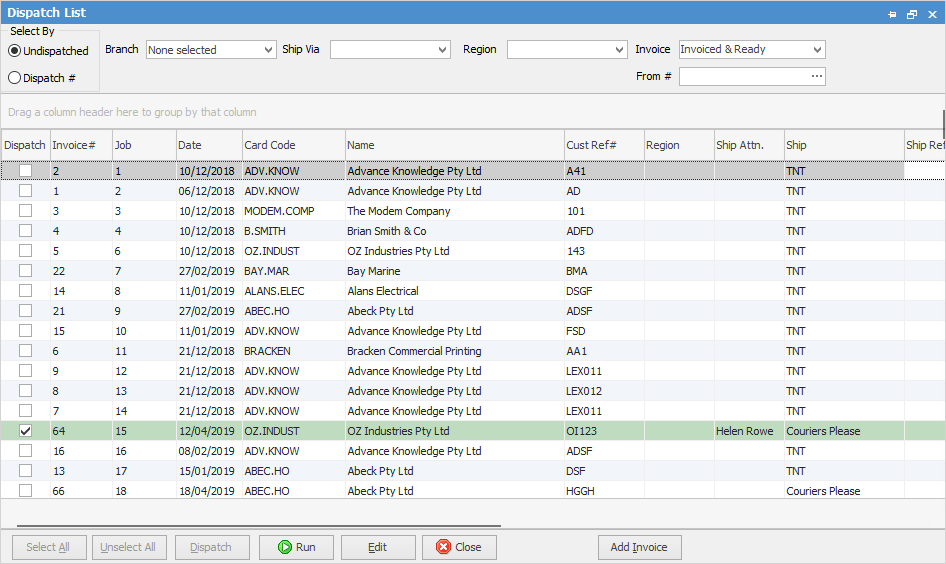
▪Invoiced and ready.
▪Not previously dispatched.
▪Branch not selected.
▪Ship Via not selected.
▪Region not selected.
 |
You can pin a Dispatch List, however you cannot rename it, nor can you set a refresh time. |
2.If necessary, you can fill in any other information, then run the list again.
Field |
Explanation |
Branch |
Choose a branch if required, or leave blank. |
Ship Via |
Choose your ship via method, ie. TNT, Couriers Please, etc. |
Region |
If you have set up regions, select the appropriate region, otherwise leave blank. |
Invoice |
Choose from: All, Not Invoiced, Invoiced & Ready, Picked (note, Picked only works if you are licensed for Advanced Warehouse Management). |
From # |
Select the appropriate card file (this field denotes the customer or site that this job will be shipped to or collected by, upon completion), based on the Ship# on the job. |
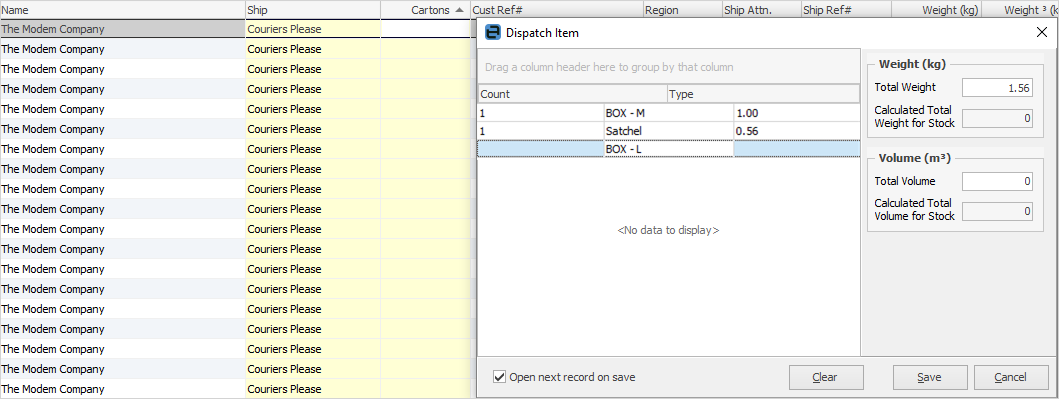
When you select the Cartons column of in Edit mode, you can select the Ship Via Item Types, where you can choose the type of carton, and add further information.
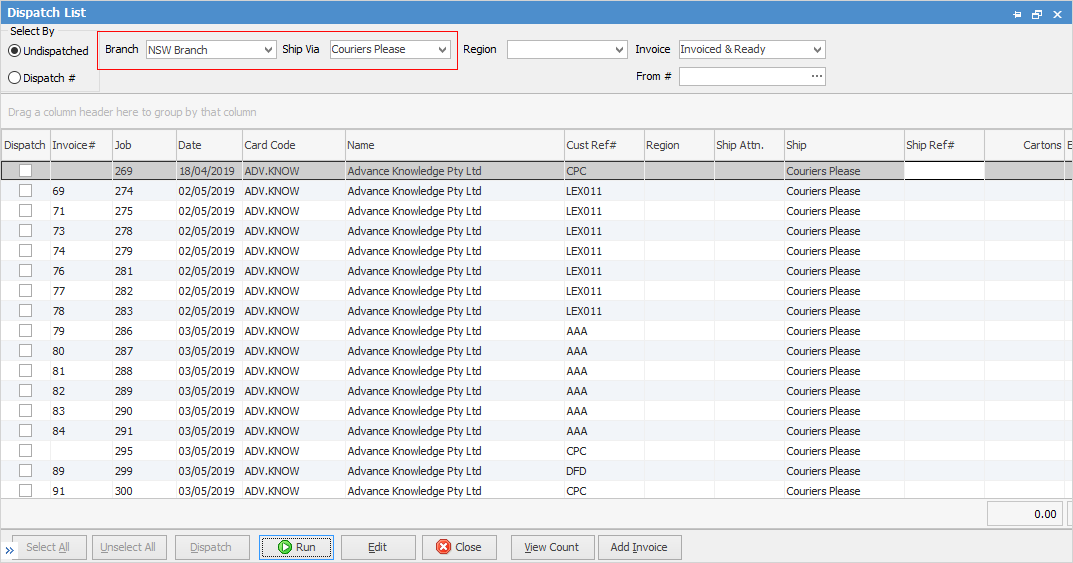
The example below shows the results for Invoiced & Ready jobs in the NSW branch, which are to be shipped via Couriers Please.
3.Click Edit, in order to proceed.
4.Tick off each item that you wish to dispatch, or click Select All.
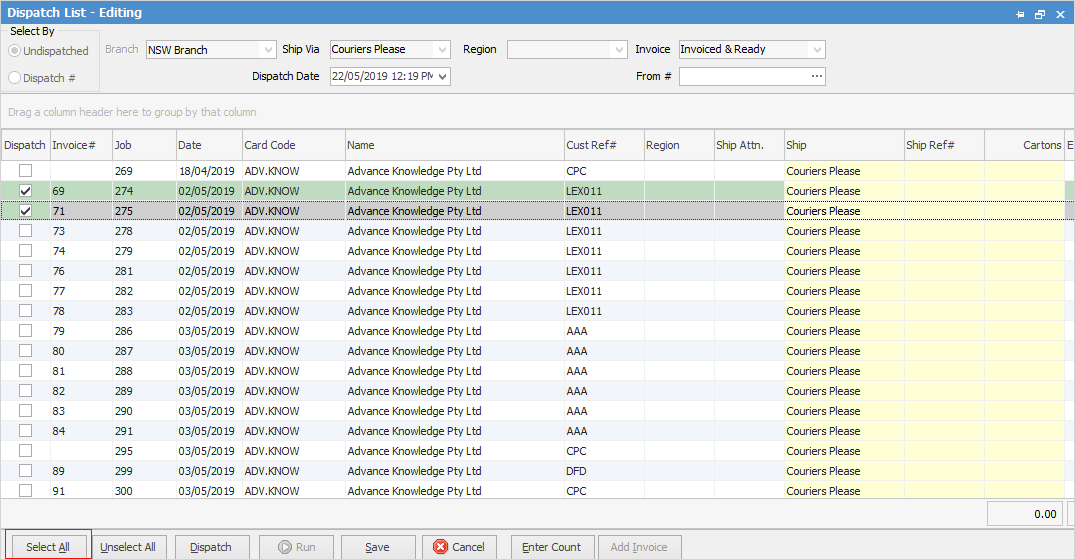
5.Click Dispatch to create a Dispatch session for the selected items. However, if you aren't ready to dispatch at this time, click Save. You will then be able to continue at a later time.
Upon clicking Dispatch, a Dispatch Session number will be created, and the dispatch list for that session will immediately open.
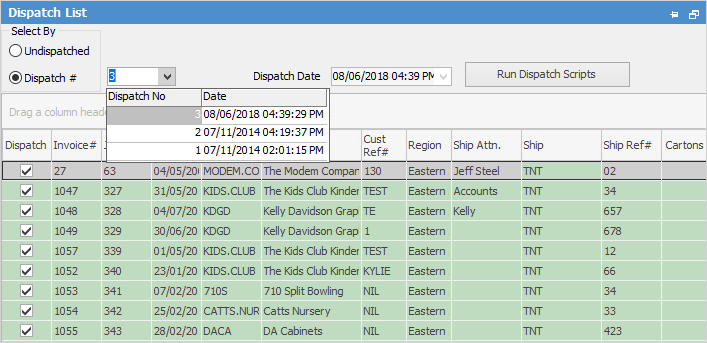
6.The Dispatch session is now complete, and can be printed or exported as required.
Further information: