
This is an example of the ready-made a spreadsheet template (available from support@happen.biz) that will help you import your card file data. Simply paste your customer data into this table, matching your legacy database into the Jim2 CardFile fields, following the rules in the Preparation for Jim2 Implementation document which will be given to you by Happen Business. Email support@happen.biz if you don't have this document.
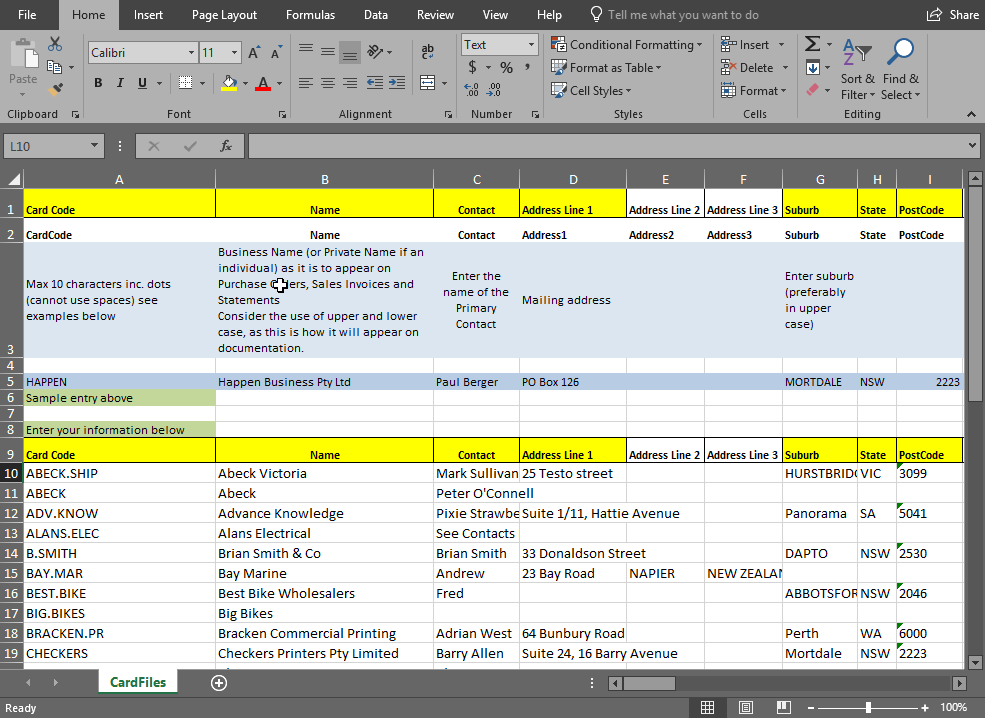
Not all fields are showing in this image
Please see Preparing CardFiles first.
 |
All yellow highlighted fields must be filled in. |
Save your template as a spreadsheet file (xlsx) and close a spreadsheet.
Now you are ready to do the import. It's best when doing the import (for speed and good database practice) to choose a reasonably quick machine/server,and not have users actually logged on to the database.

Go to Tools > Import Data.
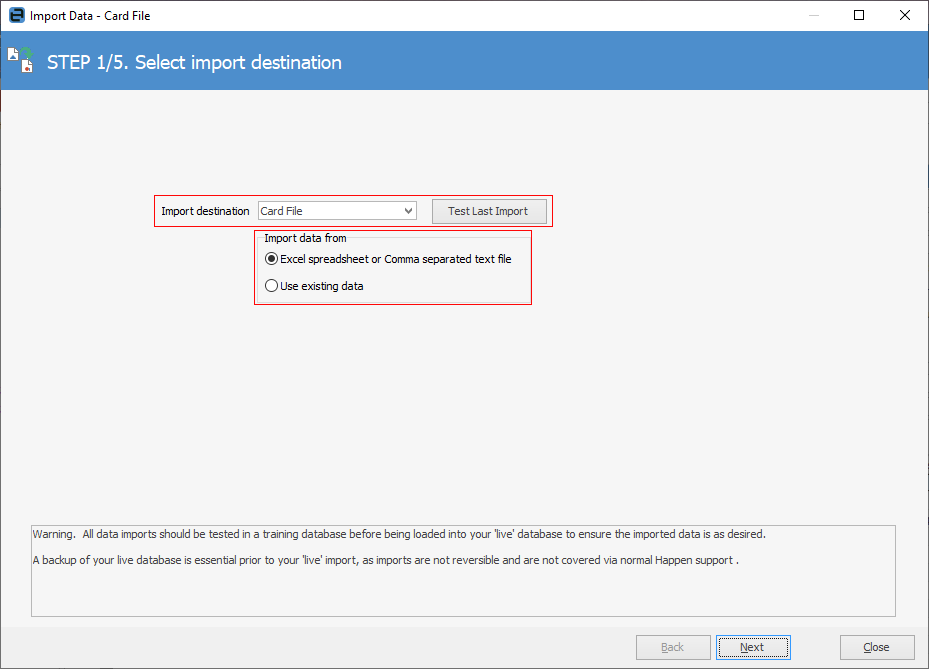
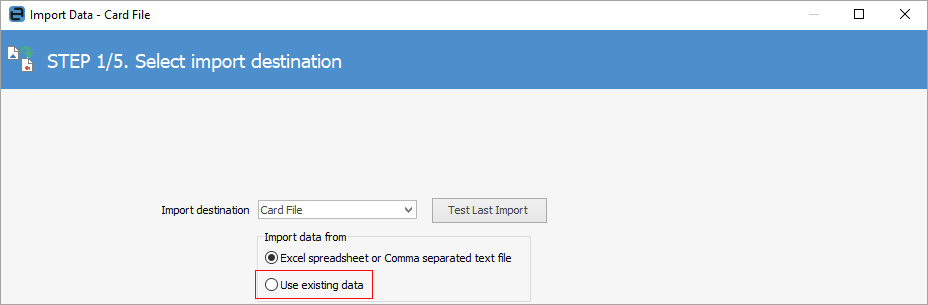
Select Import destination: Card File.
Import data from: a spreadsheet file saved earlier.
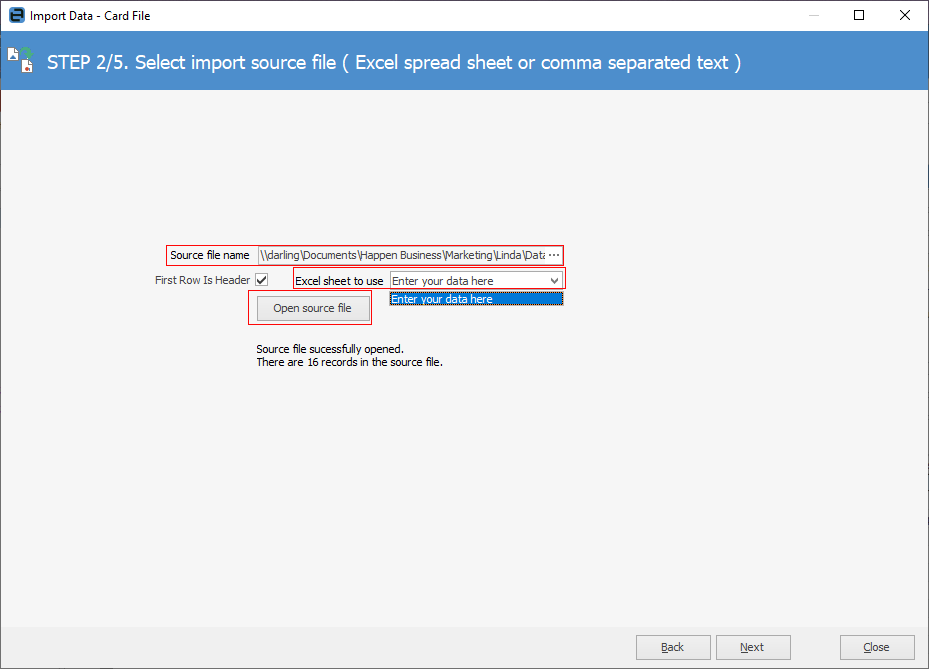
Source File Name: Where your saved a spreadsheet card file template is.
Click Open Source File for Jim2 to test opening this file and count the number of records to import.
Select the correct sheet from the a spreadsheet file to use.
Click Next.
The next screen is your Map Fields screen. From here match up the fields from your a spreadsheet file to where you want them to go in Jim2.
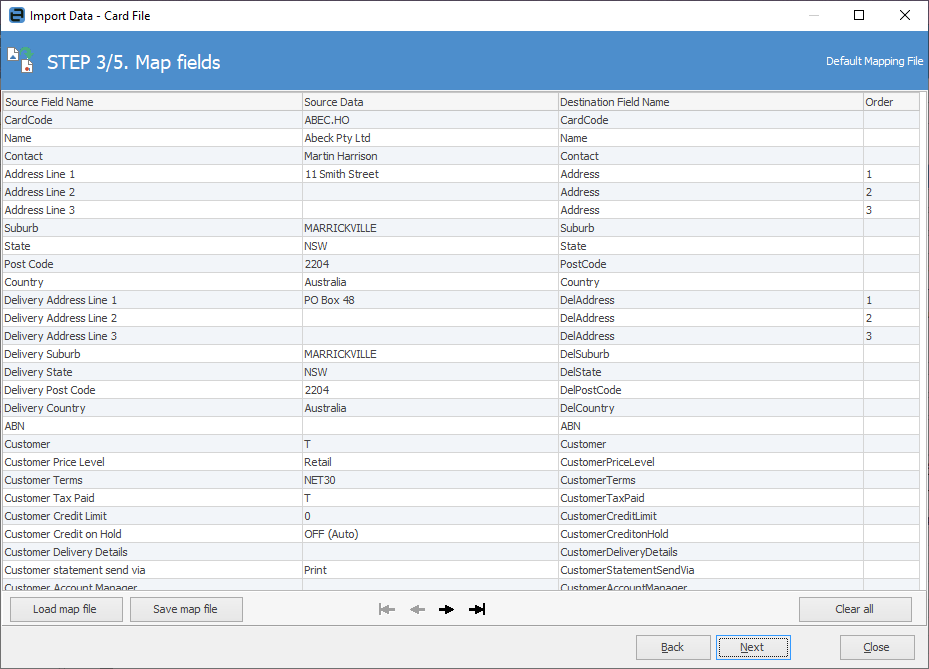
If you have followed the template correctly, the fields should match already. The Map Fields function is very simple to use. The Source Field reads from the a spreadsheet field headers, then loads a sample of data from the first record row.
If you don't have a lot of data in the first record, you can select the arrow below for Jim2 to read from any subsequent record, so you can see a sampling of the data to be sure you are matching up your fields correctly.

From the drop-down list in the Destination Field Name column you should select the corresponding field in Jim2:

You will notice that Jim2 has three Address Line fields, but only one Address field in the drop-down list. You can have as many address lines in Jim2 as you need, so just keep selecting Address and Jim2 will keep track of what line number it is in the order column.
If you have to clear the address lines, you will have to clear them from the bottom address line up, ie. you cannot clear Address Line 1 if Address Line 2, 3 and 4 exist.
You can load up previous mapping (think of them like pointer files for Jim2), or you can save your mapping file in case you have to do an import at some point again in the future. This is useful if the import attempt failed and you make changes to your Jim2 setups (not your card file data). You can elect to Use existing data for subsequent import attempts for this session.
 |
It is important to remember that the mapping file only saves the mapping from one field to another – not the actual data being imported. All the mapping file saves you doing is having to choose from all the drop-down list again, but you will still need your a spreadsheet files as data to import. |
After you have mapped your fields, click Next.
Click Load data from file (or Synchronise if you are updating records) for Jim2 to load the data from the spreadsheet and test it.
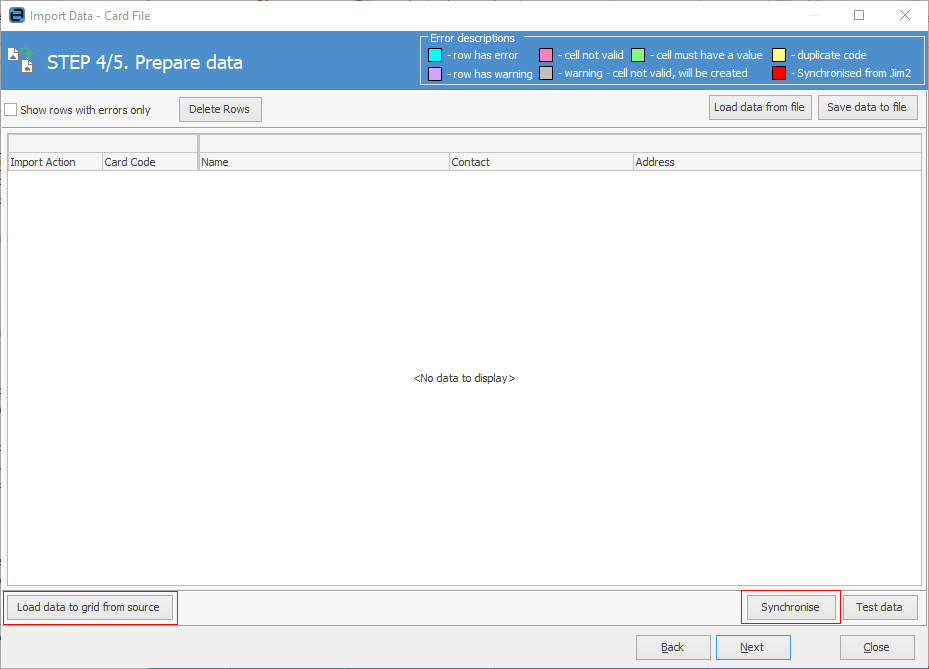
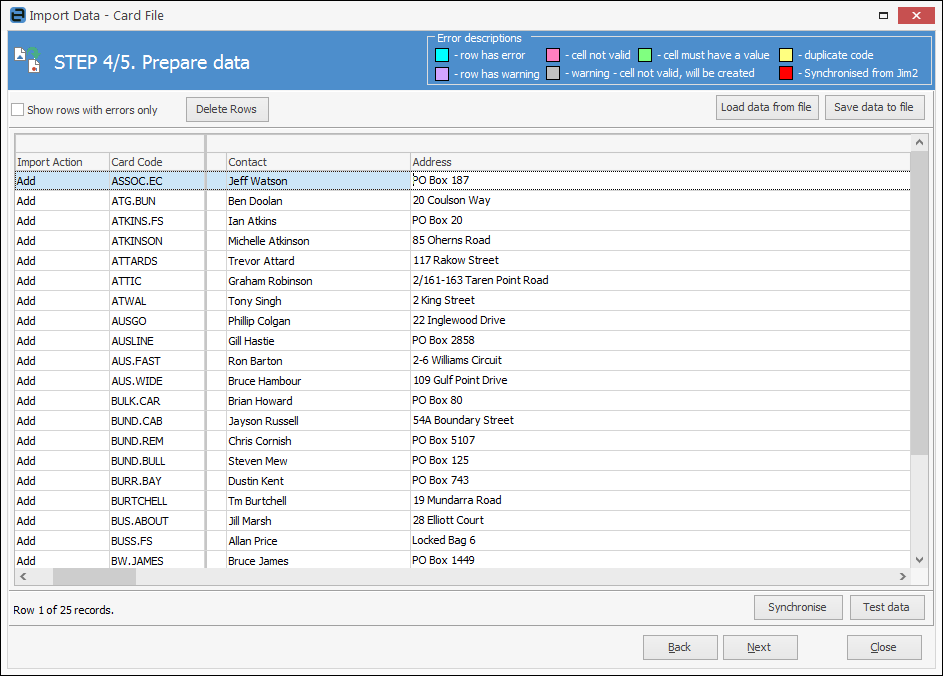
Jim2 will colour code anything that is erroneous – see Error descriptions, top right in the image below. You can either fix the errors within your a spreadsheet file, or directly within the following screen.
Use the drop-down list to select the values required to fix the record. After fixing any erroneous records, click Test Data for Jim2 to check the records again.
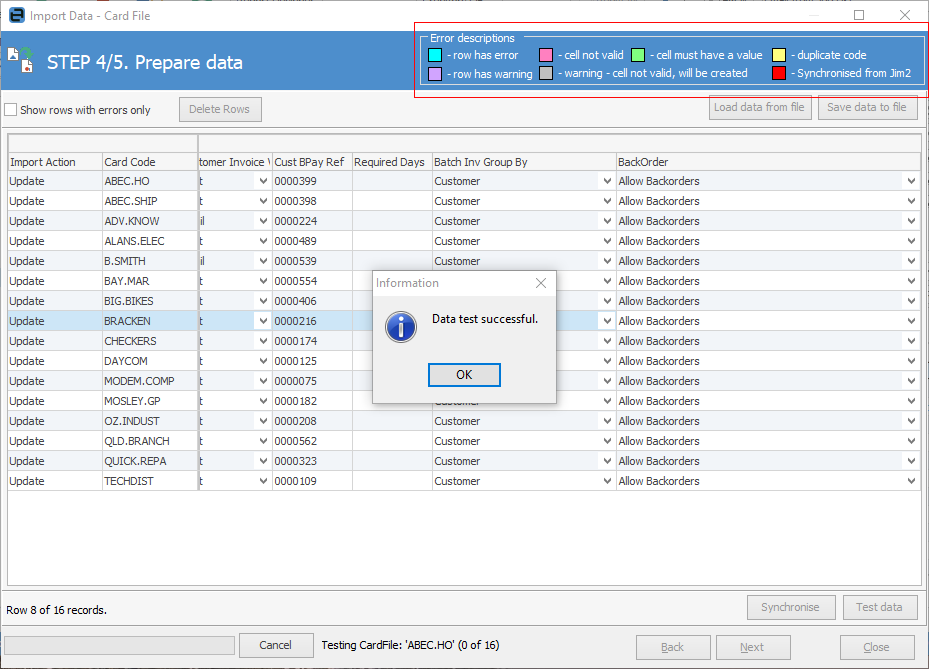
The test is successful, so click Next to continue.
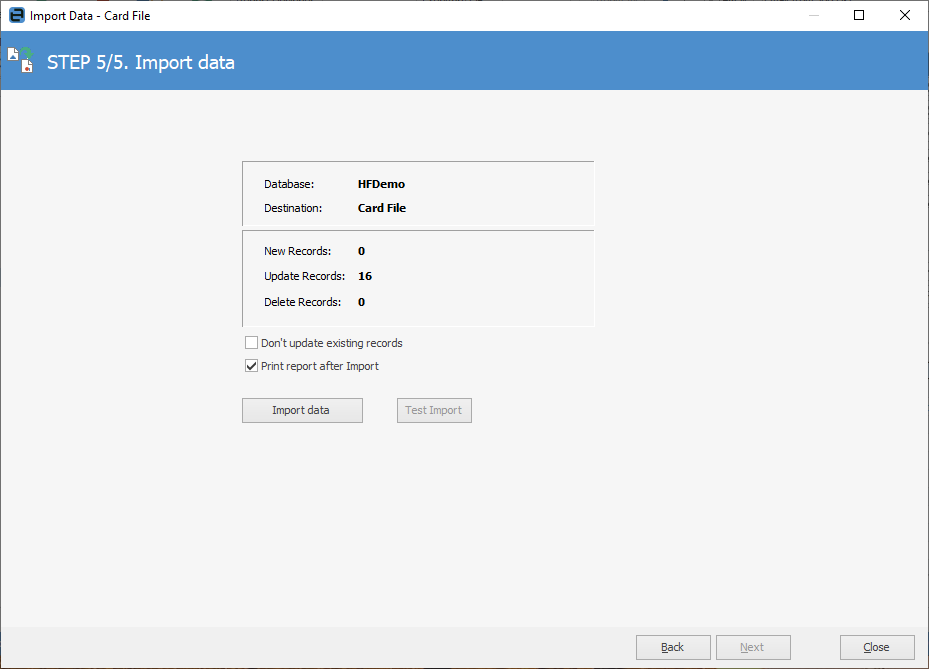
Up to now you've only been testing the data and not actually importing it. From this screen Jim2 will confirm once again what database and section you are importing into, as well as the number of records being imported. You can choose whether to update existing records (overwrite) by ticking/unticking Don't update existing records.
Select Print report after Import if you want Jim2 to generate a report listing for you on imported records. When you are ready, click Import data.
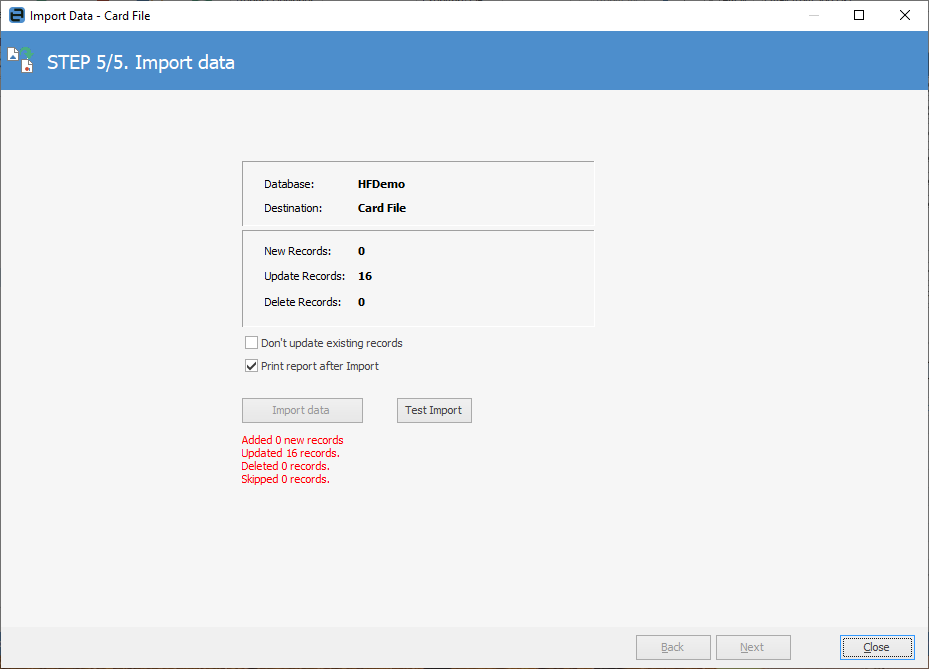
Jim2 will confirm how many records will be added/updated.
Click Close to exit the Import Wizard.
Further information: