
Each project that requires manual or recurring billing requires at least one billing template to be associated.
Any project that has a system type of Managed Service will automatically have a default billing template associated that is used for inheritance purposes, but cannot be used for the actual billing job creation process.
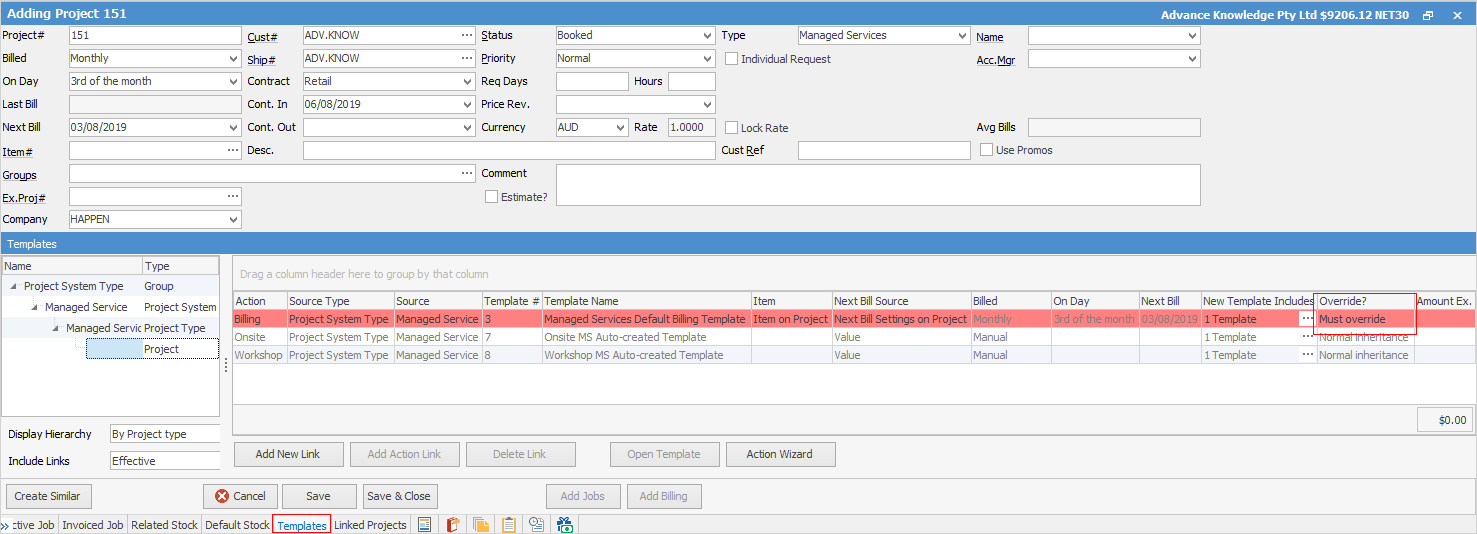
Create or open an existing managed services contract and go to the Templates tab.
|
Some letters in the field names within the header are underlined, eg. Cust#. Using Alt+ the underlined letter will jump to the field beside that heading. |
As per the image above, see that this new contract already has an association to a billing template, but the template has a setting of Must Override, which is a read only setting and is shaded red.
It is worth noting that double click on the default template to open it and see exactly what has been configured, as well as what values would be inherited from this template should it be used as an Included Template.
This means a project-specific billing template must be created before generate a billing job from this project.
There are two ways to achieve this, however the simplest way is to click Edit, then click the Action Wizard.
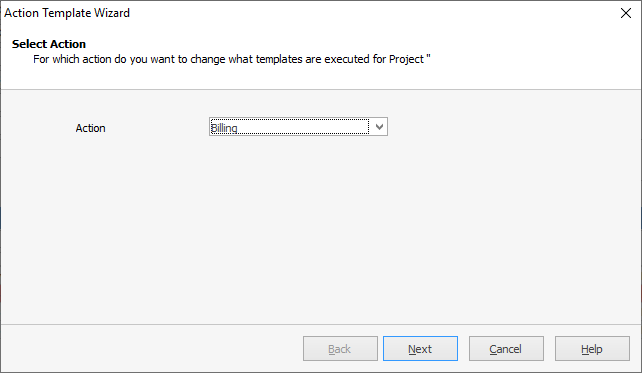
1.Select the Billing action:
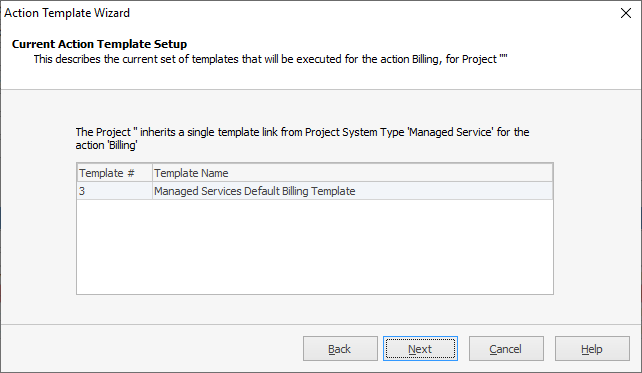
2.Confirmation of the default inheritance (this can be removed later) will display. Click Next.
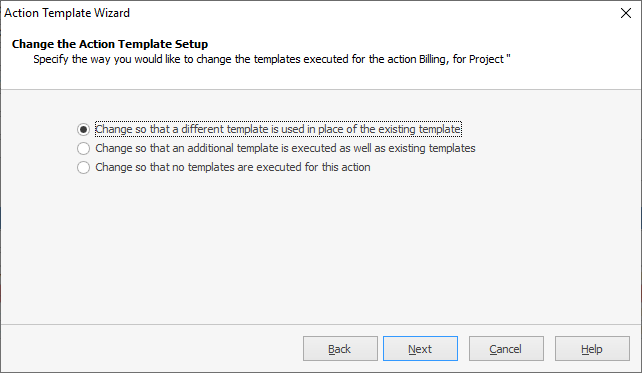
3.Template Setup – select Change so that a different template is used in place of the existing template, then click Next.
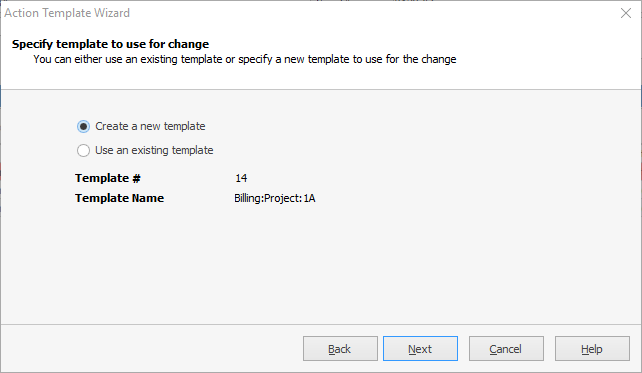
4.Select Create New Template – this will then initiate the new template creation:
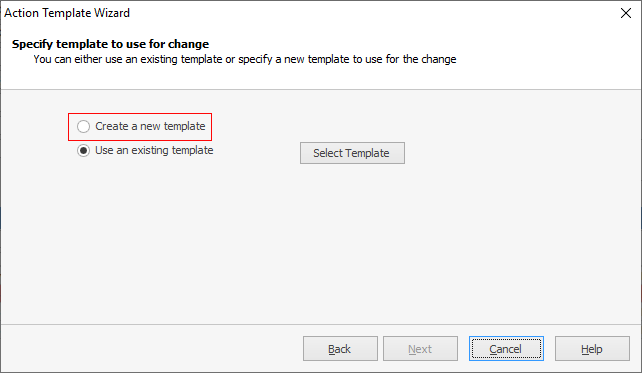
▪Take note of the values in the Preview that are being inherited.
▪Select Create New.
▪Tick Billing Job – This is important!
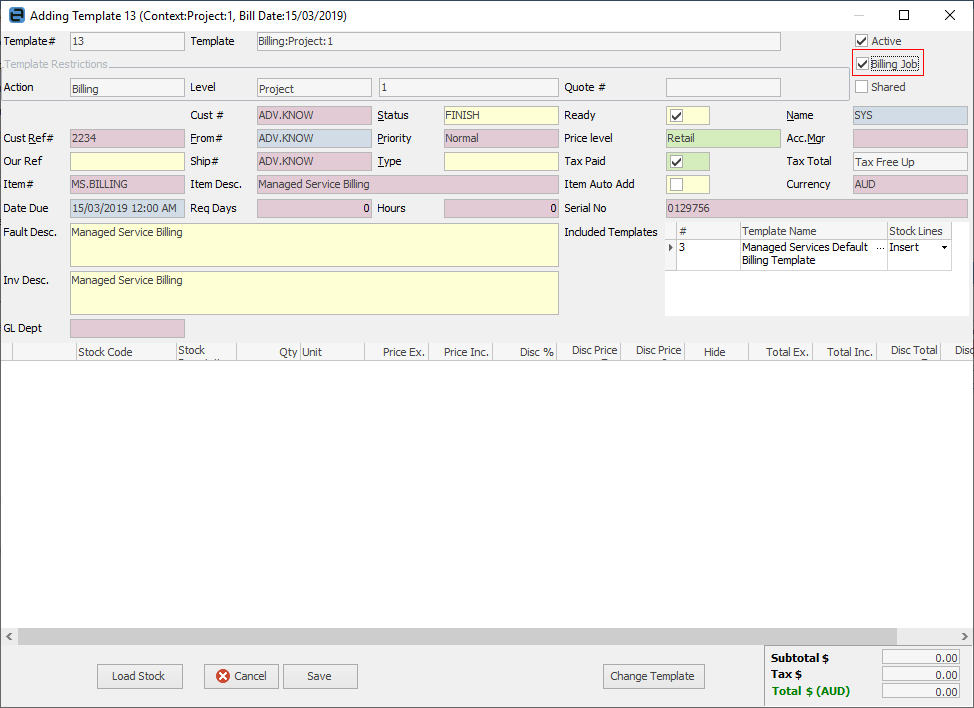
▪Enter any changes to the header values.
▪Add the stock to the grid (kits are supported).
▪Pricing can be overridden or inherited using the project contract pricing, or left to use the standard Jim2 pricing calculation when the billing job is created.
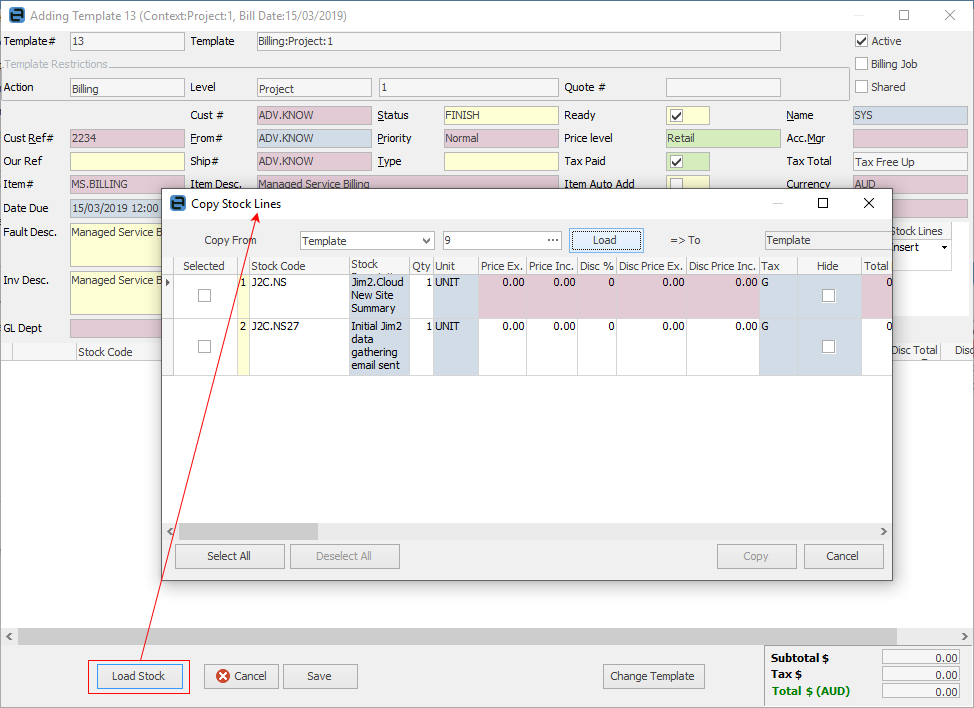
▪Either enter stock lines manually or use the Load Stock option to copy stock from an existing job/quote or template to the stock grid, quantities and pricing.
When adding stock manually and OK is clicked, the Add Stock Lines screen will appear, showing what has been chosen to add. Show attributes or delete stock from the preview at this point.

Once changes have been made, click View Results to see exactly what this template will use when creating a billing job.
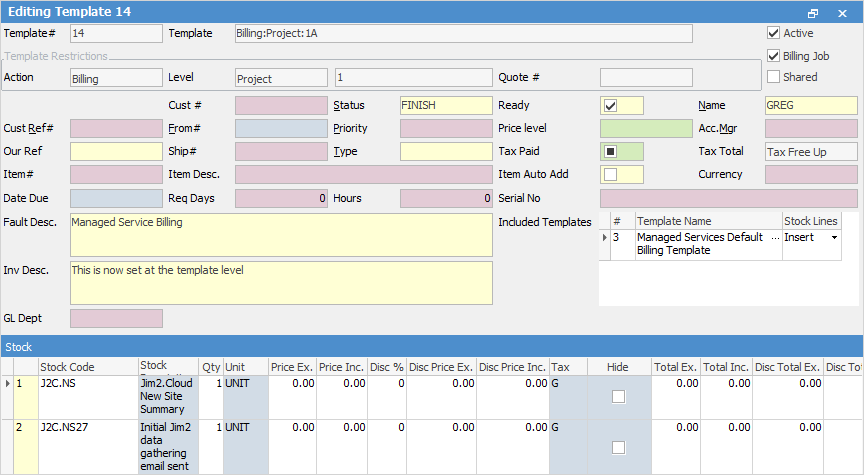
Click Save to return to the wizard, and confirmation of the choice made here. Click Next.
The Template Name has been created. This convention is recommended, but it can be changed at any time.
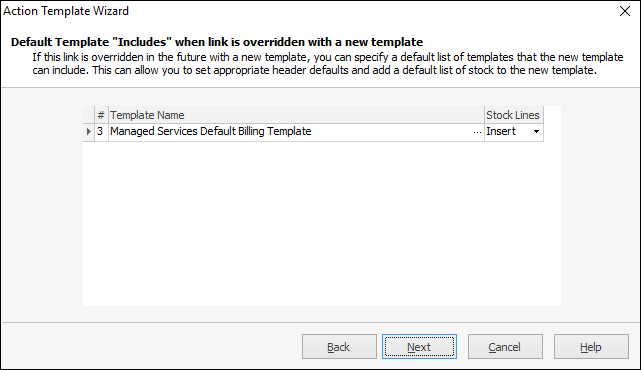
Note that the included template has been left to save time and future administration, by inheriting the default values from the Managed Services Default Billing Template.
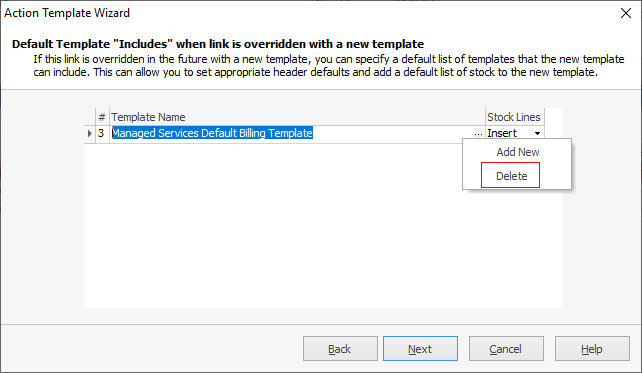
This can be removed by right clicking on the Included Template name and choosing Delete.
Select when this template will be executed.
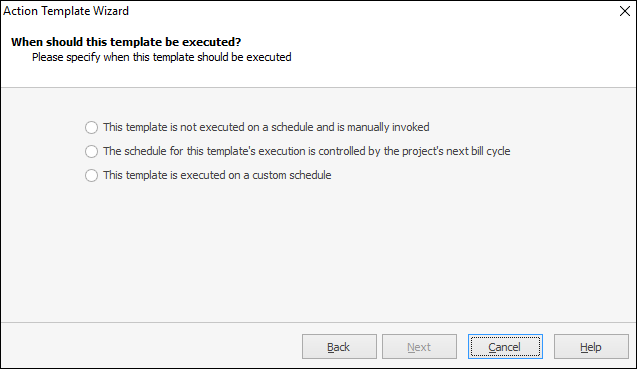
The schedule can be inherited from the project if desired, but there are cases where this is not appropriate and a custom date needs to be configured. If billing manually from the contract, select the manual (top choice) option. Click Next.
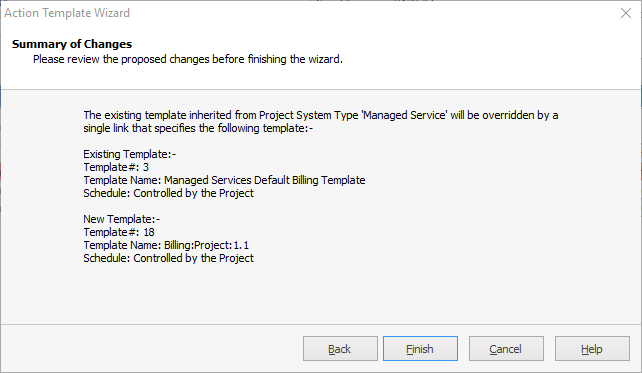
Confirm the configuration by clicking Finish, to return to the Project Template tab.
Click Save, which means it is now possible to bill from the project.
Generating the billing job can be performed via:
Right click on the project in a Project List, select Billing and choose the option required.
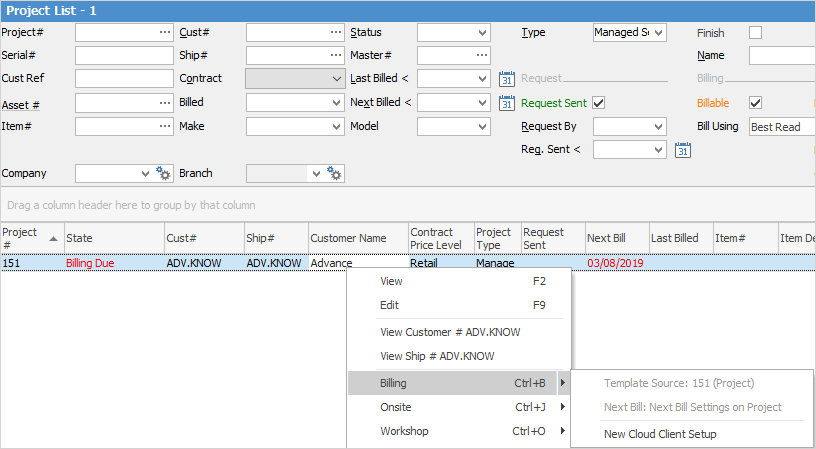
From within the project:
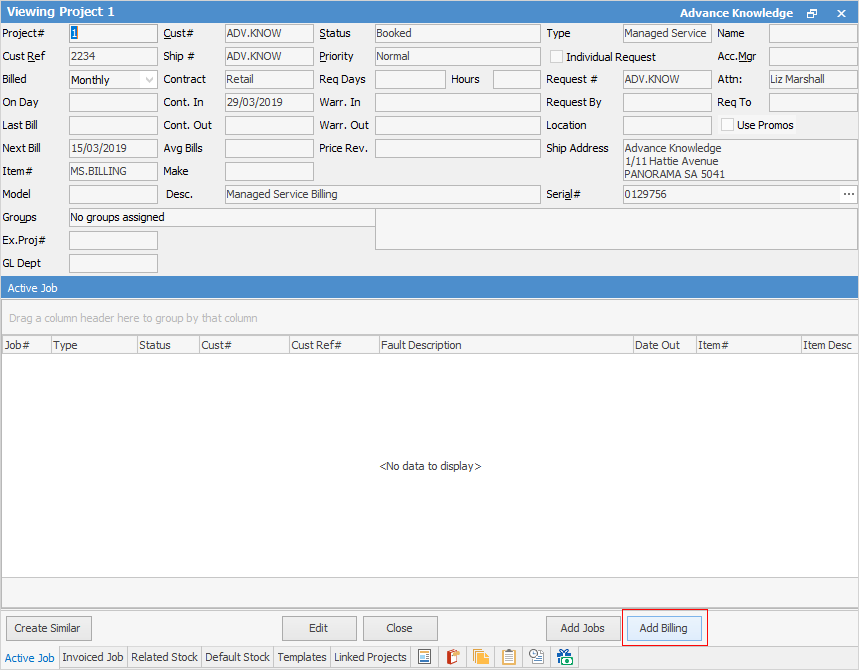
|
Generation of billing jobs with recurring schedules cannot be performed at job level – they must be created from the project or Project List. |
How to
Project Job Implementation Templates Example
Project Template Creation Example 1

