Show/Hide Toolbars

Jim2® Business Engine Help File

Once a job is created, it can be faxed, printed or emailed using any of the available job reports from the Report menu on the ribbon.


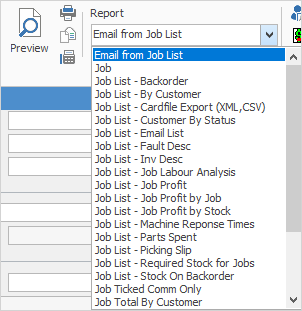
Open the job, go to the Report dropdown list and choose which job report style to use for the list.


Info

Jim2 is supplied with standard job reports suited to most businesses. Other job reports can also be designed via Jim2 Report Designer.


jobreports2


Once job report has been chosen, select the print option to use – Email, Fax (if available), or Preview (allows you to view the report first). From within the Preview and Print screens it is also possible to save the report as a file.


savetofile


Info

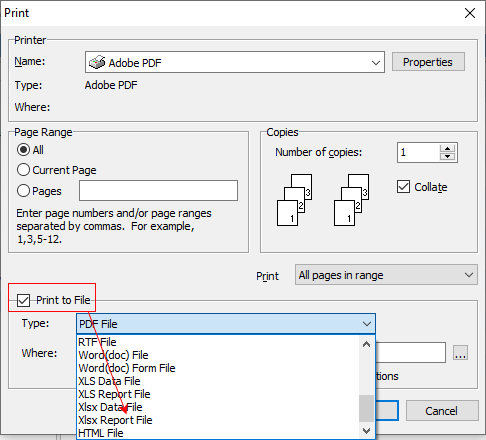
The job report will now be printed. A standard Windows print option screen will appear, showing the print default device set for the workstation (as defined in Jim2 Options), and any other print option available. An alternate print option can be made by choosing from that list, including print to file.


How to

Add a Job

Add Comments to a Job

Add Document to Job

Add Freight to Jobs

Add Multiple Jobs

Add Stock by Multi-selection

Add Stock to a Job

Add Stock to Job When Insufficient Stock

Auto create purchase orders from Jobs

Create a Job from a Similar or Previous Job

Create a Job Template for Recurring Jobs

Create Back order

Credit an Overcharged Customer

Handle Part Delivery of Jobs

Job/Order Prepayments/Refunds

Mark a Job as Ready


Rent Stock to a Customer

Reserve Stock for a Job

Scan Stock into Jobs

Select Serial Numbers on a Job

Stock Availability Allocation Process by List

Stock Availability by Location on the Fly

Take Deposits from Customers

Unallocate stock from a job

Unlink a Job

Unmark a Job as Ready

Unprint a Job

Unreserve Stock for a Job

Use Comments to Track Work in a Job

Use Stock Lookup and Select

View or Edit a Job