Existing Jim2 user Migrating to MS Edition with Templates (Billing Templates)
This example is included to help existing customers that have been using jobs and the Create Similar function to manage the recurring billing of contracts, and are looking to move to the Managed Services feature to gain greater efficiency in the billing process. This example is designed to get up and running as fast as possible with the billing template process.
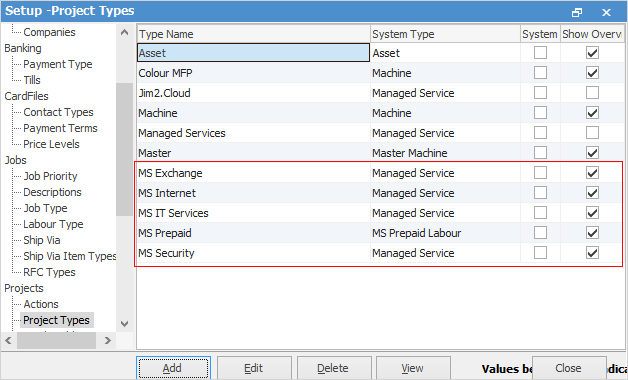
Create one Managed Service Type for each Managed Service offering. On the ribbon, go to Tools > Setups > Projects > Project Types and add the following (all should be of System Type Managed Service):
MS Exchange MS Security MS Internet MS IT Services Managed Service
The main implication of doing this would be that it is not possible to easily analyse actual labour/contract profitability at a product offering level, as actual time logged cannot be allocated to the individual parts of the Project. For example, how much actual time (and theoretical cost) was spent servicing one product vs another in the range, and how much was billed for each?
The up side is fewer Projects per customer, but this is not generally an issue because of the flexibility in which they can all be billed on the same monthly invoice using existing Jim2 bulk invoicing capability.
Once completed, move to the next step of creating customer Projects and Project-specific billing templates |
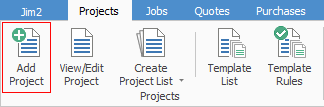
On the ribbon, go to Projects > Add Project
 ▪Create a Project, and update required header information as applicable. 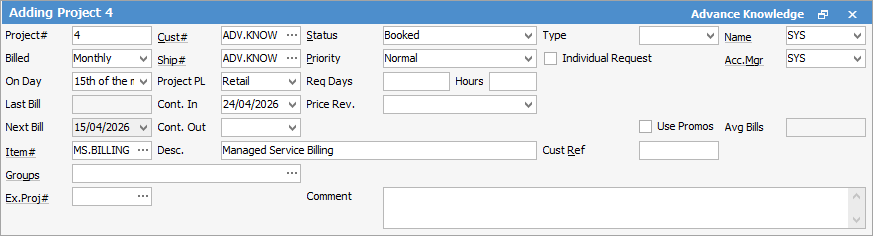
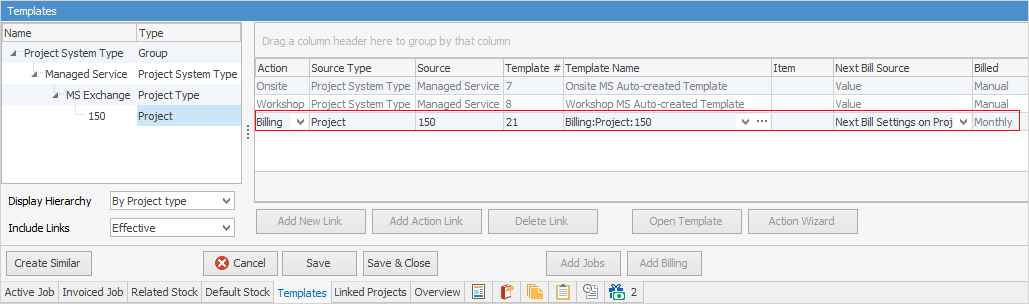
▪Click Save, then Edit. ▪Go to the Templates tab on the Project. 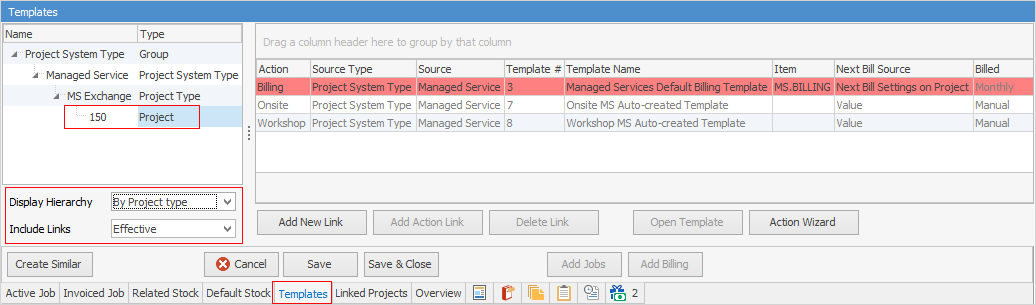 The Billing line is highlighted in red. This is to alert that a contract-specific version of the billing contract template needs to be created. ▪Click on the Action Wizard. 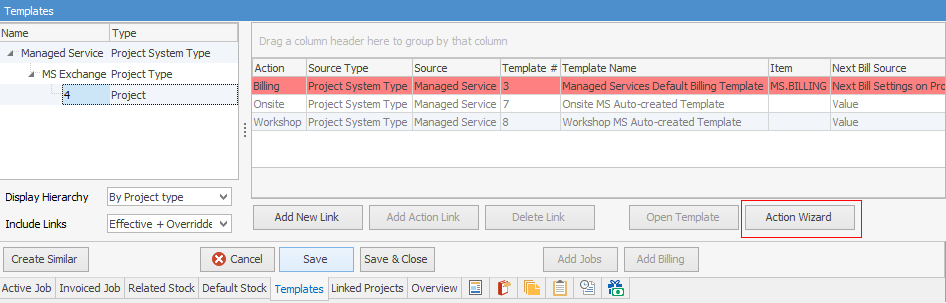 ▪Choose Billing from the drop down list. 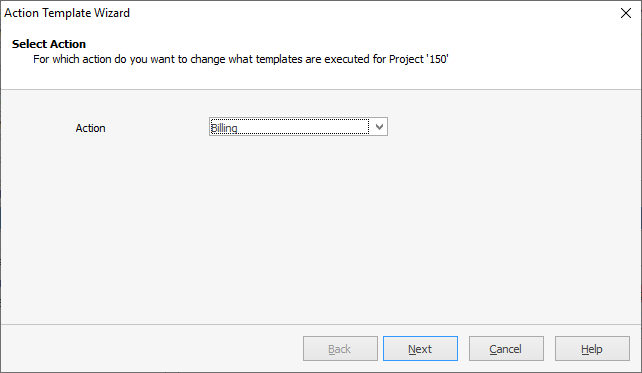 ▪Click Next. 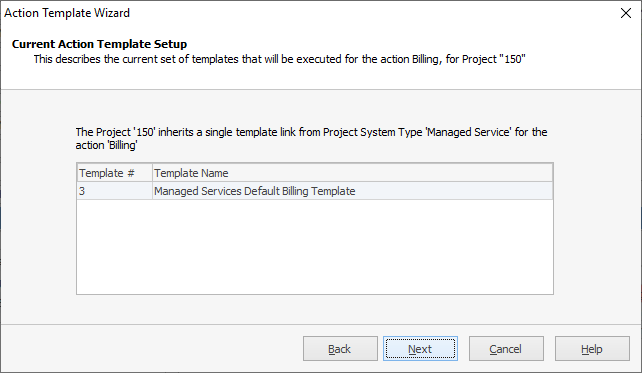 This screen is just advising that the values will be inherited (Current Action Template setup screen). Click Next. ▪Select Change so that a different template is used in place of the existing Template, then click Next (Change the Action Template Setup Window). 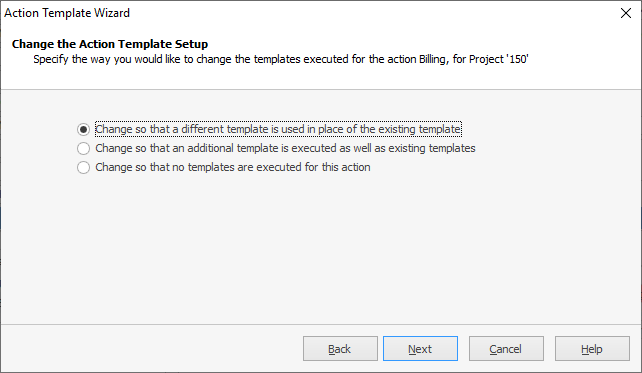 ▪Select Create a new template.  The new template will open in Preview mode. Select Change Template to edit it. 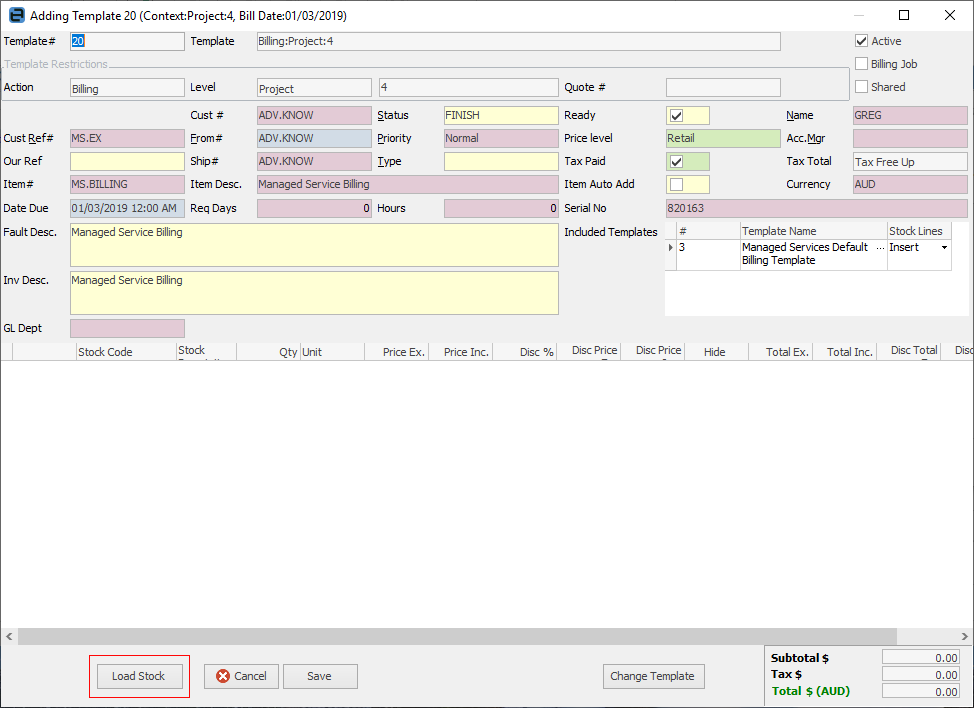 ▪Click Load Stock and there will be a prompt asking for an existing job to load the stock from. –Enter the job number for the job currently being used to bill this customer the old way. 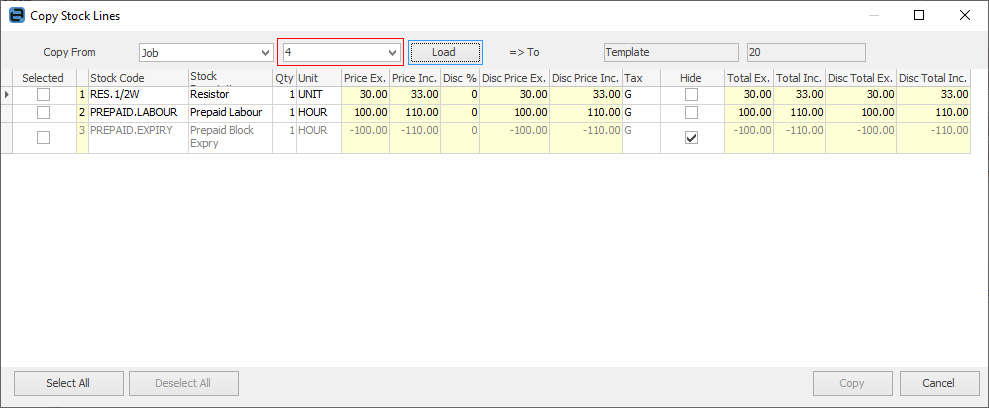 –All stock lines will be brought across once the Selected boxes have been ticked and Copy has been selected. –Edit the stock lines as applicable, and ensure they are set out exactly how they are to appear on a billing job. –Check pricing and quantities. –Make any other customer-specific changes to the template. –Click Save to see that the template has been created. 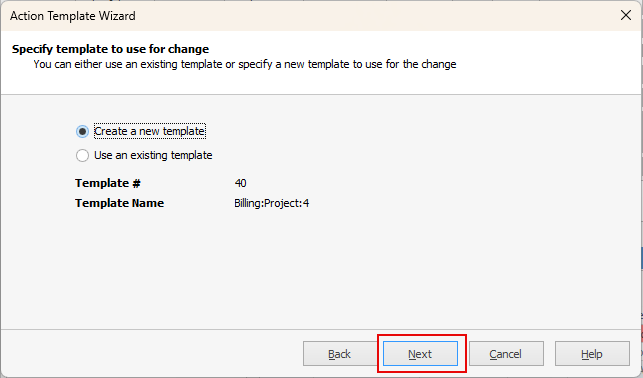 ▪Click Next to confirm the change. If there is an included template, the following screen will be displayed. If so, click Next. 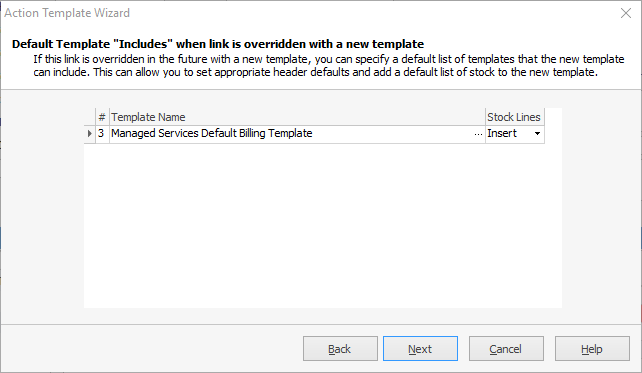 ▪Choose the Billing Date option and click Next. 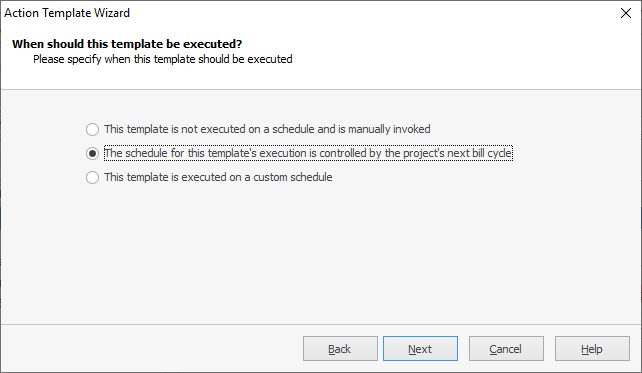 ▪This is most often controlled by the Project’s next bill date. 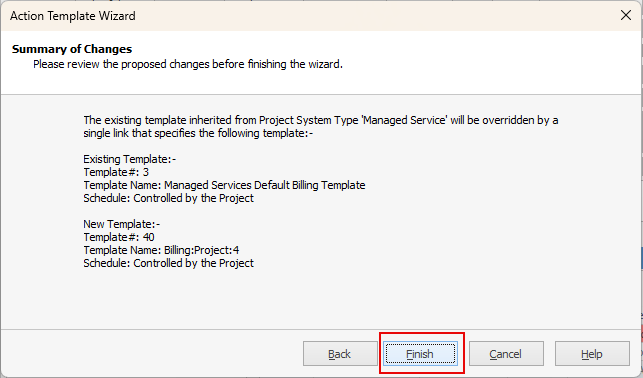 ▪Click Finish to complete the process. ▪Repeat this process for each of the Projects (contracts). ▪All steps have now been completed, and are ready for invoicing.
Billing jobs are created from Projects at the appropriate time during the month, and are set to Ready for the next invoicing run. |
Further information
Generating Jobs Using Project Templates
Non-Billing Template Setup and Usage
Project Template Creation Example 2