As stock is counted, it will be automatically marked as confirmed once the correct count has been entered, ie. the count, or total of the counts entered matches the stock on hand figure for that location.
If the count does not equal the stock on hand figure, the text for that line will appear in red and the line will not be automatically confirmed. In the case of serialised, attributed or special stock, the count will not match until the exact serial numbers, attributes or special stock have been entered.
For example, if Jim2 shows ten pieces of serialised stock on hand but only nine are counted, the missing one must be specified using the serial numbers of the nine that have been counted. In this case, edit the stocktake session and manually confirm the line of stock.
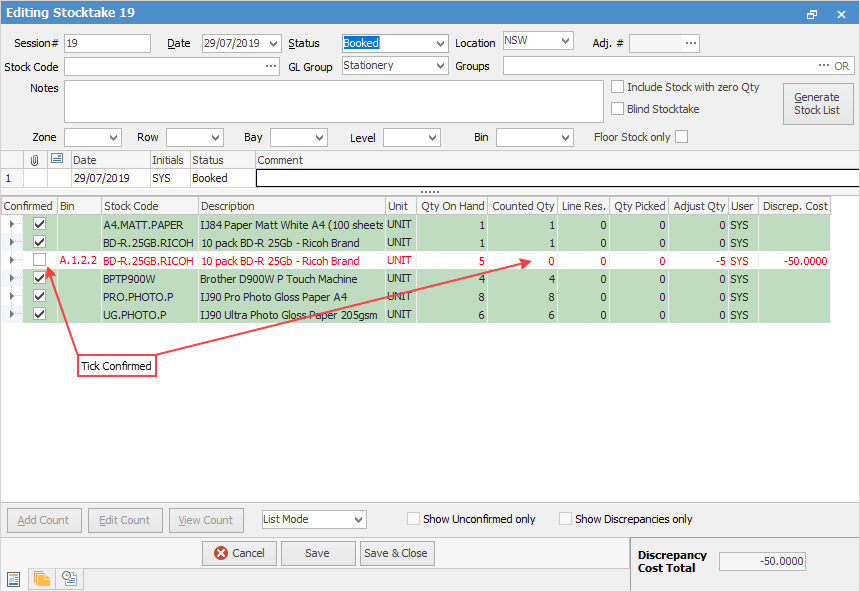
To finish the stocktake session, every unconfirmed line must now be confirmed. This means, in Edit mode:
▪Agree that counted quantities which are more or less than the on hand figures are correct, then tick Confirmed.
▪Also agree that any line that has nothing entered is 0, so enter 0 via the Add Count process, then tick Confirmed.
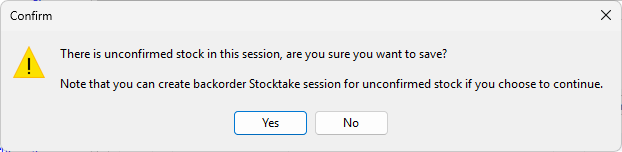
Once all the stock is confirmed that can be, change the status of the session to Finish and click Save. If there were any count discrepancies, a screen will appear asking for confirmation.
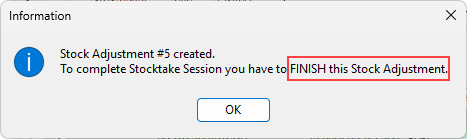
A linked stock adjustment will be automatically created.
The option to create a back order stocktake session for any stock that is not confirmed will be offered.
|
This will finish the current session with only the confirmed stock in the session, and create a new stocktake session showing only the stock that was not confirmed in the original session.
|
When clicking Yes, there will be a second warning. Click Yes again and all unresolved stock lines will appear on a new stocktake session, which should then be processed in the normal way. If No is clicked, the session will be finished and no back order stocktake session will be created.
|
The Stock Adjustment must be finished in order to record the changes to stock levels, and stock valuation. |
Run a Stocktake list if unsure of which particular stock adjustment to finish.
The stock adjustment number is displayed to the right of each Stocktake Session.
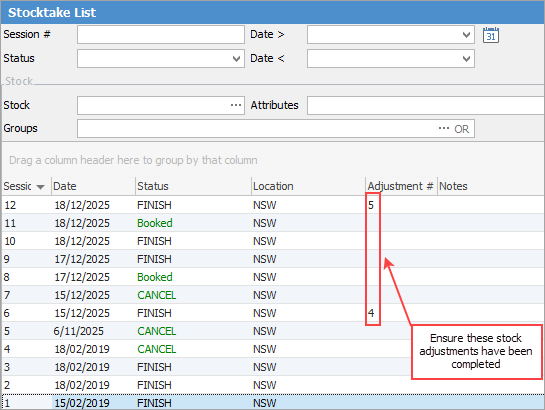
To do this, go to Stock > Stock Adjustments on the ribbon and enter the Adjustment # that is shown beside a finished stocktake session. Alternatively, open the finished stocktake session and click the ellipsis [...] beside the Adj. # field at the top of the form.

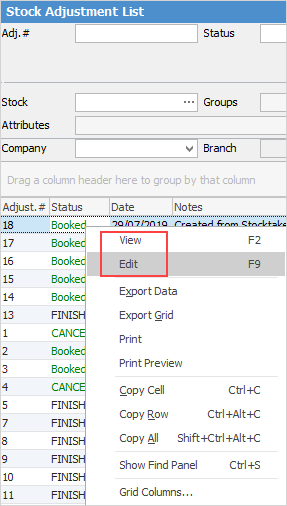
A further alternative is to right click on any adjustment number in the list to view or edit the adjustment.

If you don't have Strict Serial scan ticked in Stock Options, when trying to manually confirm a stock count and a screen like the one above pops up, it usually means that the count for that stock code has been entered into the first tab (Stock) and not into the second tab (Serialised, Special, Adjustment).
This situation needs to be rectified before continuing, which can be performed in one of two ways: 1.If there is only a small quantity of stock in this stocktake session, click Generate Stock List, which will delete all counts previously entered, then re-enter the counts making sure that this is performed using the second tab where applicable). 2.If it is not practical to use the method above, manually delete the count for each stock code that is providing the error message and enter the stock count again, this time ensuring the second tab is chosen.
See Deleting & Re-entering Counts for details. |
Text colour |
Background |
Meaning |
Include in Stock Adjustment |
|---|---|---|---|
Black |
White/Grey |
Untouched No count recorded |
N/A |
Black |
Green |
Count confirmed Count matches |
No |
Red |
White/Grey |
Count unconfirmed Count does not match |
No – Will be excluded from current session and transferred to Back order Stocktake session (essentially unresolved) |
Red |
Green |
Count confirmed Count does not match |
Positive count will create a Stock Adjustment Qty + Negative count will create a Stock Adjustment Qty -- |
|
Once all of the stocktake count sheets are returned, if the vast majority of the counts are okay, there is a much simpler method to input the discrepancies and close the stocktake session. See Add Count & Confirm for details. |
Further information