
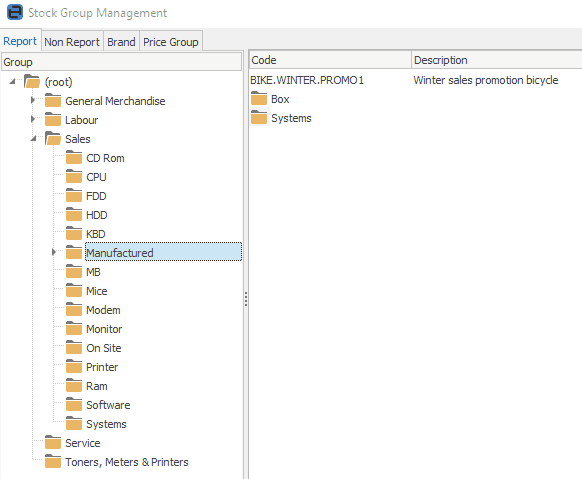
On the ribbon, go to Tools > Groups, then select the group you wish to manage.
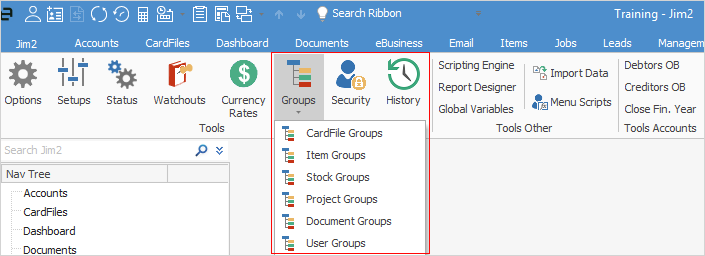
The example shown below is for stock group management.
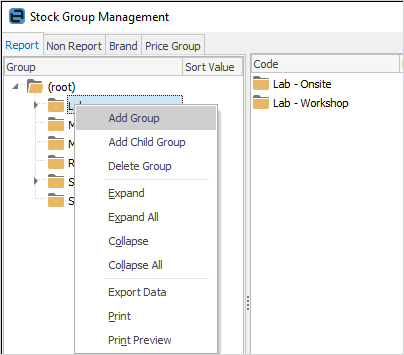
Right click on the tree node that you want to add the group to, and select Add Group to add a group at the same level, or Add Child Group to add a group at a level under that node.
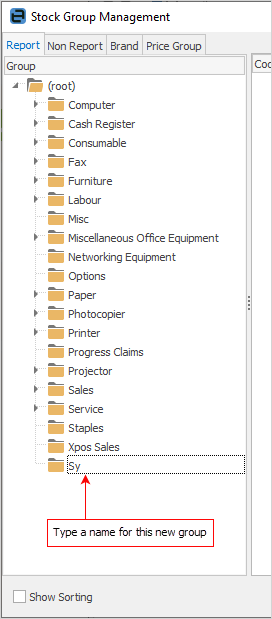
Next, enter the name that you want to call the new group.
To add stock to a group, simply find the stock you want (within its current group) to move to another group, and drag it to another node within the tree on the left-hand side.
To move multiple stock, regardless of location, simply select the stock (in the (root) section)and select additional items by holding down either the Shift or Ctrl key, then drag the selection to its new position within the tree.
To shift all stock in a group at the same time, select the stock's parent folder and drag it to its new position within the tree. The group's header and all stock in that group will be moved.
 |
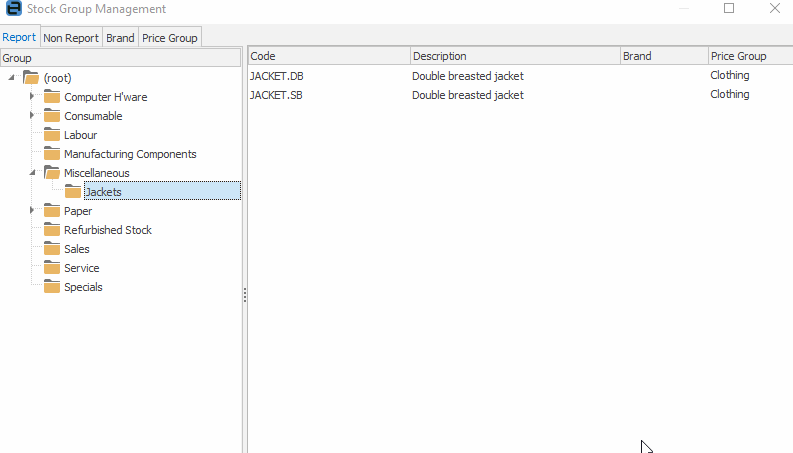
You can delete group folders. Be aware that what is in that group folder will move to the folder above, ie. in this example, delete the Group Jackets, and all entries in that group will move to the Miscellaneous group.
 |
For card files, Items or stock you can also reposition groups and the objects they contain by selecting a group and dragging it to its new position within the tree.
 |
To rename a group, click on the group name, then click on it again, which will make it editable. |
Further information: