
Document lists are much like other lists in Jim2, ie. they can be pinned, named, live, etc., and have a maximum of 25 lists in the Nav Tree at the same time.
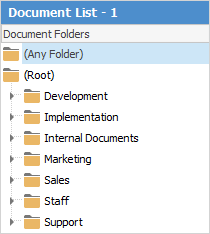
Folder view
By default, a document list opens in Folder view, providing a tree of document folders and a list of documents in the selected folder. Additionally, a preview of the currently selected document appears in the Preview Pane.
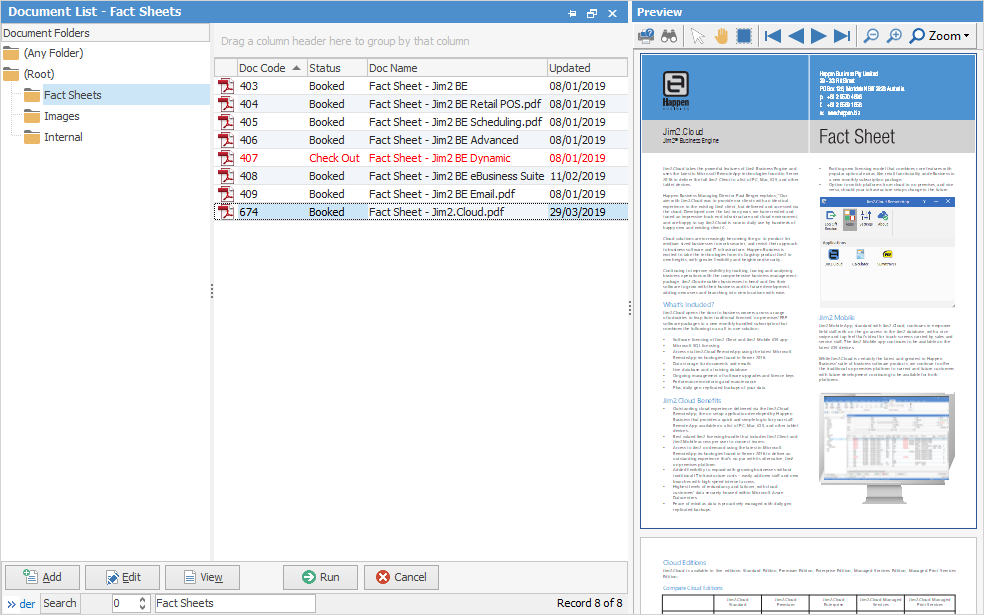
Additionally, you can use the icons in the ribbon to view the images themselves within a list.
![]()
 |
The built in previewer supports PDF, TXT, HTML, HTM, BMP, PNG, GIF, JPEG files, so other file types may not be able to be previewed. All other file types, including Word, a spreadsheet, etc. are previewed via Windows File Explorer preview plugins. This means that Windows typically needs that application to be installed in order for that file to be available in the Jim2 Document Previewer. In practice this is not generally an issue, as many viewers, for example Word, are freely available to download. |
Sorting, searching and grouping are available as per other lists in Jim2. Select the column header in the grid, then drag it to the Group By area to group.

Selecting a document folder automatically runs the list, displaying the related documents within that folder.
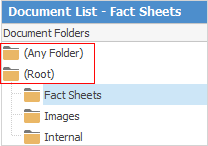
There are two special folders that are always present in Document folders:
Folder |
Explanation |
|---|---|
(Any Folder) |
Selecting (Any Folder) will display all documents, regardless of what folder they are in (except hidden documents). |
(Root) |
Selecting (Root) will display all documents not assigned to a folder. See Moving Documents below. |
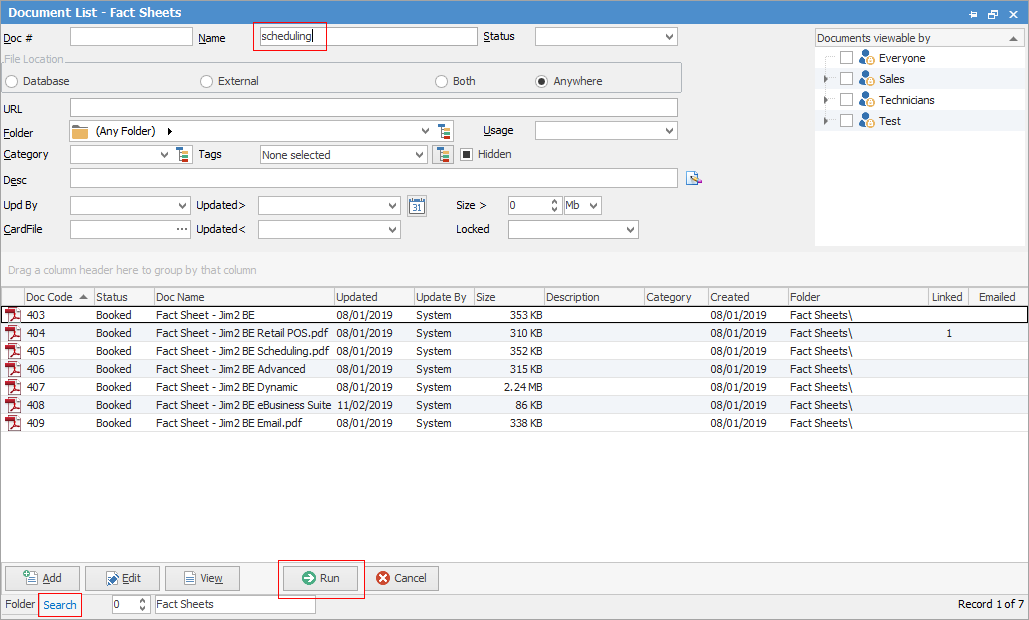
Search view
Going to the Search tab in the footer opens additional search criteria, and hides the document folders. In this case, the list behaves the same as a standard Jim2 list. Enter search criteria, and click Run. Using the Name search criteria will generate a list of all documents related to what is entered here.
List layout
The way documents are displayed in a list can be changed via the List Layout group.

The available layouts are:
▪Details

▪Medium icons
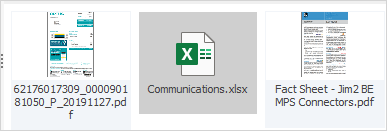
▪Large icons

▪Show Hidden

The Show Hidden icon displays all documents including those flagged as Hidden. This is typically used to filter out object-related documents from document lists. Hidden documents can still be viewed and opened in a document list, by clicking Show Hidden on the ribbon. They will appear in grey text.

Note: When adding a document to an object (ie. a job), the Hidden box will be automatically ticked. Untick this for it to appear in document lists.

All four of the List Layout functions are list specific, ie. choose a folder, then tick Show Hidden for that folder.
 |
A document’s thumbnail image is generated automatically (where possible) when creating a new document. |
Document lists allow multi–selection using the standard Windows Ctrl or Shift + mouse click. This is particularly useful when deleting documents or moving them to another folder.

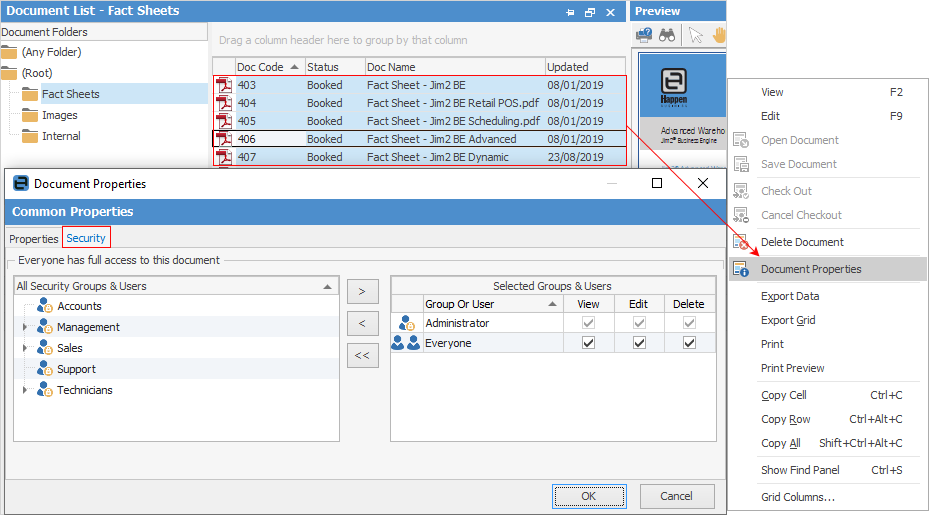
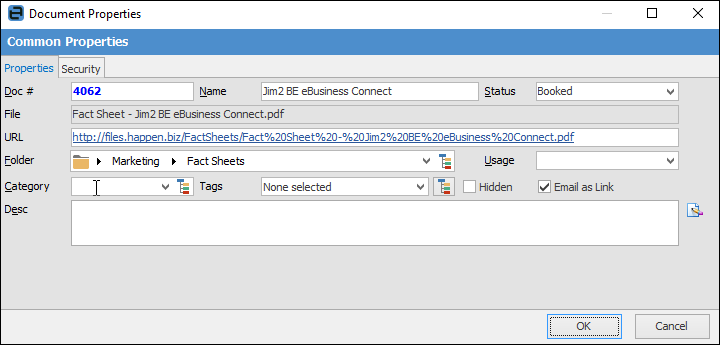
Security can be applied to multiple documents using multi-select. Simply highlight all the documents to be changed, right click and select Document Properties, then go to the Security tab.
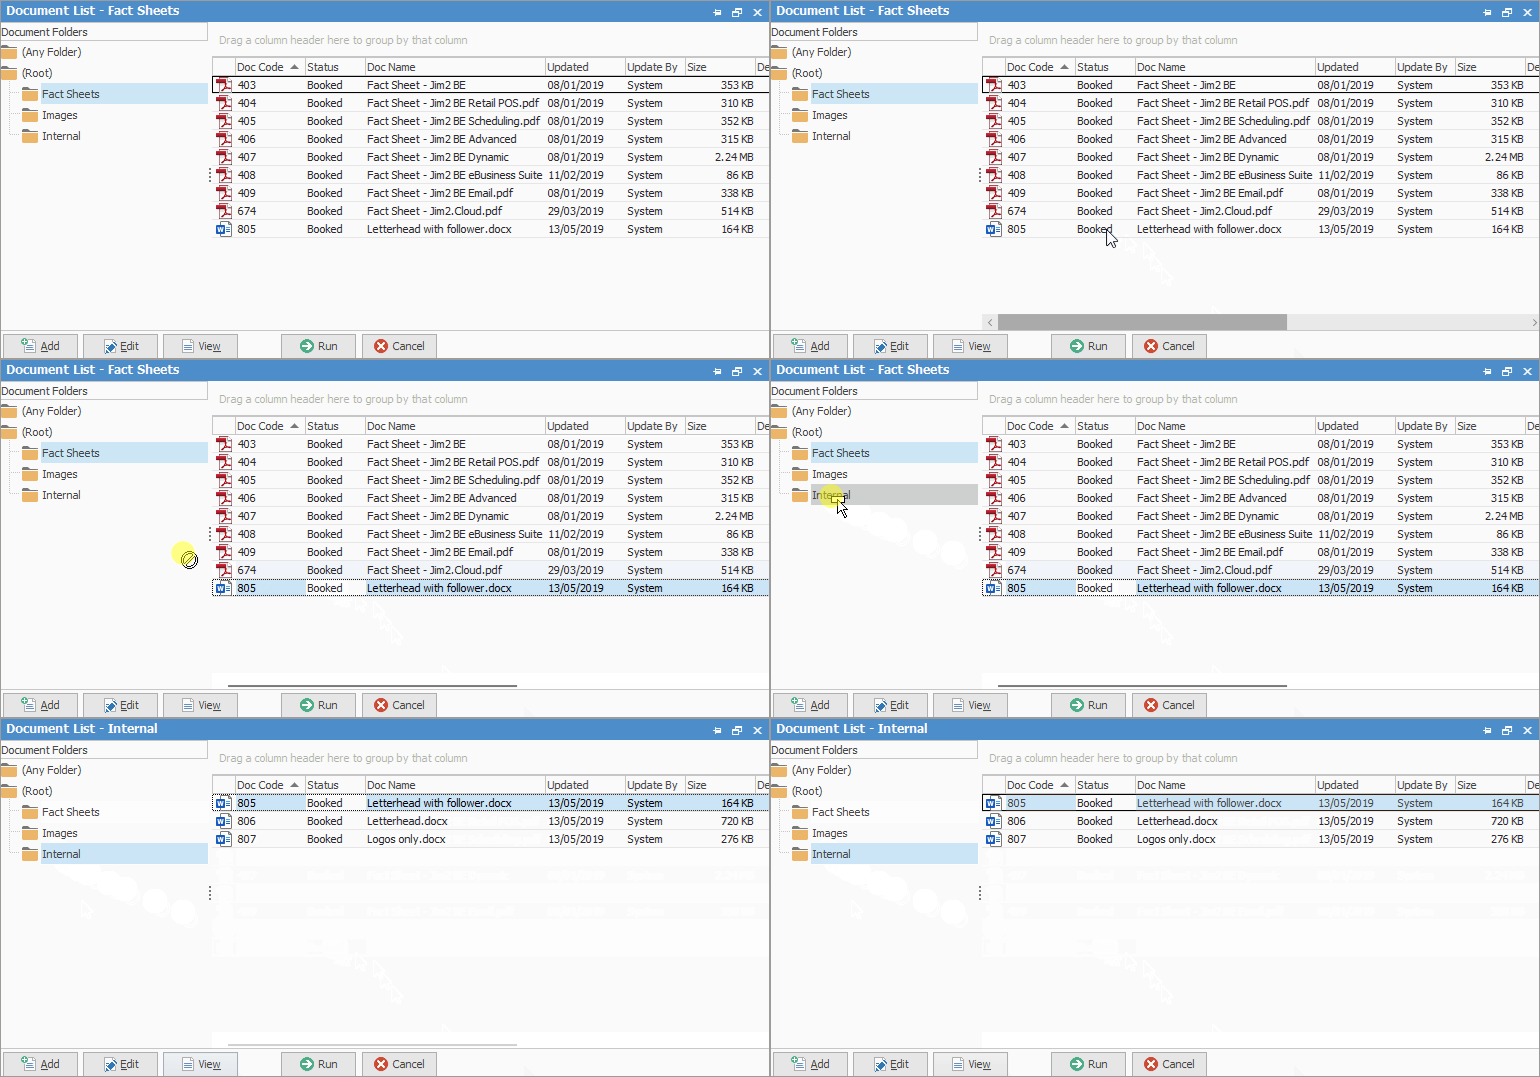
The Document list allows for quick and easy movement of one or more selected documents from one folder to another.
The procedure is as follows:
▪Open a Document list in Folder view.
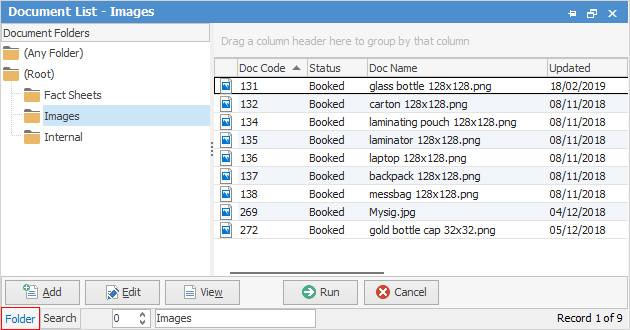
▪Select one or more documents within the list (see Multi–Select, above).
▪Drag and drop the selected documents onto the desired document folder.
Delete documents
One or more documents can be deleted as follows:
▪Open a Document list and select the appropriate folder.
▪Select one or more documents within the list (see Multi–Select, above).
▪Click Delete Document in the Document Actions ribbon area on the ribbon.

Right click options in the document list
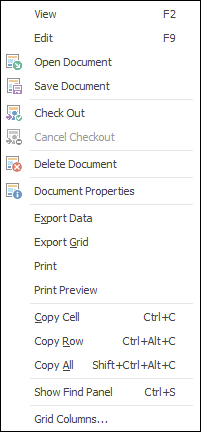
Right Click Option |
Function |
||
|---|---|---|---|
View |
View the highlighted document. |
||
Edit |
Edit the highlighted document. |
||
Open Document |
Open the highlighted document. |
||
Save Document |
Save the highlighted document to a destination on the local computer, or wherever appropriate. |
||
Check Out/Check In |
Check out the highlighted documents to make changes. Comments can be added here to explain what is being performed. Check the document in once finished, again adding comments. Comments are useful for explaining what changes were made. |
||
Cancel Checkout/Check In |
Cancels the checkout/in. If the checked out document has been saved externally, Cancel will remove the document from that external location. |
||
Delete Document |
Delete the highlighted document. |
||
Document Properties |
Brings up Document Properties, where further information can be viewed and added or changed.
 |
||
Export Data |
Exports data from the grid to a spreadsheet file. |
||
Export Grid |
Exports the grid to a spreadsheet. This is particularly useful if the grid has more than one header row, as it will export all header rows. |
||
Print the list. |
|||
Print Preview |
Preview the list to be printed. |
||
Copy Cell |
Copy the highlighted cell. |
||
Copy Row |
Copy the highlighted row. |
||
Copy All |
Copy all, which can then be pasted into a spreadsheet |
||
Show Find panel |
Opens the Find panel:

|
||
Grid Columns... |
Allows adding more columns. Also allows removal of columns. Select the column to add, then drag it to the position required in the columns within the grid. To remove, click and drag to the Grid Columns... window, or drag down away from the header area. |
Right click options in the Nav Tree
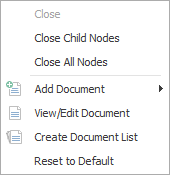
After the top 3 (which are self explanatory), these options mirror what is on the ribbon in the Documents tab, except for the last tab, which will reset all tabs to the default.
|
Since all documents are stored within the Jim2 database, the Jim2 backup file size will increase accordingly. See Database Size Maintenance for more information. |
 |
When viewing a document from a list click the arrow in the quick access toolbar for the next/previous document in that list:

Shortcut Keys: Ctrl+. moves to the next object in the list Ctrl+, moves to the previous object in the list |
