
1.In the current database, disable email in Tools > Options > Other > Email – untick both send and receive.
2.Stop Jes for the current database to ensure no other server side processes are running.
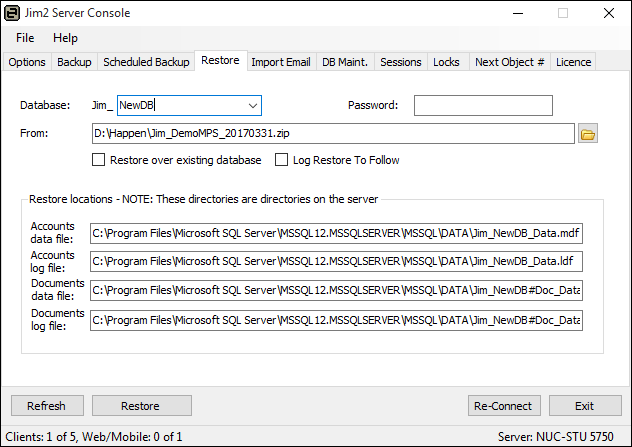
3.From the Windows Start menu, go to Happen Business and select Jim2 Server Console. Back up and Restore the database using a new name.
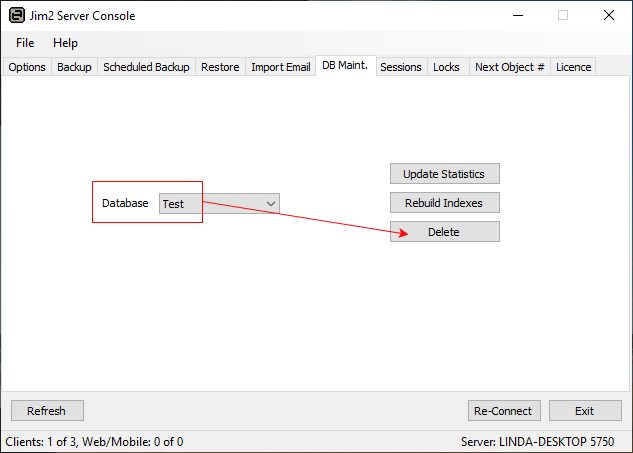
4.Delete the old database to avoid confusion if necessary, then enable email processing in the new database.
Make sure the Jim2 Server scheduled backups are configured as required.
4.Once the backup has been created and restored, create a new Jes instance for the new database.
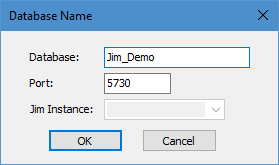
Select New Jes Instance from the file menu, and enter the new database name.
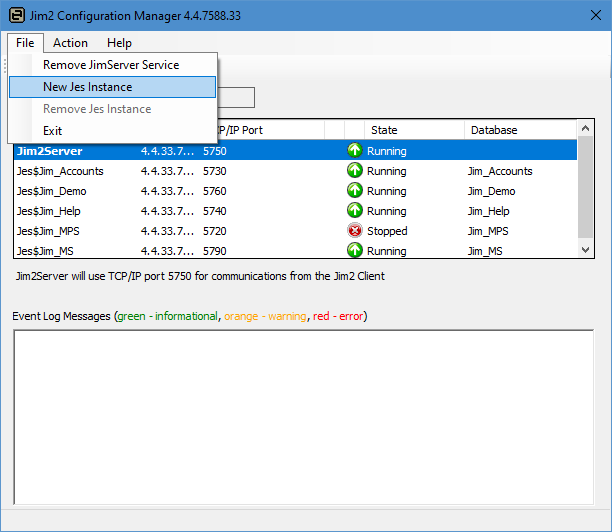
Update the Port number to the next available number, as a port number that is already in use cannot be used.
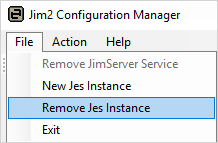
5.Remove the old Jes instance by highlighting the old Jes instance name, go to File > Remove Jes Instance.
Start Jes, then log on to the new database and go to Tools > Options > Other > Email and enable sending and receiving.
Further information
Change the Name of Your Database
Move Jim2 Database to a New Location
Move Jim2 to a New SQL Instance on the Same Server
What to do if Backup Drive is Full