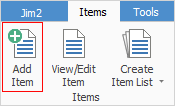
1.On the ribbon, go to Items > Add Item. The Adding new Item form is displayed.
 |
Some fields will have information defaulted into them automatically by Jim2. This default information can be overridden by entering text in the field. |
 |
Only Sales and Service Items can be created from the Add Item selection. Manufacturing Items are automatically created by Jim2 when creating manufacturing stock. |
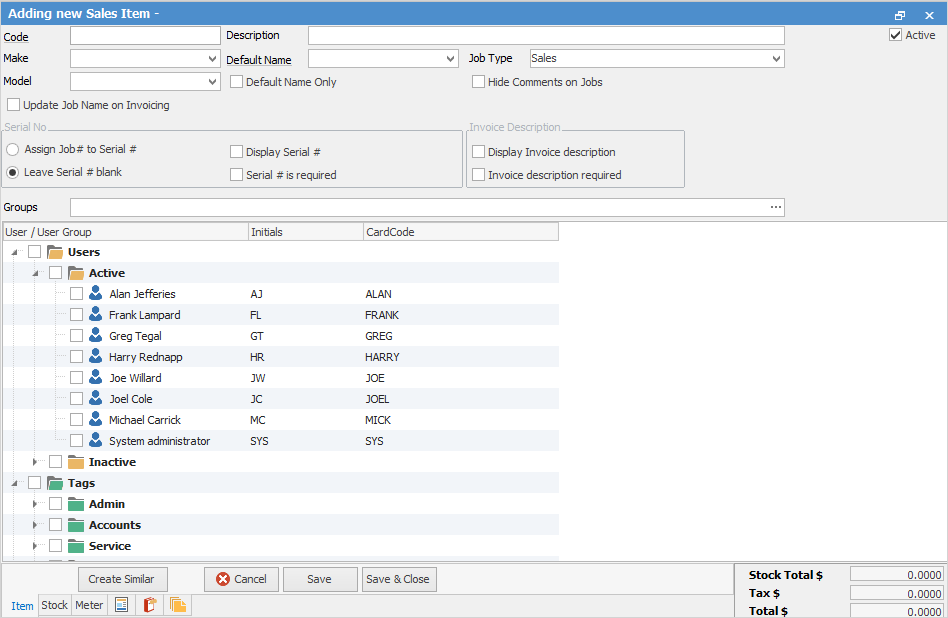
2.Enter a code that will easily identify this Item.
At this stage the Item can be saved, although Jim2 will warn that the the Description, Make and Model fields should be completed. These can be added later, if necessary.
3.Enter the description of this Item in the Description field.
4.If required, either enter or choose from the drop down options, to enter the make and model of the Item in the Make and Model fields.
|
Make and Model fields are free type fields. The drop down options for both build up over time when new makes and models are added. |
5.Enter the name of the user who is primarily responsible for selling or servicing this Item, depending on the job type. If there is only one person capable of this function, tick Default Name Only as well.
|
If no names are ticked, all users will be available in the Name field in jobs and quotes. However, if any usernames are ticked, they will be the only ones that appear in the drop down options in the Name field in jobs and quotes. |
6.In the Job Type of the Item header, choose whether this Item relates to a sales or service job from the drop down options.
|
If the Item relates to a sales job, an additional checkbox (Update Job Name on Invoicing) is available. This will update the Name on the job to the person invoicing the job. This would be used in a sales environment where commission is paid and the person who added the job is not necessarily the person who should be credited with the sale. Enable Invoice Authentication Required in Retail Options for this to work correctly. |
7.In the Serial Number section of the Item header, make selections that apply to this Item.
8.In the Invoice Description section of the Item header, tick the boxes to have an invoice description for this Item, and whether to display that description.
Hyperlinked fields
The following Items fields provide hyperlink access to view associated information. Hovering the cursor over the wording to the left of the field will display the label name in blue if it is hyperlinked. Click on the label and choose the option to view. Code – will open the cardfile of the code entered here.

1.Go to the Stock tab at the bottom of the Item form, then click Edit. 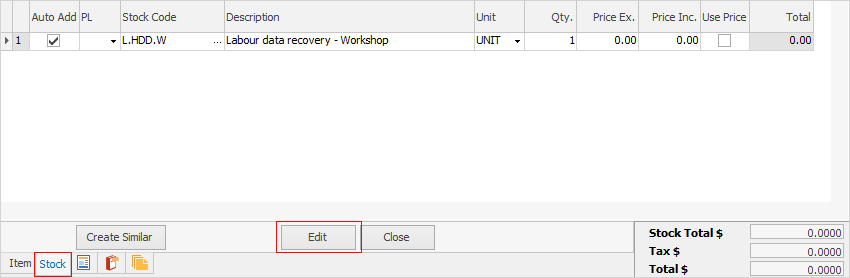
2.To add stock to an Item, move to the Stock Code field of the stock selection grid, and select stock in one of the following ways: ▪Start typing the stock code. Jim2's intuitive type will pre-empt the choice of stock codes from its database as each letter is entered. ▪Right click in the grid and select Copy stock from another Item: 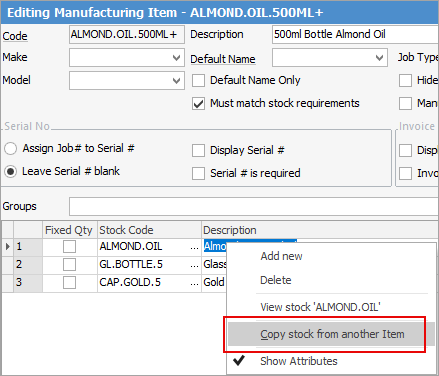 ▪Click the ellipsis [...] beside the Stock Code field which will bring up the Stock Select screen. From here view the price, stock levels and quantity available, as well as make a selection.
The Stock Select screen allows location and selection of the stock to be added to the Item. Use the Stock Code and/or Description fields to enter a code, a description or a partial code/description (and opt to include description in the search) and click Run. Now only stock which fits the criteria will be shown. If the fields are cleared and Run is clicked again, all stock will be shown again. ▪With the cursor positioned in the Stock Code field, scan the stock's barcode to automatically add the correct stock code. 3.Once the stock has been selected, the Description field will be filled in automatically with the default value. Move the cursor to the Description field in order to see this information.
4.Enter the amount required for the Item in the Qty field. If necessary, also select the unit measure of the stock.
5.Select the price level that will apply to the stock, or leave it blank and it will default to those already set up in stock and customer cardfiles. This default information can be overridden by moving to that field, highlighting the value and changing it. 6.To save time when entering multiple Items of a similar nature, click Create Similar, tick the fields to be copied to the new Item, then click OK. 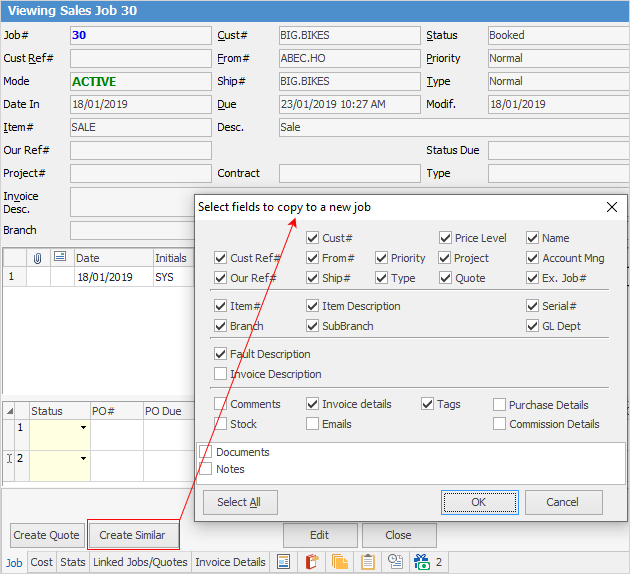
|
Further information