
The setting up of security within Jim2 should be considered very carefully, as it will obviously put restrictions on users.
Once you are logged on with a security group that allows you to access the Security option, on the ribbon go to Tools > Security.
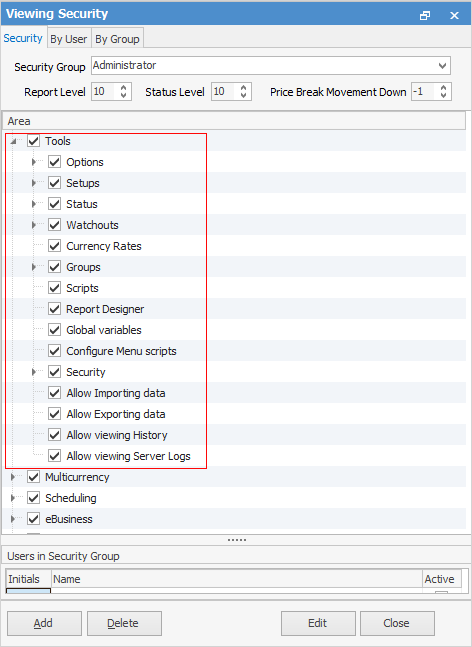
The Security screen will appear, and will also appear in the Nav Tree under Tools.
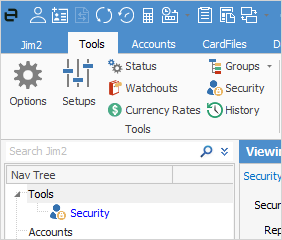
At the top of the screen there are 3 tabs: Security, By User, By Group. These will be explained more fully further through this section.
The Security tree displays all those areas of Jim2 that the selected security user/group currently has access to. Ticked boxes allow access to that area.
Directly below the Security Group field you will see Report Level, Status Level and Price Break Movement Down.

Report Level
Report Level shows the level number that this security group has access to. The higher the number, the more sensitive the reports that can be accessed. For example, if Report Level 5 is allocated, the group can access report levels 1 through 5, but not 6 or above. When a report is created, the user designing it sets an appropriate security report level – lower numbers give general access to the new report, or higher numbers restrict access to it. It should be noted that access to Jim2 Report Designer can also be restricted by the settings in Security.
Status Level
You can set a Status security level on individual statuses. This allows you to do things like restrict sales staff from editing a job once its status has changed to Picking, for example. Status Level works the same as Report Level, ie. the lower the number, the more restrictions apply.
Using this Status Level flag in your existing security groups, you can also restrict who can use each status in your workflow. For example, to mark a sales job as Finish requires security level 8 or above.
 |
It's important to remember that, when selecting the status security levels, you are selecting which users can move a job onto a specific status. You must make sure your Security grid corresponds with your choices here. Example:
|
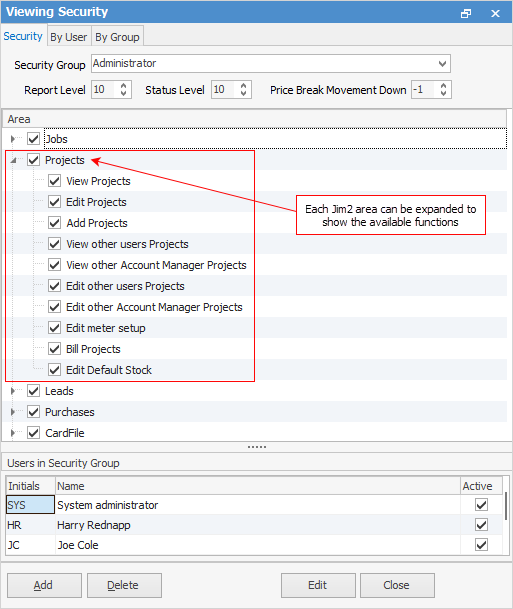
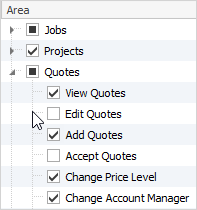
The areas shown in the tree can be expanded or collapsed to show or hide each available function within the selected area. This is done by selecting the  beside each Jim2 area name. The tick box status is explained in more detail here:
Tick Box Status |
Explanation |
|---|---|
 |
This user/group has access to all available functions in this area of Jim2. |
 |
This user/group has access to only some functions in this area of Jim2. |
 |
This user/group does not have access to any functions in this area of Jim2. |
 |
You will not be able to delete or edit the security group of Administrator (all areas and options are always enabled). The default Administrator is sys. Once you have set up the card files for users who will be in the Administrator security group, it's essential to change the default password belonging to the user sys, as this is a commonly known password. Do this via the User tab in the card file for sys. Doing this will prevent users from logging on as sys and changing any security options. |
 |
The bottom section of the Security screen displays those users that are in the currently selected security group.
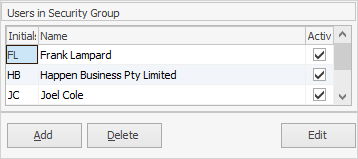
You cannot add or remove users from security groups through this screen. To do that, you need to edit the user card file and change the security group from there. Furthermore, to change your own security group, you will need to already belong to a security group that is able to edit a user's details within a card file. |
 |
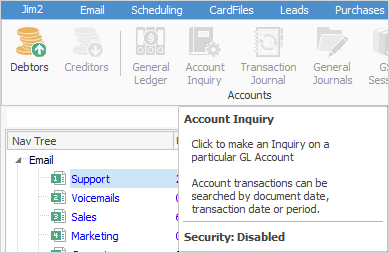
Depending on your security level, you may see that some icons in the Jim2 ribbon are greyed out, meaning you cannot access these areas. If you hover over the icon, you will see a pop-up message similar to below explaining the reason:
 |
Further information: