
To add a new user (employee) identity:
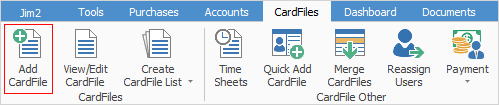
1.On the ribbon go to CardFile > Add CardFile.
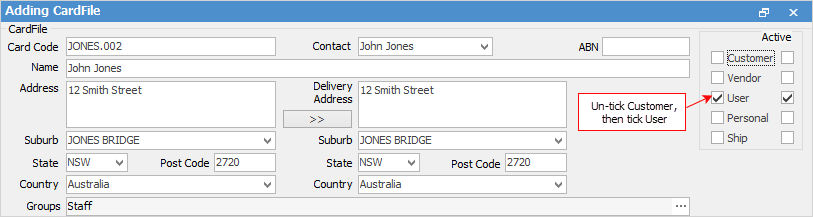
2.Enter the user's card code, as well as their name and address details (see Card Code below, for more information about the card code).
3.Untick Customer, and tick User from the selection in the top right-hand corner of the screen.
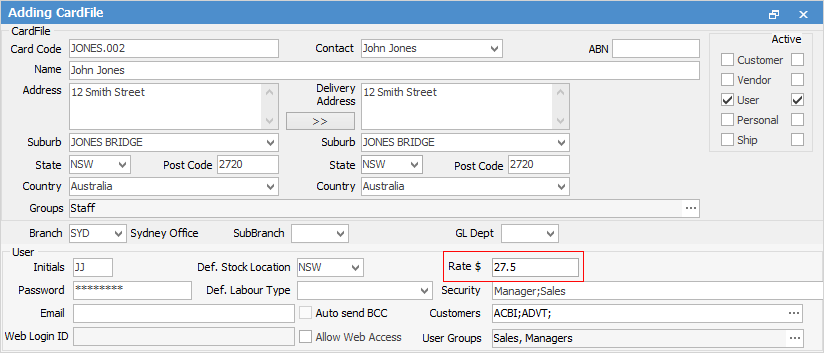
4.In the footer, select the User tab.
 |
Unless you have ticked the User box in the CardFile header, the User tab will be inactive, and you will not be able to add your user details. |

5.Enter the following:
▪The user's initials (two or three characters, including full stop (.) if required).
▪A password (as per the strength requirements set in Tools > Options > Security).
|
This is also where an administrator can change/reset a forgotten user password at any time. |
▪The default stock location (which is used to set the user's location – choose from the drop-down list).
▪Their security level(s) (choose from the drop-down list).
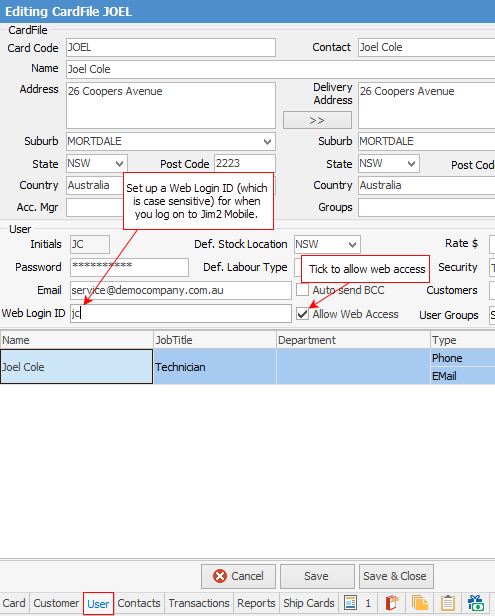
▪enter a Web Login ID and tick Allow Web Access to ensure users can log on to Jim2 Mobile
•If Auto send BCC is ticked, a copy of all emails sent from Jim2 by this user will be sent to the email address entered in the Email field.
You should also set security so that only authorised people can see the User tab of card files.
Explanation of Fields
Name |
Purpose/Usage |
Initials |
Enter the user's initials in this field. This can be up to three characters, and will be used every time the user logs in to Jim2.
Note: Once the card file is saved, this field cannot be changed. |
Password |
Enter the user's password in this field. It can be up to 10 characters, and is the password that the user must enter when they first log on to Jim2. The user has the option to change the password when logging on.
Note: An Administrator can change this password at any time, ie. if the user has forgotten the password. |
Enter the user's email address (this is used when emailing reports from Jim2). |
|
Web Logon ID |
Defaults to the email address when Allow Web Access is ticked (it can be changed if you wish). |
Def. Stock Location |
Enter the user's stock location into this field. This is the default stock location for that user, when selling or purchasing stock. The stock locations to choose from can be set up in Tools > Setups > Stock > Stock Locations. |
Def. Labour Type |
Enter the user's labour type into this field. This is the default labour type for that user when applying their labour to a job. The labour types to choose from can be set up in Tools > Setups > Jobs > Labour Type. |
Auto send BCC |
You have the option to automatically blind carbon copy (BCC) anything you email from Jim2 directly to the nominated email address. To activate the BCC option, tick this box. |
Allow Web Access |
Tick this box if you want to access Jim2 remotely. Required if using Jim2 Mobile. |
Rate $ |
You can enter a labour rate for this user, which will be used when producing certain Profit Reports.
The Rate $ field should be populated with the hourly rate it costs to employ the person, so there is a cost associated with their actual time logged against jobs. The cost will then appear in the job profit reports.

The cost should include at least: wages (hourly rate), superannuation, workers compensation insurance. Plus, perhaps a share of overheads, eg. training, uniforms, vehicle running costs if provided, etc. If you are unsure how to calculate this rate we suggest you seek advice from your accountant. |
Security |
Select the appropriate security group(s) for this user from the drop-down options in the Security Group field. Security allows you to choose from one or more Security groups. |
Customers |
You can restrict the customers that a user is allowed to deal with, by selecting specific customers from the drop-down options. User Groups allows you to select Tags and Categories.
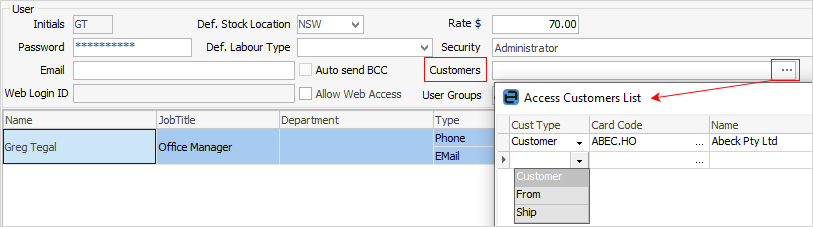
You can set security to prevent user groups entering transactions for all customers. This option would only be used in a tightly controlled sales team environment. |
User Groups |
Select user group(s) you would like this user to be added to. |
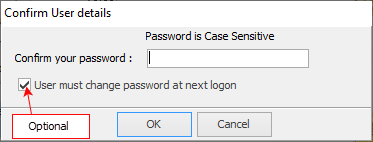
6.Click Save, or Save & Close. You will be asked to confirm the password that you're setting, before the user is created. The user must change password at next logon box will already be ticked. You can untick it, if you want to.
 |
Once a user card file is saved, you can still change most details, even the card code, but you cannot change the user's initials. If you really need to do this, you should copy all of the details to a new card file, and make the original one inactive. |
The Card Code is a unique identifier for each card, and must be entered before the card can be saved. The card code format that your business will use should be established with the intention of maintaining consistency, eg. alphanumeric codes (as shown in 3 above) or surname.initial, etc. If necessary, you can change the card code format at any time. To maintain consistency, you will probably want to edit your old card files, to match the new card code format. |
|
If Allow Web Access is ticked, the Web Logon ID will be automatically copied from the Email field, if already populated. If desired, you can change the Web Logon ID to something else, eg. your first name, or a nickname, etc.
If you untick Allow Web Access, the user will not be able to log on to Jim2 using Jim2 mobile. It also won't allow the user to log on to the eBusiness server (if appropriate) |
|
When a user is editing an individual purchase order or job record, they can change their location and/or default labour type, but this will not affect the default location or labour type as set on the card file for that user. |
Further information: