
Many sections of Jim2 require a card file to be entered. Add CardFile allows users to create card files of all types, including customer, vendor and ship type.
 |
If you're using Jim2 in a retail environment, and need to quickly add a customer's details while they wait, there's a way to add a card file containing only minimal information. For details, refer to the subsection Quick Add CardFile. |
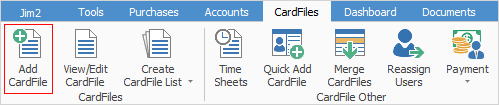
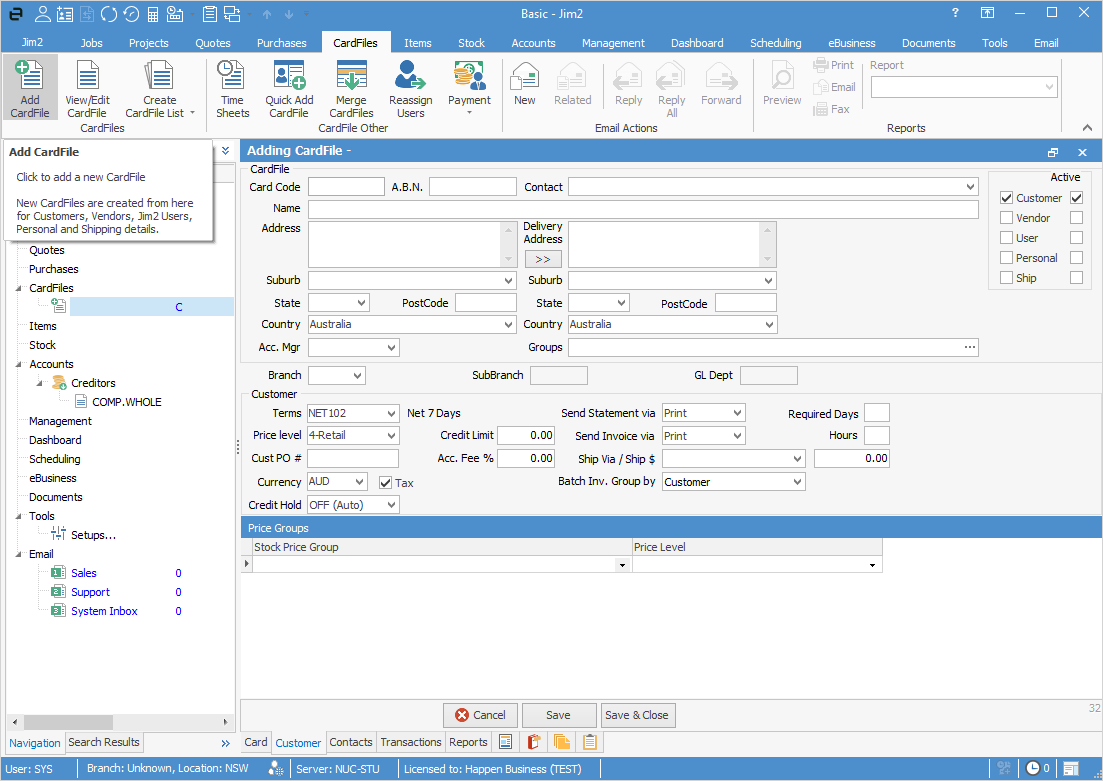
1.On the ribbon go to CardFiles > Add CardFile. The Adding CardFile form is displayed showing the CardFile header.
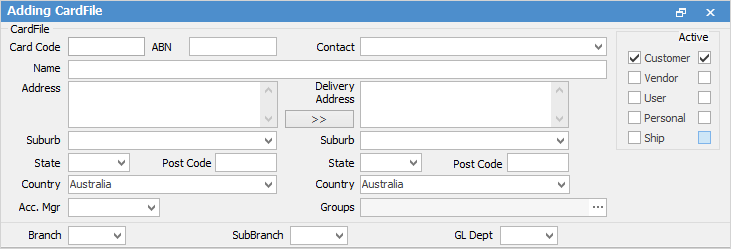
2.Enter a card code. The code can be up to 10 characters long, and any spaces entered will show as a full stop (.). Note that you may alter this card code later if required.
3.Press Enter to move to the Contact field. Type a contact name for this card file.
 |
Entering the contact name in this field does not automatically save this under the Contacts tab (at the bottom of the form). You will still need to enter this person's details there. Alternatively, you can enter the details under the Contacts tab, then go to the Contact field in the header and use the drop-down options to select which contact you want here.
 |
4.Press Enter to move to the Name field. Type a name for the card file. This is the name that will appear on the customer's invoice, or on the PO to the supplier.
5.Press Enter to move to the Address field. Note that this field is for mailing address information (ie. PO box). Enter the address information.
6.Press Enter to add additional lines to the Address field.
7.Press Tab to move to the Suburb field. Enter the suburb, then press Enter. Jim2 will populate the State and Postcode fields (the Country field defaults to to your country, but can be changed by selecting the country from the drop-down options or simply over-typing.)
8.If the address information for mailing is the same as the delivery address information, click the double arrows between the Address and Delivery Address fields.
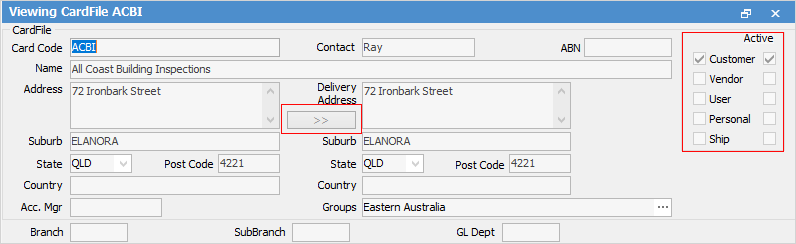
9.Choose what type of card file it is – Customer, Vendor, User, etc., or any combination, by ticking the applicable tick boxes.
|
The various entities that you deal with can be identified as belonging to one or more of the following types, by ticking the boxes beside each field: |
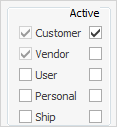
•Tick Customer if your company sells to this entity.
•Tick Vendor if your company buys from this entity.
•Tick User if this entity is a Jim2 user within your company.
•The Personal tick box can be used in conjunction with one of the others if required. See  below.
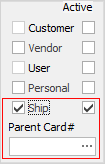
•Tick Ship if this card file is for ship (delivery) addresses only. This is not necessarily a customer or vendor, but is usually linked to one. After ticking Ship, an extra field will appear allowing you to link to an existing parent card (linking is optional).
A card file can be both a Customer and a Ship. This would be where most goods and services are billed to the parent card, but sometimes the ship will require to be invoiced instead, in which case you would tick Customer as well to allow for entry of terms and price levels, etc.
Similarly Vendor and Ship. in the case of a buying group, most purchases will be made through the buying group, but sometimes they may purchase directly from the supplier.
|
Only essential tabs within a card file will be displayed/accessible. If a card file is for a customer only, you will not see the Vendor or User tabs in the form's footer. |
10.If you use branches, sub-branches, or GL departments, select them from the drop-down options. Depending on what type of card file you have created, you will now need to select the applicable tab in the form's footer in order to complete this card file.
|
The drop-down options for the State and Country fields become populated over time, as you keep on adding card files with new state and/or country details. |
There may be situations where one or more of your staff (users) may purchase from your company, and/or your company may purchase from them. If so, as well as selecting User as their CardFile Type, you should also select Customer and/or Vendor.
|
If you would like to add emergency or family contact details for users (staff), as well as ticking the User box, you should also tick Personal, and record those details on the Contacts tab. This is optional however, you can still set up a card file to be purely a personal card, not linked to another type. |
Further information: