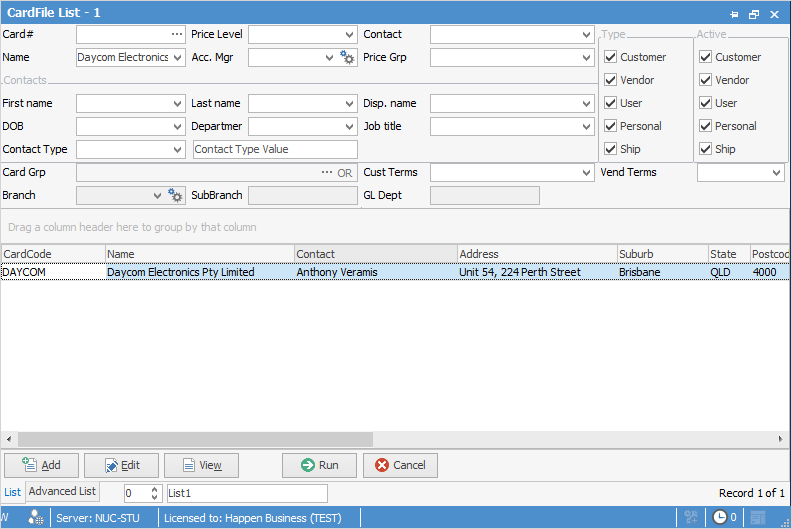

This basic card file list can be used to confirm there are no duplicates, and that there is a card file to use for jobs, quotes and purchases.
1.Go to CardFiles > Create CardFile List in the ribbon.

2.Enter search information in the relevant fields. A simple example is to enter Daycom into the Name field, which will automatically add the rest of the name.
3.Press Enter.
4.A list of card files will display on your screen.
5.Scroll through the resulting list to locate your preferred card file.
6.Double click on the card file to open it in View mode.
Create an Advanced CardFile List
1.Go to CardFiles > Create CardFile List in the ribbon.
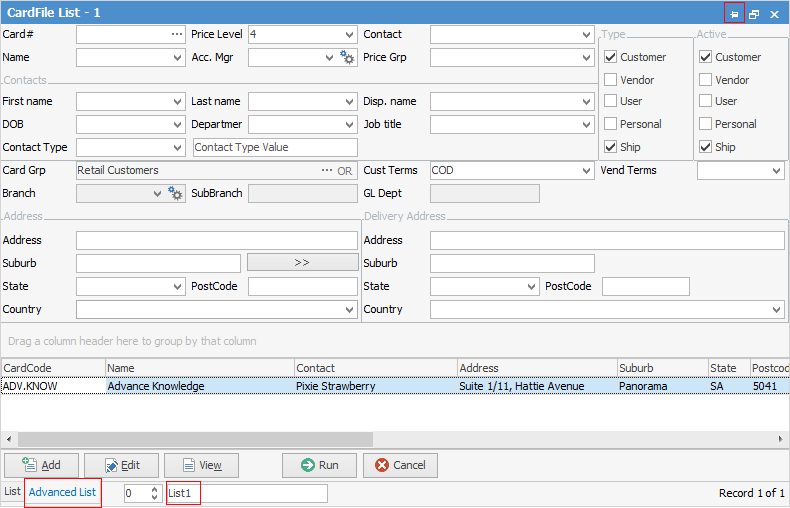
2.Click Advanced List at the bottom left of the screen. This opens additional fields for filtering.
3.Restrict the amount of card files to be searched by removing the ticks from those note required, eg. Customer, Vendor, etc.
4.Enter information required into applicable fields. Choose from drop-down list as well.
5.Click Run or press Enter once all information is entered.

6.Name the list by entering a short description in the field which displays List1 at the bottom of the screen. You will see the list name change in the Nav Tree as well.
7.Pin the list by selecting the Pin icon at the top right of the list screen. Once pinned, run the list again to save the data in the pinned list.
 |
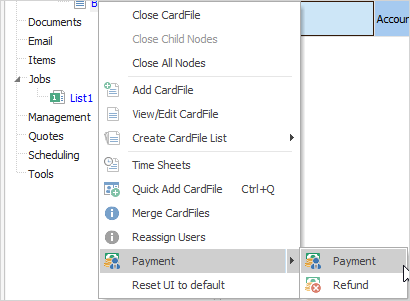
When you have a single card file open, right click on the card file in the Nav Tree to take a prepayment or give a refund on a prepayment or return. This is a very quick way to bring up the Payment or Refund screen for that client/vendor instead of having to go to Debtors or Creditors.
 |
Further information: