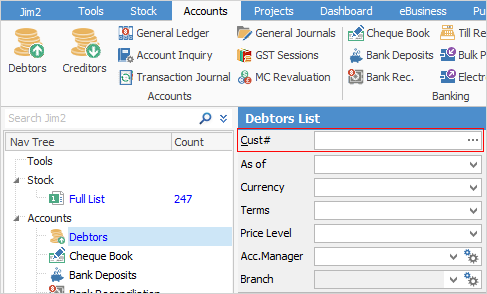
Enter a payment via Accounts > Debtors on the ribbon. This can be performed by either clicking Run at the bottom of the screen or entering a Cust#, then running the list to see only that customer.

1.Select the customer to enter the payment for.
2.Click Edit at the bottom of the screen.
3.The Date field will default to today's date but can be changed.
4.The Type field will default to Payment and does not need to be changed for this type of entry.
5.Select the Payment By to be used: cash, cheque, credit card, etc.
6.Enter the amount of the payment.
7.Add a comment to this payment – a useful comment to enter is the cheque number, or more information on what the payment is for.
8.Select the method required to apply the payment. There are three methods:
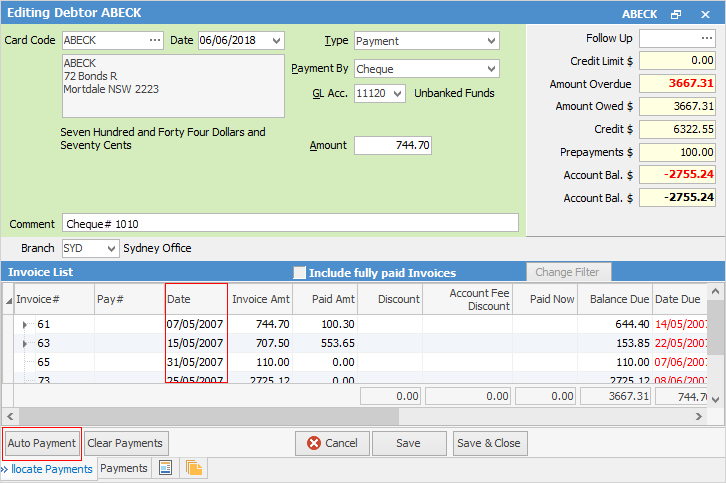
▪First, sort the Invoice list by date, with the oldest date at the top, then click Auto Payment, and the payment will be allocated to the oldest invoice first.

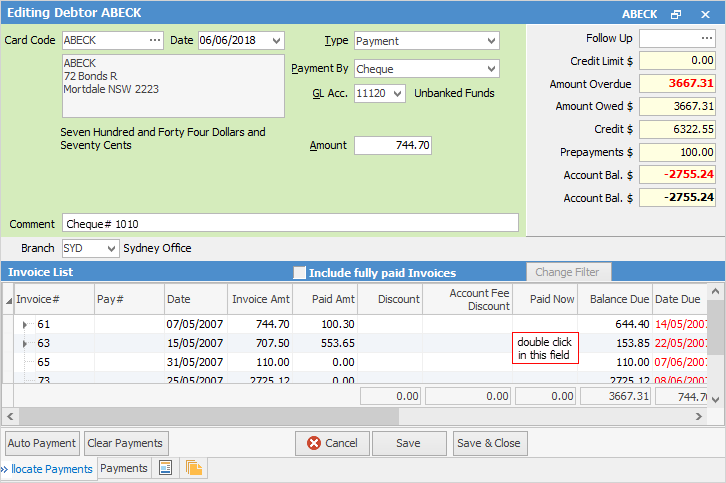
▪Double click in the Paid Now column of the invoice to be paid with this entry. It will allocate the amount to the selected invoice, and anything left over can then be allocated to other invoices.

▪Select a number of invoices and allocate the amount from that payment to each invoice by entering the amount into the Paid Now field of each invoice.
There is also the Clear Payments button (bottom left of screen) – this button will clear any allocations made while still in Edit mode.

9.Click Save or Save & Close.
 |
If unprinting an invoice which has not been paid, a reversing entry will be shown for that invoice. If unprinting an invoice that has been paid, a reversing entry will be shown for the invoice, and any payments will become credits.
If a payment is applied to an invoice via the debtor form, it will update the balance due on the corresponding job. |
How to