A document is checked out to a specific person, updated as required, then checked in for quality control. Documents makes use of Jim2’s workflow methodology by the use of Status.
Checked out documents are easily recognised, as they are highlighted in red in lists, etc. and are on the Check Out system status, allowing for easy filtering when searching in lists, etc.

Go to Documents > Create Document List.

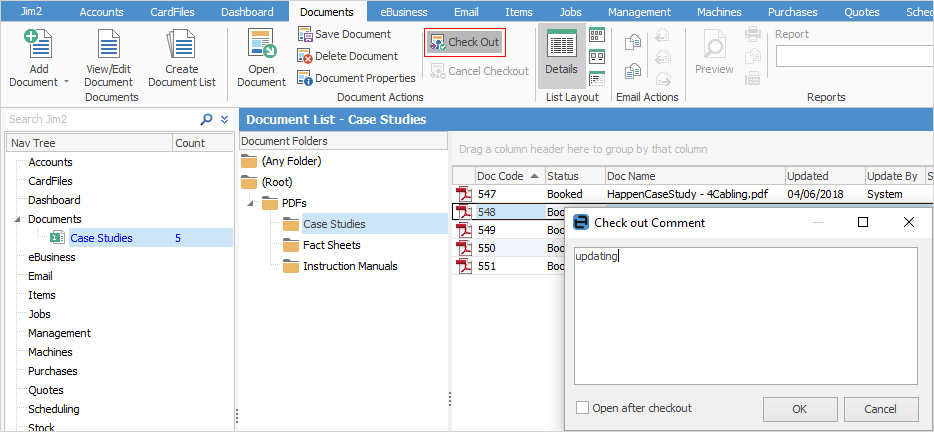
Select and view the required document. On the ribbon, select Check Out.

You will be presented with a screen where you can add comments about why you are checking the document out.
Tick Open after checkout, then click OK.
If you run your document list again, you will see that the checked out document is highlighted in red text.

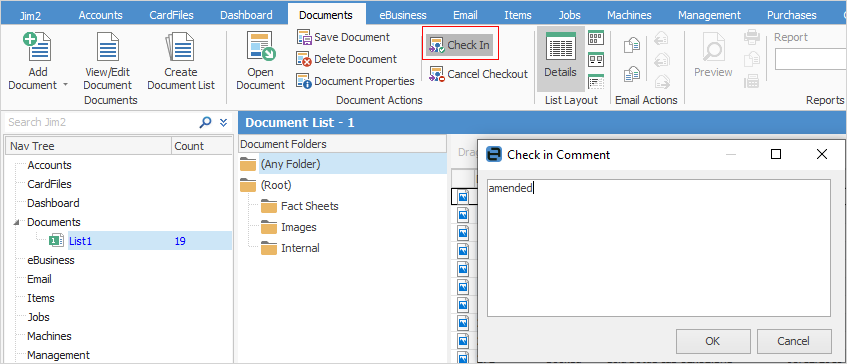
Once you've made your changes, select Check In and enter any information relevant to making the change in the Check in Comment area.

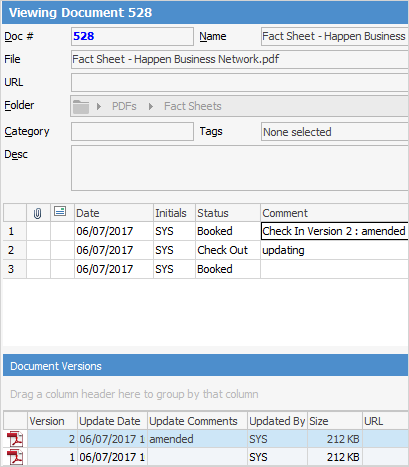
A log of a document's check out/check in history is seen in the document’s related comments, and also in the Jim2 history log.

A document check out can be cancelled, or if checked out by a user, the check out lock can be stolen (see below), so that another user can check it back in.
If you've saved the checked out file to an external place, ie. a folder on your computer, when you cancel the checkout it will also delete the external saved file.
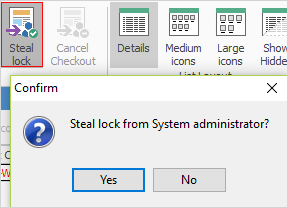
You will notice on the ribbon Steal Lock.

If someone in your group has checked out a document, you can steal the lock from them. Select Steal Lock.

This will open the Check out Comment screen, where you can enter information on, for example, why you might be stealing the lock, or amendments to be made.
 |
Since all documents are stored inside your Jim2 database, your Jim2 backup file size will increase accordingly. See Database Size Maintenance for more information. |
Further information: