Below are the steps to insert a logo on a sticker.
 |
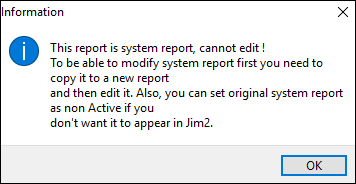
System reports should never be modified – make a copy of the existing system report and make changes to that copy. This ensures that reports don't become broken during upgrades. A warning will pop to screen that system reports cannot be edited.
 |
▪The logo must be no bigger than 36mm x 6mm at 300dpi, and must be RGB. To ensure it prints well, the logo should be created at this size/resolution to begin with – do not resize (especially up) or it will pixelate.
▪On the ribbon, go to Tools > Report Designer > Jobs > Job Sticker (Default).
▪Click Copy from Existing on the ribbon. Rename it and click OK.
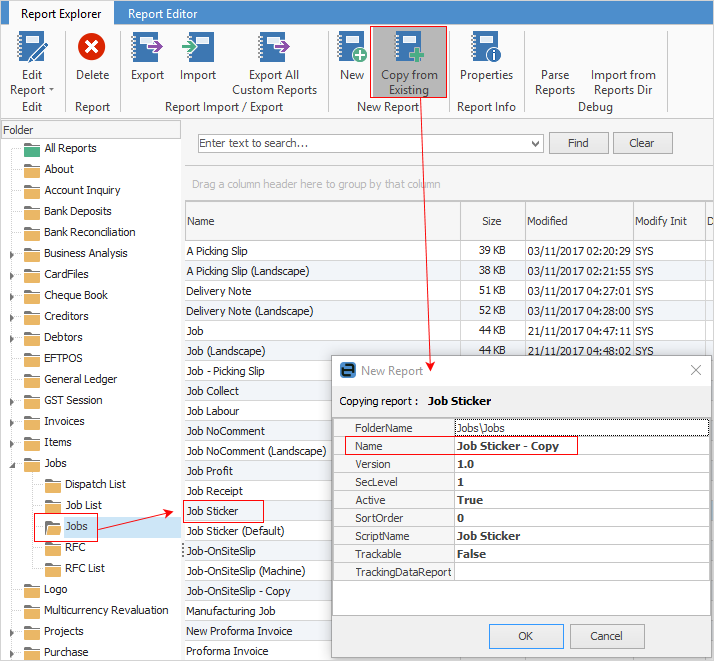
▪Open the copy just created.
 |
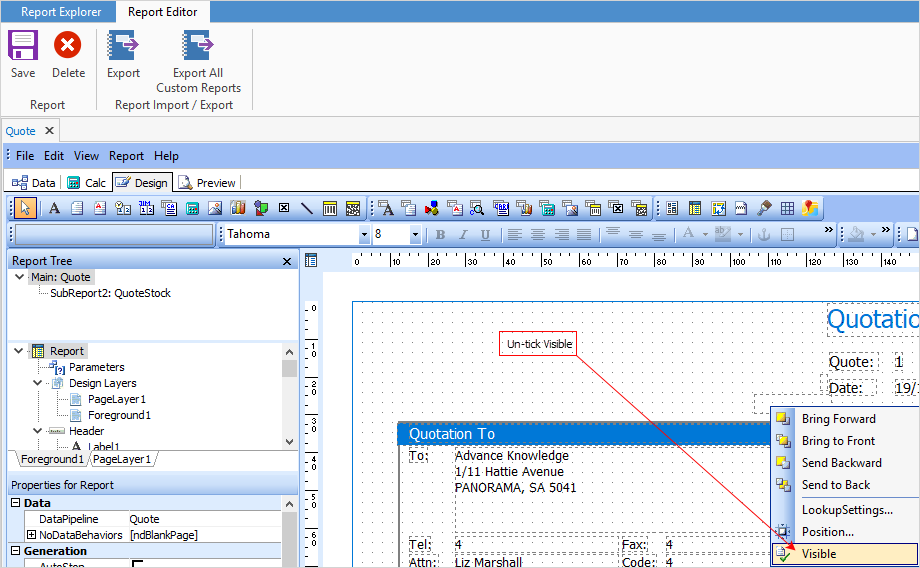
It is important to not delete fields/objects within reports – select the field, right click and untick Visible or colour the information white.
 |
•Click the Image icon and click in the area where the logo is to be placed. Size and position the image box.
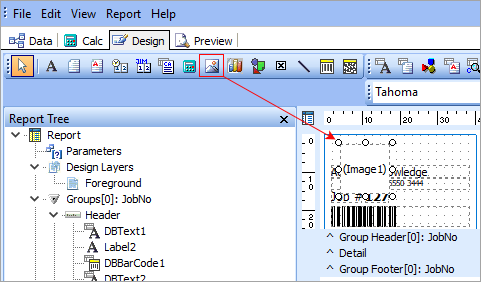
▪Position the cursor in the image area.
▪Right click and select Picture. Find the logo and add it.
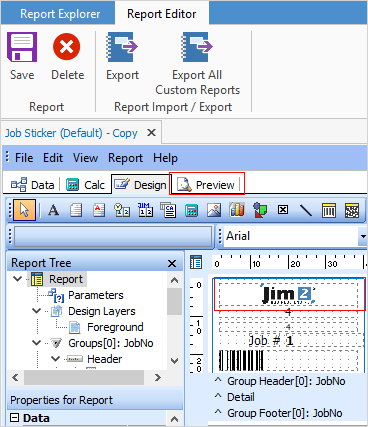
Go to the Preview tab to view the sticker.

Further information
Add a Signable Report for Jim2 Mobile
Display Company Logo in Reports
Set up Back of Page Text on Invoice
For more detailed information regarding Report Designer please refer to www.digital-metaphors.com (copy and paste into a web browser).