 |
Note: PC-EFTPOS is not available for Jim2Cloud customers. Only Tyro and Linkly are available. |
You will need to contact your bank to organise a PC EFTPOS compatible machine. Supported banks include:
▪Westpac
▪ANZ
▪Commonwealth
▪NAB
▪Suncorp
▪St George
▪BWA
▪Travelex
For more information please refer directly to your bank or the PC EFTPOS website: https://linkly.com.au.
Your EFTPOS machine will typically be connected to a retail workstation. Some EFTPOS machines still use an RS232 serial connection, so a USB to serial converter may be required.
Once you have received your PC EFTPOS compatible machine, download and install the software on the workstation. |
In all cases, terminal server environment or none, you need to ensure the PC EFTPOS Software and the Jim2 EFTSERVER software (download here: https://jim2.com.au/support/latest-update/ – scroll down the page) is installed and configured on the workstation that has the terminal physically connected to it.
It can also be better to have the workstations setup with static IP's to avoid DNS issues.
Once this is done, configure the Jim2 user's session to talk to the appropriate terminal – it does not have to be connected to it.
Create a Windows Firewall Rule for Jim2 EFTPOS Server.
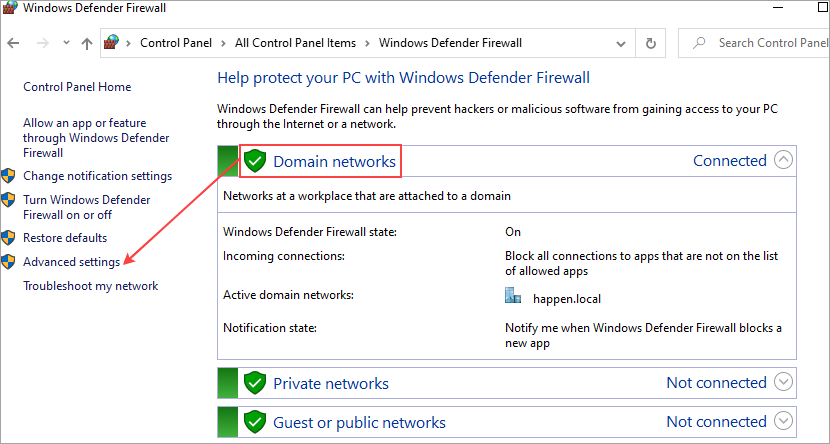
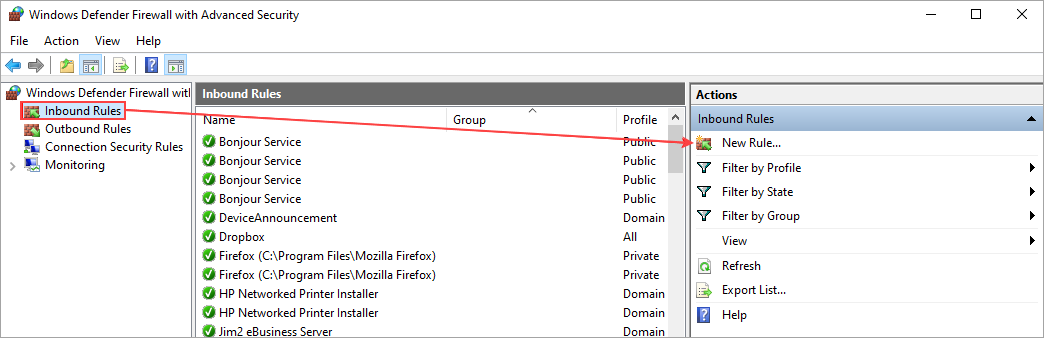
Add a new inbound rule.
Select Program.

Enter the path: C:\Program Files\Happen Business\Jim2 EFTPOS Server\Jim2 EFTPOS Server.exe
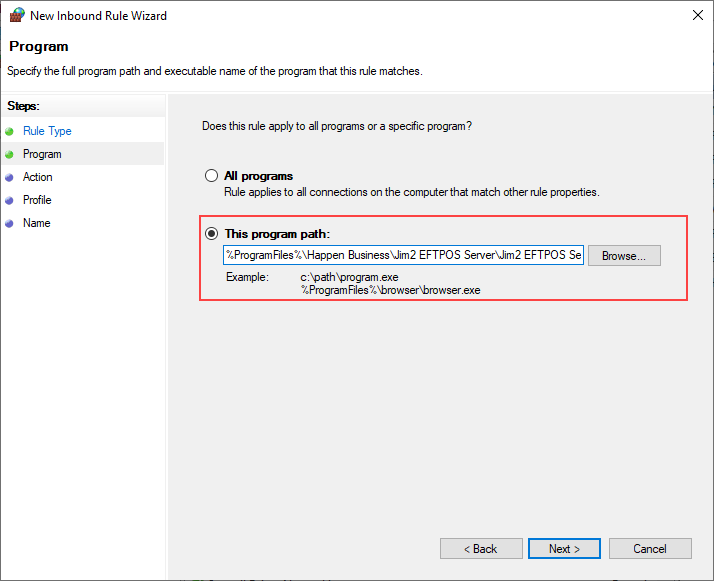
Click Next and tick Allow the connection.
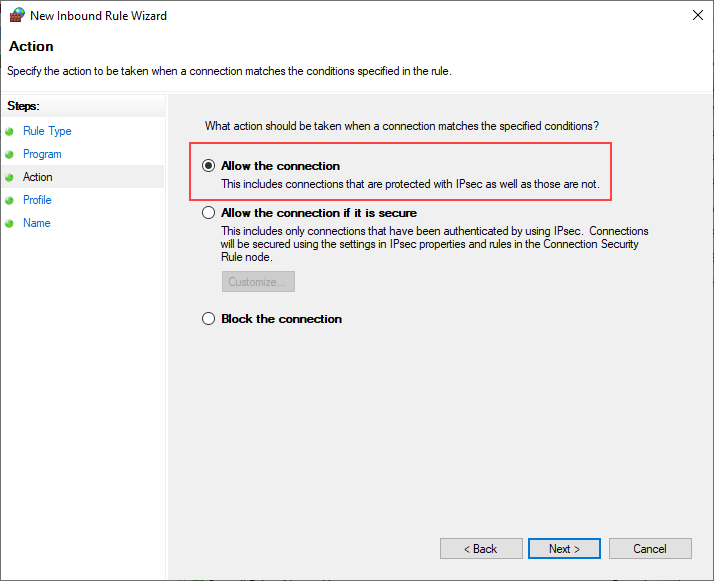
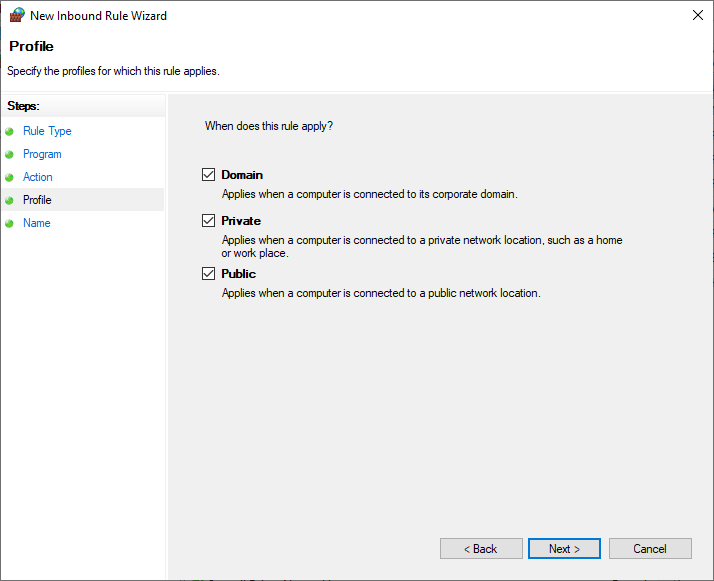
Click Next. All boxes will automatically be ticked, so no need to do anything else here.
Click Next and enter the Name: Jim2 EFTPOS Server. Enter a Description if desired.
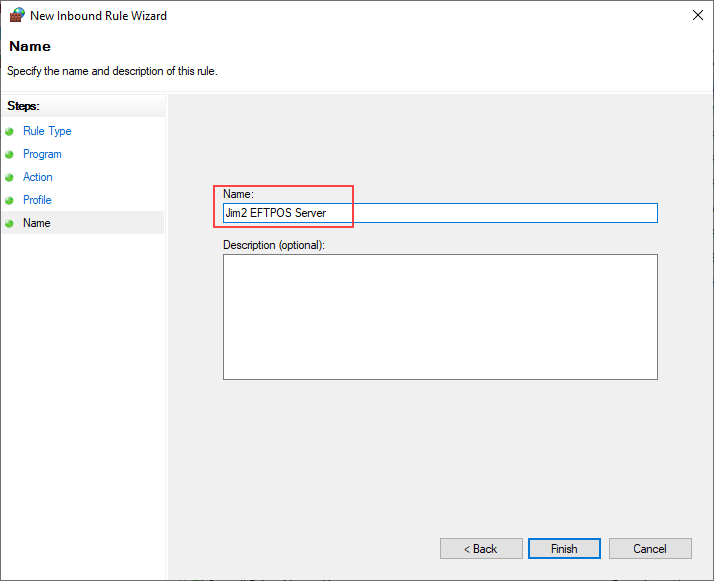
Click Finish.
Add Jim2 EFTPOS Server to the Windows Startup Folder. Browse to C:\Program Files\Happen Business\Jim2 EFTPOS Server.

Right click and select Copy, then click Start and type Run. Press Enter. In Open, type C:\ProgramData\Microsoft\Windows\Start Menu\Programs\Startup
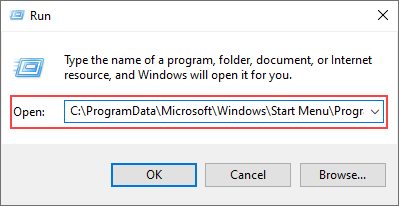
Click OK, then paste the Jim2 EFTPOS Server icon into the folder that opens.
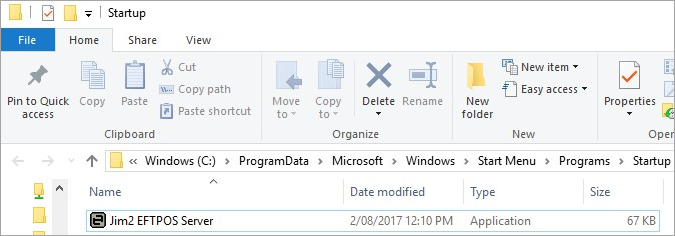
Restart the computer and Jim2 EFTPOS Server will run automatically.
Once Jim2 EFTPOS Server is installed, run the server, which is normally located in C:\Program Files\Happen Business\Jim2 EFTPOS Server.
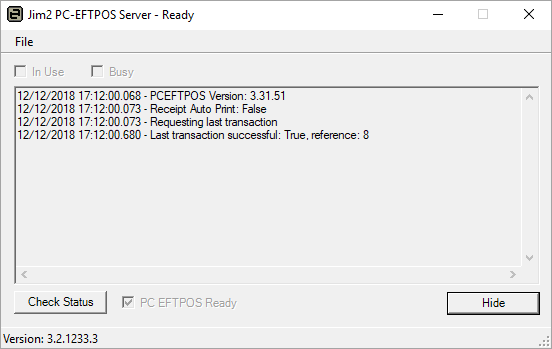
It will then appear in your Windows notification area at the far right of the task bar. The icon displays with a green $ sign, indicating that the EFTPOS Server is running and currently connected to the EFTPOS machine via PC EFTPOS. Right click on the EFTPOS Server icon and click Open to display the Jim2 EFTPOS Server.
 |
On each workstation that you wish to share the EFTPOS machine with, including the workstation that the machine is connected to, the next step is to set up Options.
Go to Tools > Options > Other > Retail > EFTPOS.
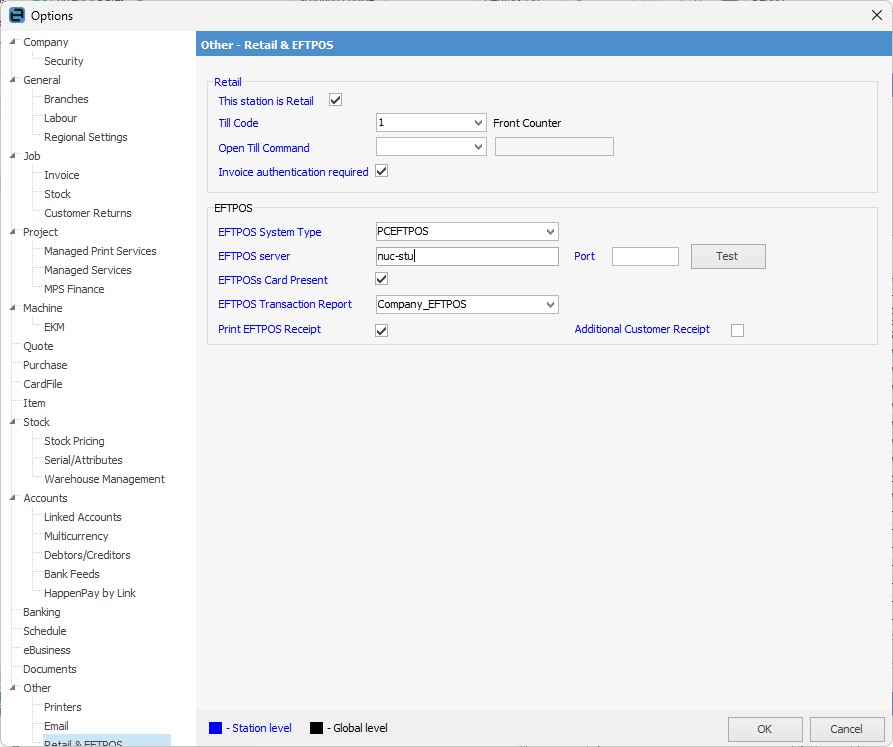
Set the following options as required:
Once these options have been set, click the Test button beside the Port number to check that Jim2 can talk to the EFTPOS server. |
Go to Tools > Setups > Banking > Payment Types. Click on the payment type you wish to process via EFTPOS and click Edit. Tick the EFTPOS tick-box, then click Save.
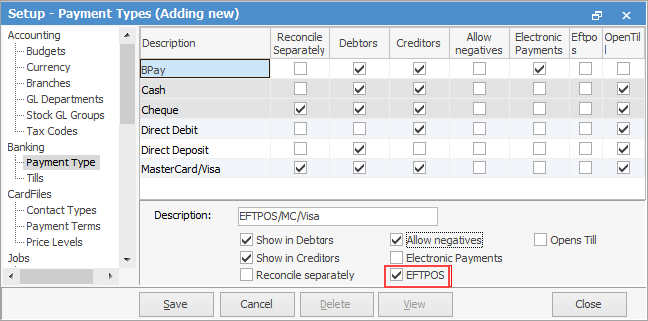
You would typically set up a separate payment type for each EFTPOS payment type your business handles, ie. Visa, Mastercard, EFTPOS, etc.
|
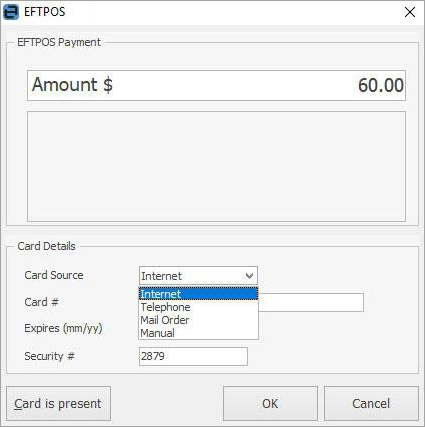
Process a payment as normal from the invoicing screen or from Debtors (including refunds) using a payment type that is flagged as EFTPOS. The EFTPOS form will appear.
Card Present Transaction Select the card source.
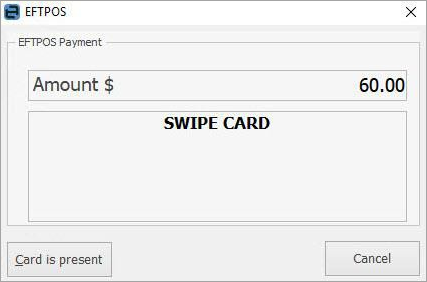
Confirm the amount, then click OK.
Ask the customer to present their card.
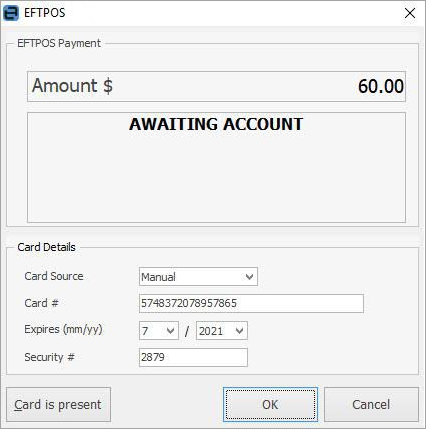
Ask the customer to select their account.
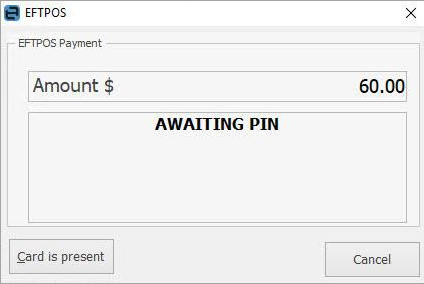
Ask customer to enter their PIN, or select Enter to sign.
If signing, confirm the signature matches the card, then click Yes.
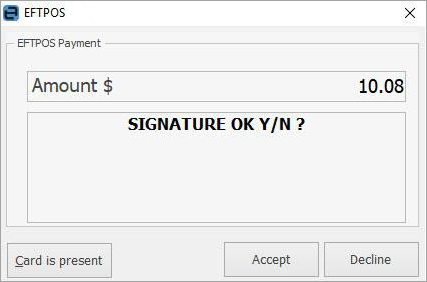
Click Accept and the transaction will be approved.
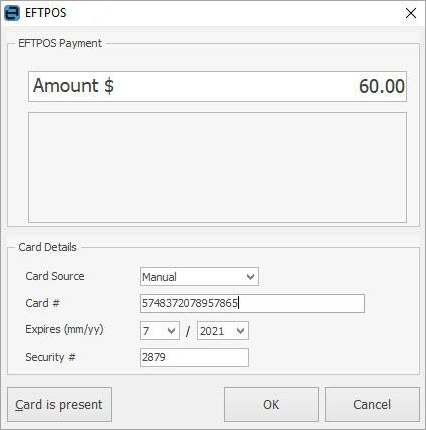
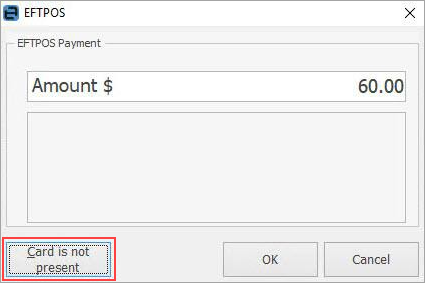
Card Not Present Transaction Confirm the amount, then click Card is not present (see options).
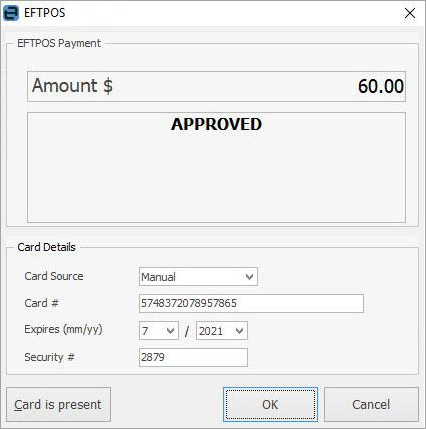
Enter the card details and click OK.
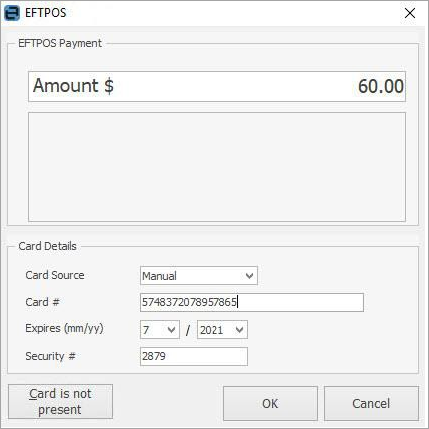
The transaction is then approved.
Payment Details When applying an EFTPOS-related payment to an invoice, the EFTPOS payment details will be printed on the bottom of the customer's invoice. This applies to both A4 and 80mm invoice reports.
Reprint an EFTPOS Payment Receipt Payment applied to an invoice – go to Jobs > Sales Register, find the invoice and print.
Payment via Debtors: ▪Open the related debtor and click on the payment to reprint. ▪On the ribbon select Payment Receipt or Payment Receipt 80mm from the Reports area, then select Print.
|
|
Note: It is an EFTPOS requirement that a record of the last EFTPOS transaction be reprinted in case of error or because of power loss midway through a transaction, etc. This report will be automatically reprinted by Jim2 as required using the EFTPOS Transaction Report, as set in options. |
Further information
Set up Linkly A910s PAX Terminal