First, via the Jim2 Configuration Manager, right click on the server and select Configure.
|
For Jim2 Cloud clients, please contact support@happen.biz to ensure this is set up. |
If not already set up, click on B2Bin, then click Enable.
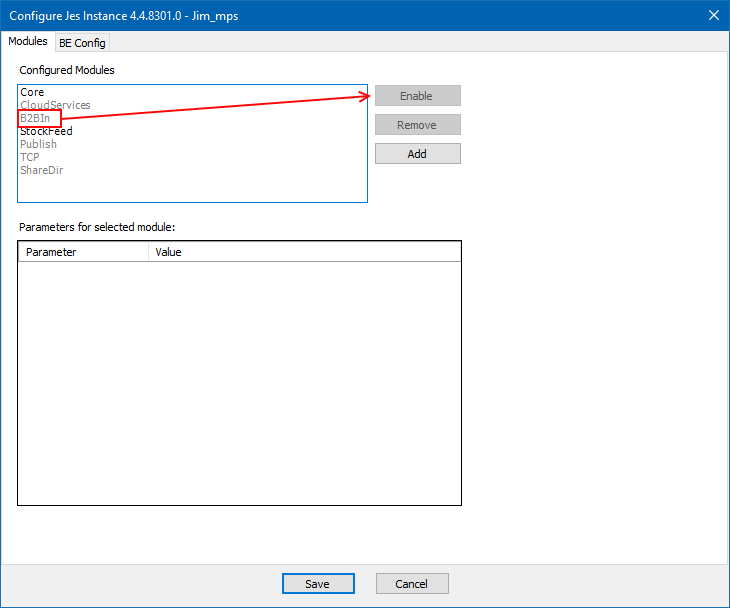
Upon Save, Jes will need to be restarted.
Jobs can be imported to Jim2 from spreadsheets via the Jobs > Import Jobs icon in the ribbon. Locate and select the file to bring up the screen below. Jim2 can import both .csv and Excel files.
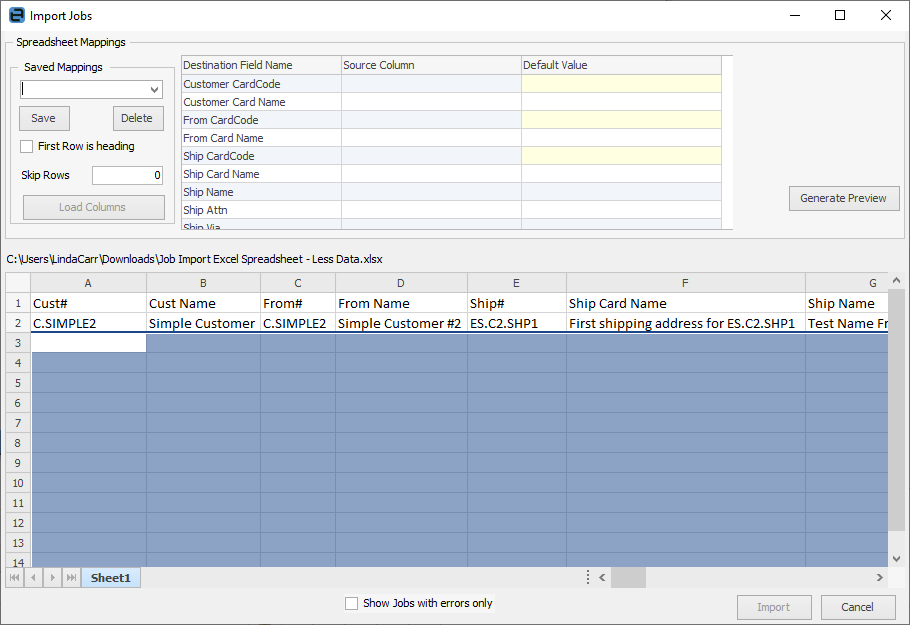
If row 1 is headings, tick First Row is heading.
If there are other rows above the headings, you can skip them by adding the number of rows to Skip Row field.
|
Note: If there is no Item field in the source file, the Default Value must have something selected, otherwise the import will fail.
Also, in the Stock section, there are two fields which require explanation:

The Stock Unit Price will be for either Tax Ex or Tax Inc, depending on the Stock Price Tax Inc Default Value shows. Ticked means the stock unit price will be including tax, so you need to ensure you map the Tax Inc column in the Source column. Unticked means the stock unit price will be excluding tax, so you need to ensure you map the Tax Ex column in the Source column. A solid or clear box means it will be based on what is set up in Job Options. |
Select the correct columns in the Source Column fields.
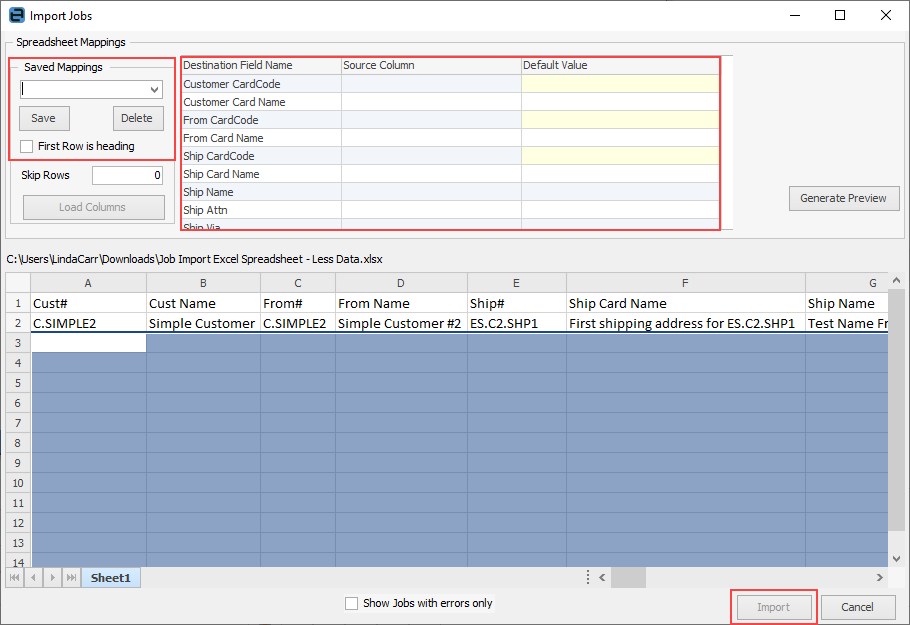
You will need to map the Source Columns to the Destination Field Name first, then you can click Generate Preview to view the Default Values. You can then save the Mapping fields, to use next time.
The Source column fields will show the headings in the spreadsheet to allow matching to the Destination Fields. The Default Value field allows you to choose from something already in Jim2, if required.
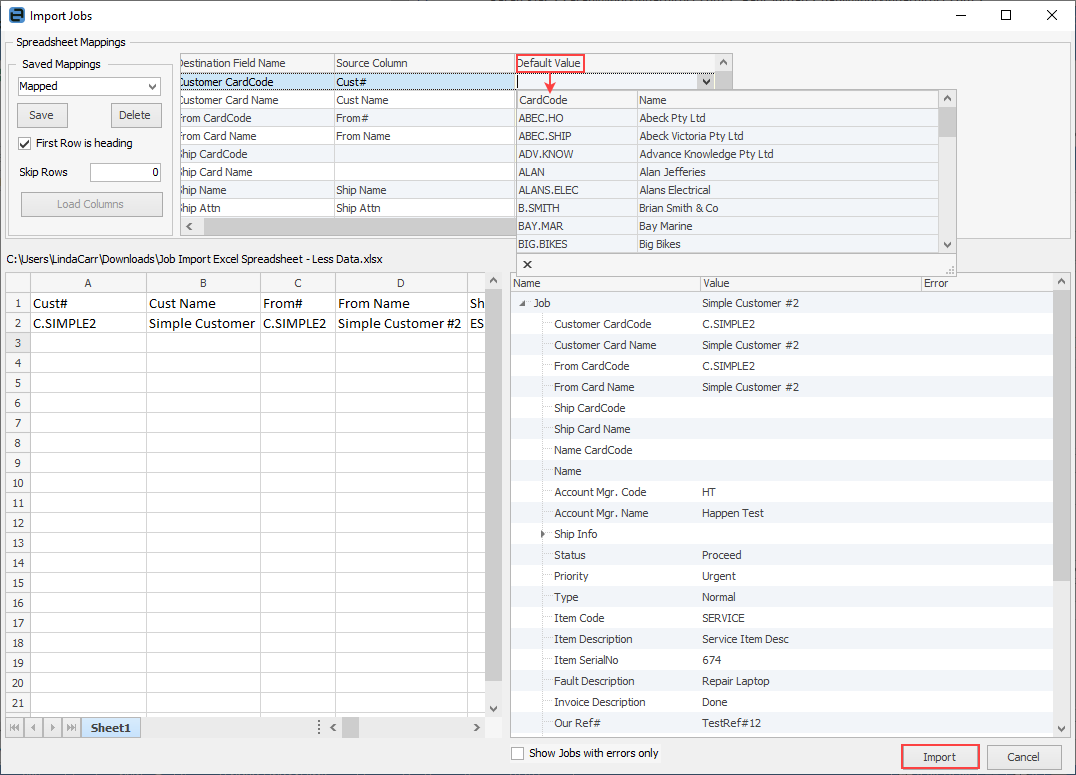
For clarification, the Stock Unit Price column is the one that brings the pricing onto jobs, and the Stock Price Tax Inc column value should be True or False to indicate if unit price is tax free or tax paid.
|
Note: There are more fields in the grid than can be seen here. Scroll down using your mouse wheel to reveal the other fields. |
To add multiple stock lines to one job using the import process, you will need to duplicate each line but change the stock code, description, pricing and anything else necessary first. As long as Cust#, Ship# and From# are the same, one job will be created.
To clarify, if any of the fields in the top section of the job differ, a new job will be created from that line in the import.

To add multiple jobs for the same customer, duplicate each line, but this time change any other field, ie. Cust Ref or Our Ref, Ship Address, for instance.
Once the above is done, click Generate Preview. If there are any errors, the preview screen will show the error areas in red.
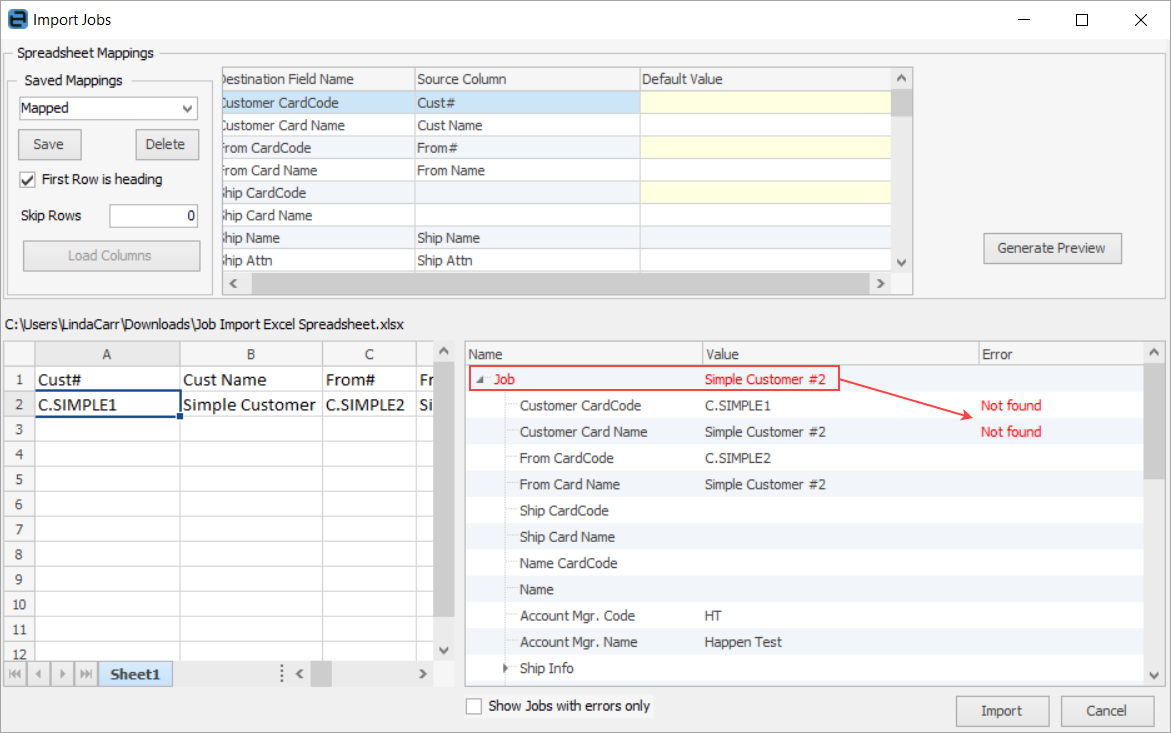
Click Import at bottom right.
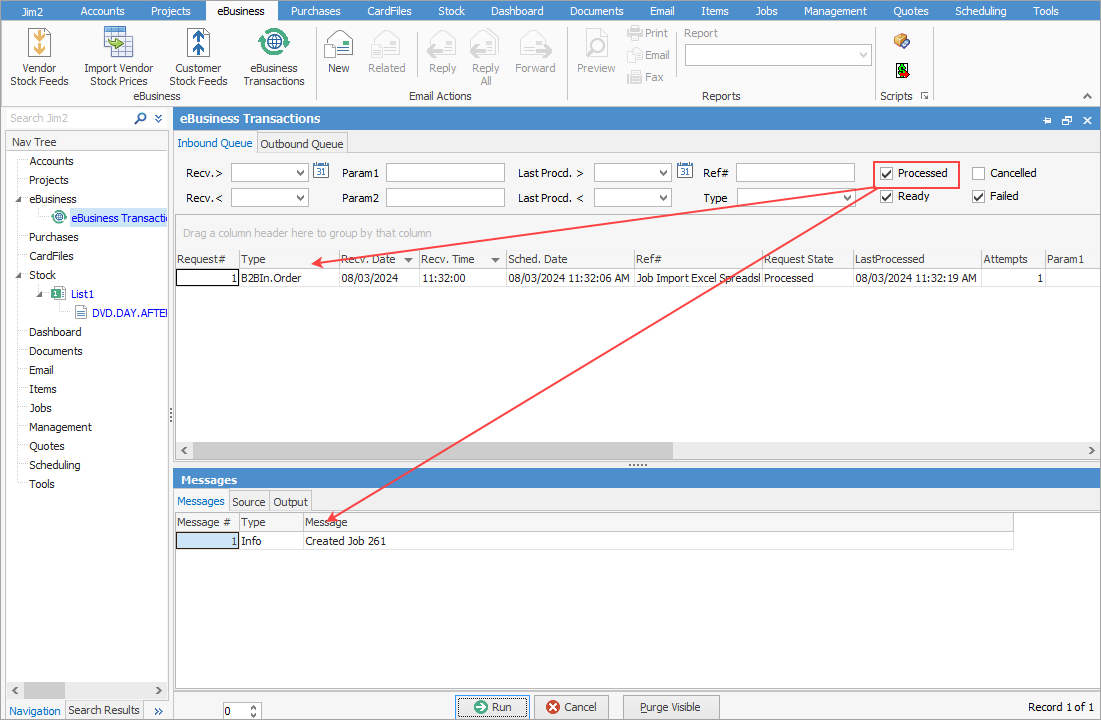
Information can then be found via eBusiness Transactions. Here, you will see that the job (or jobs) has been processed, including the job number. Any errors will appear here for you to address.
|
If the import fails, you will need to fix the file and rename it before importing again, as the eBusiness Transactions queue does not allow duplicates. |
