Please see Configure Jim2 Mobile v2 first, if your Jim2 is on premises. Once Jim2.Mobile has been configured, install the Jim2 App from the Google Play Store on your Android device.
Jim2.Mobile requires Android 5.0 or higher.
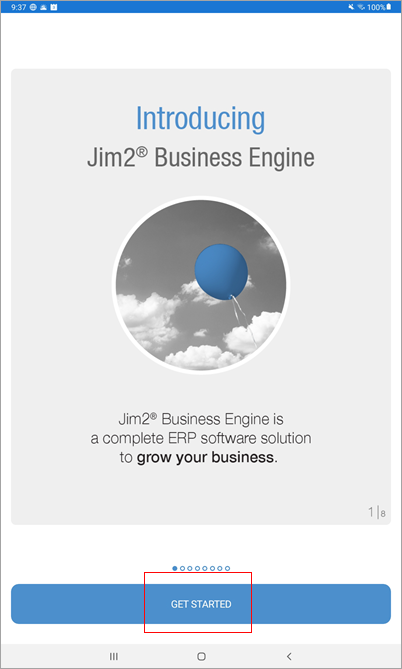
Start the Jim2 Mobile App. Tap Get Started at the bottom of the screen:
Tap Add Access ID to add the Happen Cloud Access ID.
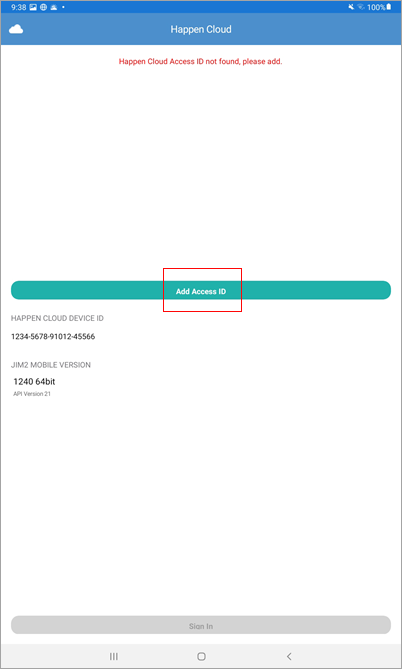
Enter the Happen Cloud Access ID and tap Add.
|
For Jim2 on premises customers, the Mobile Access ID is located within the Jes configuration on the Jim2 Server as set up here: 1.Run the Jim2 Configuration Manager. 2.Right click on Jes$Jim_(database name) to bring up the menu options. 3.Right click Configure. 4.Tap CloudServices, and click Enable. 5.In the Parameters for selected module, the AccessID will be displayed.
If Jim2 Cloud, please email support@happen.biz to obtain the cloud access ID if you cannot locate it. |
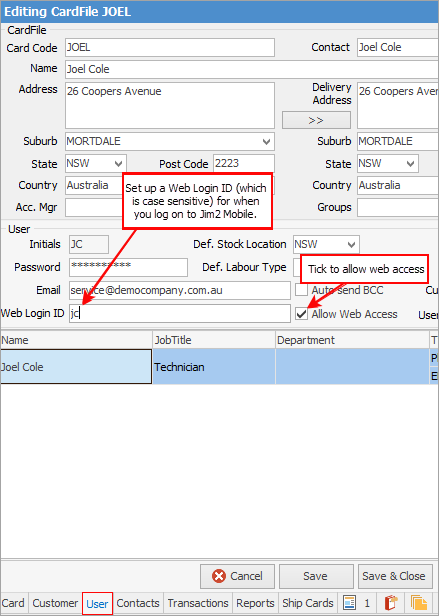
Once the Access ID is entered, tap Sign In at the bottom of the screen and log on with the Web Logon ID (refer to the User tab on your cardfile) and the same password used to log on to Jim2.
|
Note: The Web Login ID can be the user's initials for ease of entry. |
Once logged on to Jim2 Mobile, create a four-digit pin code, which is faster than logging in each time using the username and password combination.
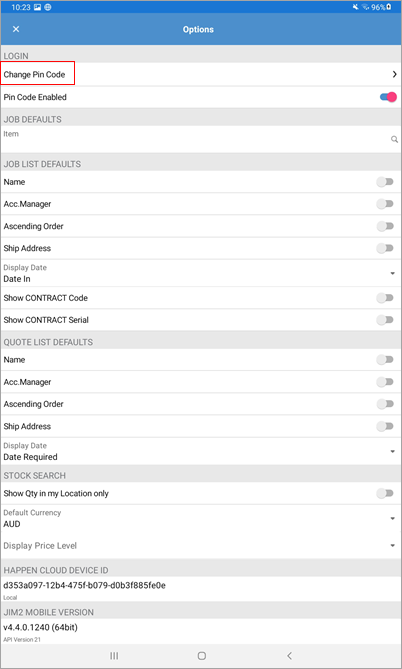
To create a pin code, tap the Menu icon in the upper left of the screen, then tap Options.
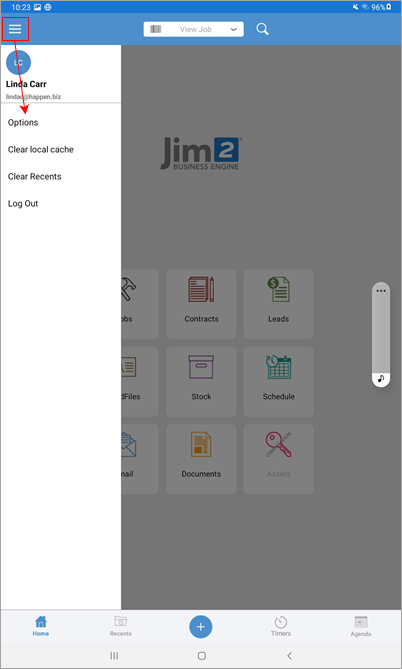
Tap Set Pin Code to create the four-digit number, tap Confirm.
To log off Jim2, tap on the Home icon at top left of screen and tap Log Out (see first image above).
|
To access the camera, go to Settings and select App Settings, then choose Jim2 App. Select Permissions (camera). On the next screen, select Camera, then on the final screen, select Allow only while using the app.
Further information
|
Email Documents from Jim2 Mobile v2 Add Documents/Images to Jim2 Mobile v2 Jim2 Mobile Connection Issues v2 |

