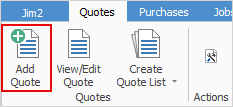
1.On the ribbon, go to Quotes > Add Quote. The Adding Quote form is displayed.
|
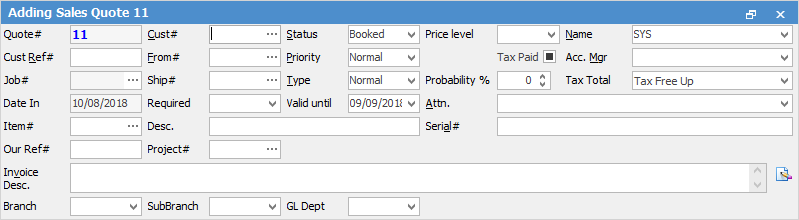
Some fields will have information defaulted into them automatically by Jim2, including Quote#, Status, Name, Priority and the Date In. |

 |
Some letters in the field names within the header are underlined, eg. Cust#. Using Alt+ the underlined letter will jump to the field beside that heading. |
|
Jim2 is designed to prompt user input by placing the cursor at the appropriate fields that the user is required to complete. The Enter key will move the cursor to the next user input field in the entry pattern. The pattern follows Customer Card Code#, Customer Ref# and Item fields. |
2.Select a customer or prospect in one of the following ways:
▪Start to enter the customer name in the Cust# field. Jim2 intuitive type will begin to pre-empt the choice of names from the Card Code list information is entered.
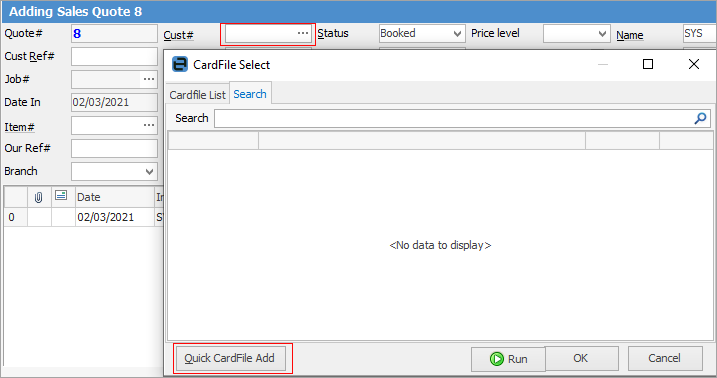
▪Click the ellipsis [...] beside the Cust# field to display the full list of customers, then choose from the list.
If there is no cardfile for the customer, when in the Cust# field use F5 select Quick CardFile Add to enter a new cardfile. This can then be used on the current quote.
The Quote header will now be updated with Price Level, Ship # and the Tax Paid information from that specific customer's cardfile. However, this default information (if required) can be overridden by using the Tab key or mouse to move to that field, highlight and re-select. The exception is that Quote # and Date In are not able to be edited as they form part of the secure quality record for that quote.
3.Enter a customer reference (for example: the name of the person who requested the quote, or a number they supply) in the Customer Ref# field.
|
This alpha/numeric reference should be supplied by the customer so that they can match this quote with their own internal procedures, personnel or work orders. |
4.Enter the date the quote is requested in the Date Req field, by either entering the date or choosing from the drop down  to select a date.
|
When users handle many quotes at once, this Date Req field should be closely monitored to ensure effective customer service. |
5.The date the quote is valid till will auto fill in the Valid Until field based on the default set in Tools > Options > Quotes, however override this.
|
This is very useful for goods that may be on special pricing depending on date of order, etc. |
6.Select the Item that is attached to this quote (remember Item is the prime objective of a quote) and the Desc. field will default to the text description as set up in that Item record. Change or add more information here, if required.
|
A Sale Item will show the Invoice Description field, which can be shown on a quote report if Display Invoice Description is ticked on the Item. A Service Item will display both Fault and Invoice Description, however the Fault Description will not display on the quote report, only the Invoice Description will if it has been ticked in the Item. |
7.Enter a numeric value for the probability of this quote being successful. This field will round the entered value up to the nearest five percent.
8.Now add comments or stock to this quote.
The F3 function key will move to the Comment grid of the quote.
The F4 function key will move to the stock grid.
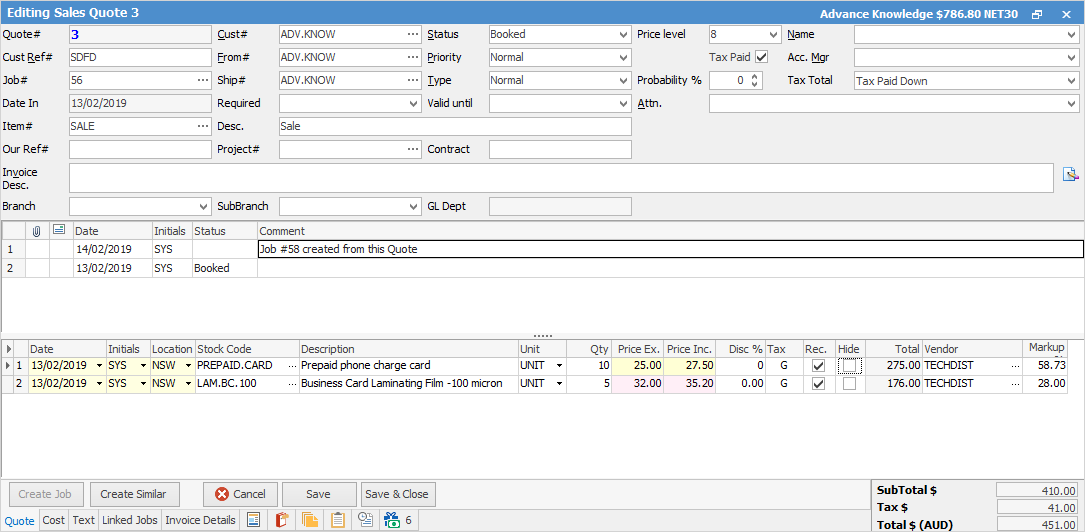
If you wish to add a discount to a quote, you can create a journal stock code for the discount amount and add it as a stock line.
If Rec is unticked, the value of the lines unticked will drop into the Optional Extras field on the quote report.

As you can see from the above image, weight and quantity supplied appears here. These will show as long as a weight has been added to the relevant stock code and a value has been entered in the Supply column. Qty Count will always show.
|
Note: If using kits, the weight displayed will be the sum of the weight of the parts. |
Documents can be added to a quote (such as adding an acceptance to a quote in writing) via the Documents tab at the footer.
|
Note: Once a quote has been saved, you cannot delete it, however you can change the status to Cancel. |
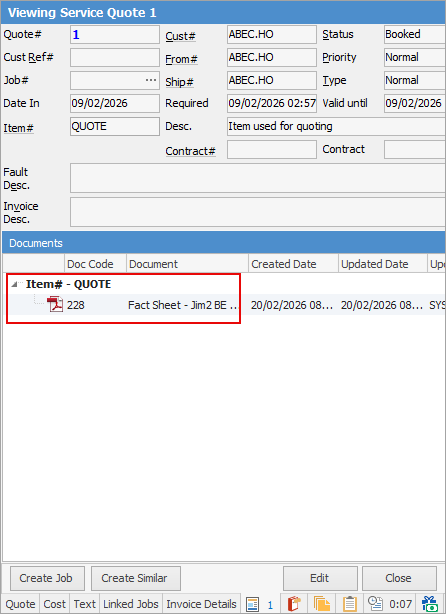
When adding a quote, if the Item# has documents attached, these will also show on the quote:

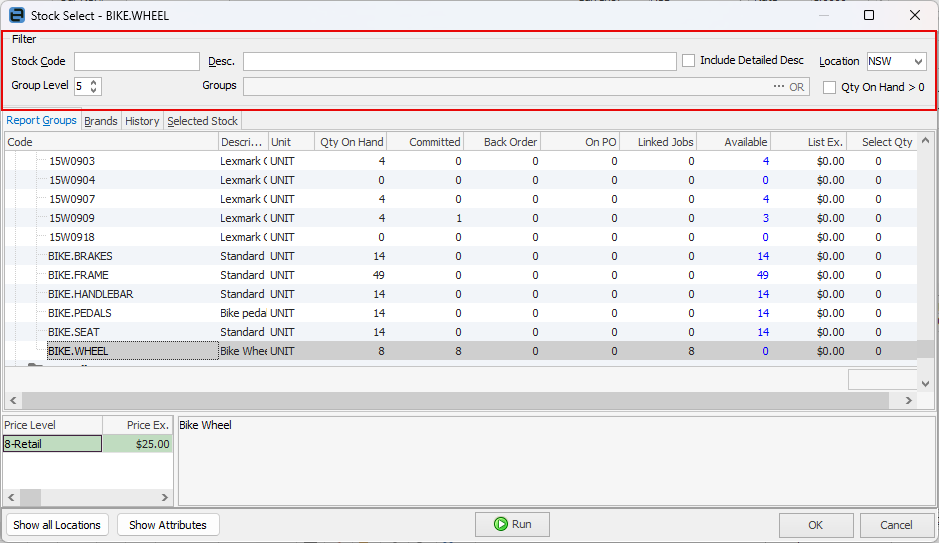
1.Select the stock grid by either: ▪Pressing the F4 function key, or ▪Clicking in the Stock Code field. 2.To add stock to a quote, move to the Stock Code field and select stock in one of the following ways: •Click the Stock Code ellipsis [...] which then brings up the stock lookup screen. In this lookup also view the quantities. •Start to enter the stock code. Jim2 intuitive type will begin to pre-empt the choice of stock codes from its database as information is entered. •Scan the stock barcode to automatically add the correct stock code.
Once the stock has been selected, the Description will be defaulted to that field automatically. Select a vendor for that stock, or it will automatically populate from the Cost tab if entered there.
Tab to the end of the line, then use Enter to go down to the next line. To add a stock line above another stock line, select the line then press Insert on the keyboard – this will insert a new line directly above the line selected. The stock lines can also easily be reordered: 
Select the unit measure of the stock being sold and enter the quantity required for the quote. The prices will default to those set up for that price level or customer – edit the prices at this point.
See here for information on adding kit stock to quotes.
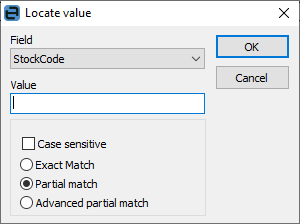
Within the stock grid, search all columns and rows by pressing Ctrl+S. This will bring up the Locate value screen, where select which field to search by entering the text to search for in the Value field.
Copying/moving/merging stock from other jobs, quotes or project templates is also possible.
As you can see from the above image, weight and quantity supplied appears here. These will show as long as a weight has been added to the relevant stock code and a value has been entered in the Supply column. Qty Count will always show.
|
 on the top left-hand corner of the stock grid. This feature allows viewing of all defaults for that stock, including the stock location defaulted to the user. By expanding the grid to show all fields, override these defaults.
Further information
Create Quote from Previous or Similar Quote
Create a Template for Recurring Quotes