
Adding groups to a card file allows you to filter lists to a greater degree. Report groups might be a type of industry, Non Report groups could be for marketing type information, and Region groups might be for the sales team to use, eg. Sydney CBD, South West Sydney, Blue Mountains, Central Coast etc.
This section explains how to assign groups to a card file. For an explanation of groups in general, as well as where and why you might use them, please refer to the Groups topic.
1.To assign Groups to a card file, start by selecting the ellipsis [...] on the right-hand edge of the Groups field in Edit mode, as shown below.

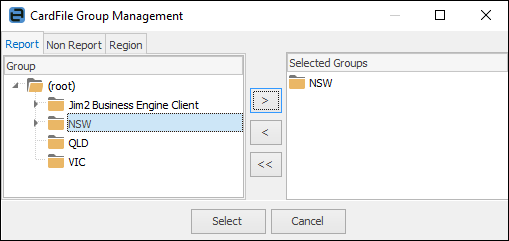
2.The CardFile Group Management screen will appear, showing you a list of all groups that are currently available. In the left-hand screen, select the group, then click  to select the groups for that card file. When finished, click Select at the bottom of the screen.
 |
When adding report level groups to card files, you can only assign one group of each level to a particular card file. The groups must be consecutively ascending, ie. to assign a level 2 group, you must have first assigned a level 1 group. In the example above, NSW is a level 1 group, and Permanent is a level 2 group. You can add as many non report and region groups as you wish. |
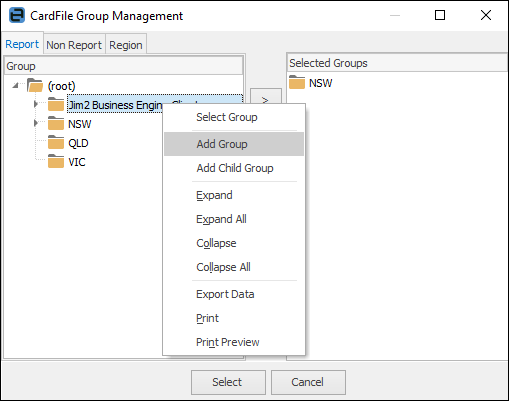
3.If a suitable group is not available, you may add a group whilst editing the card file. Right click in the left-hand pane of the CardFile Group Management screen and select either Add Group, or Add Child Group from the drop-down options.
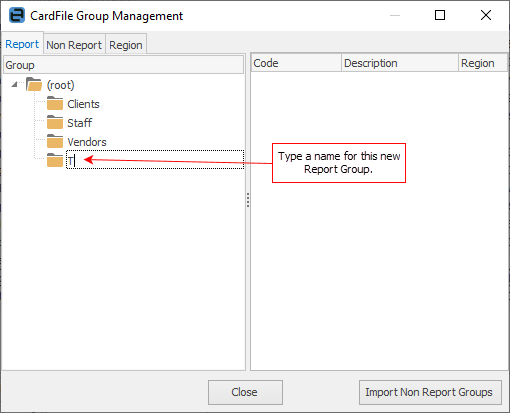
4.A new (blank) group will appear. Enter the new group name. The new group will now be available, and you can apply it immediately by using the to move the new group into the selected groups pane on the right.
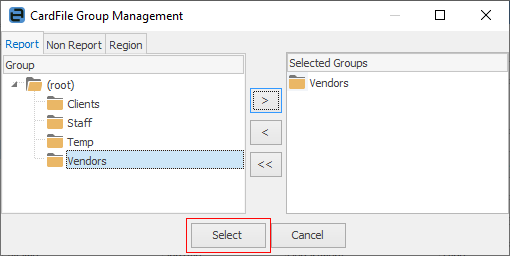
5.When you have applied all the groups (report, non report, etc.) to the card file, click Select at the bottom of the screen to return to the CardFile screen and will have included those groups.
Further information: