First, via the Jim2 Configuration Manager, right click on the server and select Configure. Click on B2BIn then click Enable to the right.
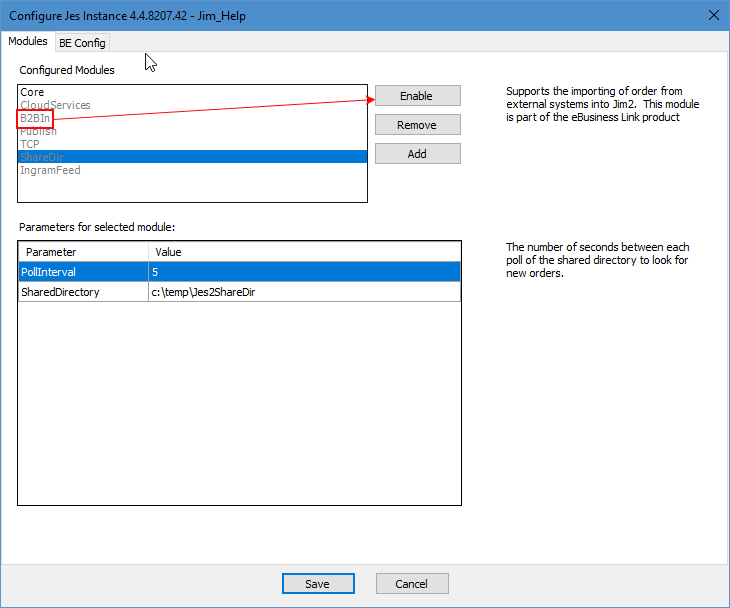
You will need to restart the Jes instance on completion.
On the ribbon, go to eBusiness, then select the Import Vendor Stock icon.

Locate the file and select it. Jim2 can import both .csv and Excel files. The following screen will appear:
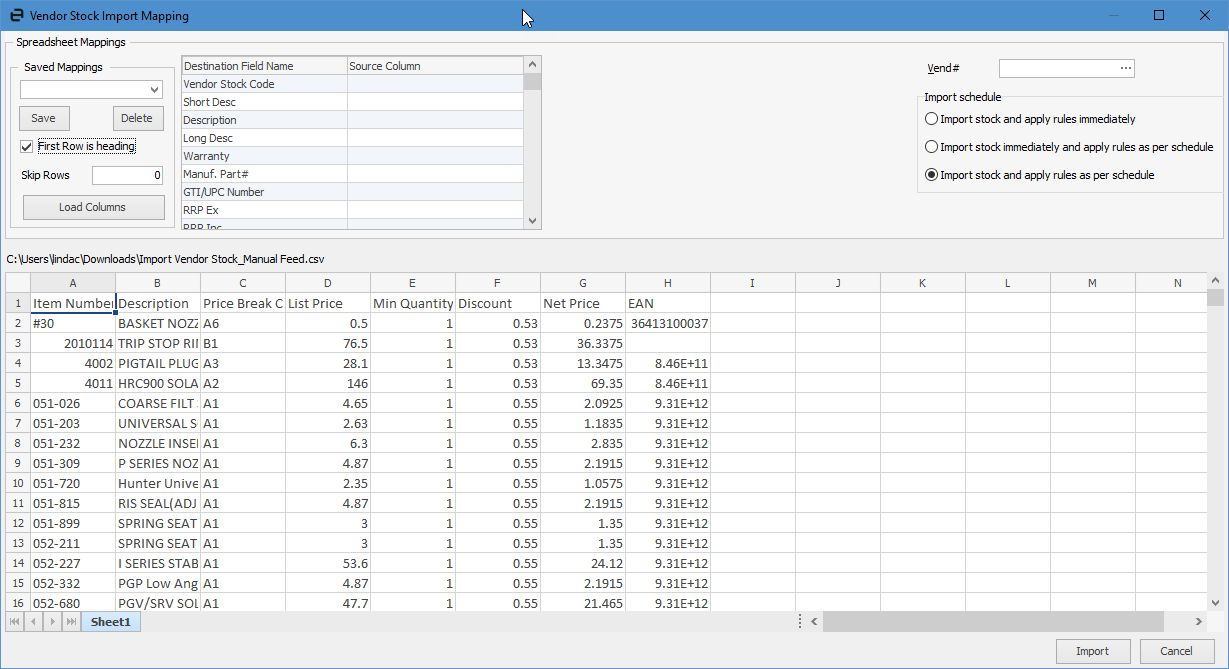
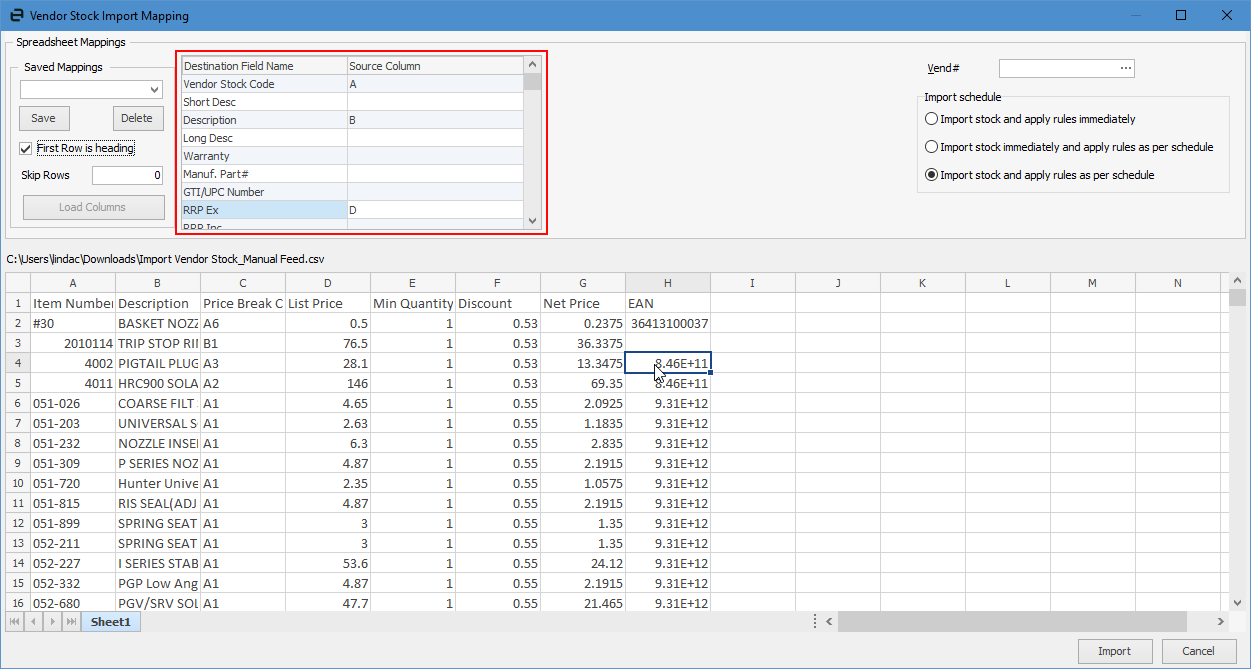
Tick First Row is heading to allow for correct mapping. Select the correct columns in the Source Column fields. If you are only updating certain fields, ensure the Vendor Stock Code field is selected in the Source Column, then select any others you require.
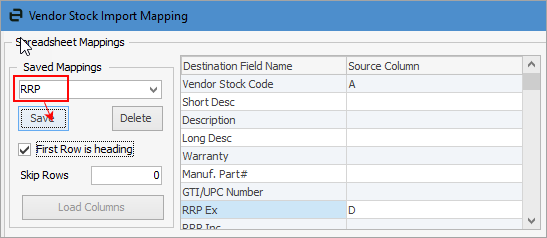
If you will use these mapped fields for future imports, you can enter a name for the mapping and click Save. Next time you import, you can select the mapping file you saved and it will pre-populate the Source Columns.
The Skip Rows field allows you to enter a number to specify how many rows to skip, then use the next row as a column heading.
On the right hand side, select a Vendor cardcode.
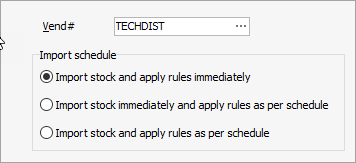
You can also tick one of the three Import schedule options.
▪Import stock and apply rules immediately will import new and update existing stock straight away.
▪Import stock immediately and apply rules as per schedule will do the same as above immediately, based on scheduled rules.
▪Import stock and apply rules as per schedule will import new and update existing stock based on scheduled rules.
How to Apply a Credit Card Charge Using Stock Backfill Stock Sold in Advance Buy and Sell in Different Measures Change a Serial Number on a Stock Record |
|
Move Stock from Depleting to Asset |