On the ribbon, go to Tools > Report Designer and locate the report to be exported via the Report Navigation Tree, then select the report from the Report List.

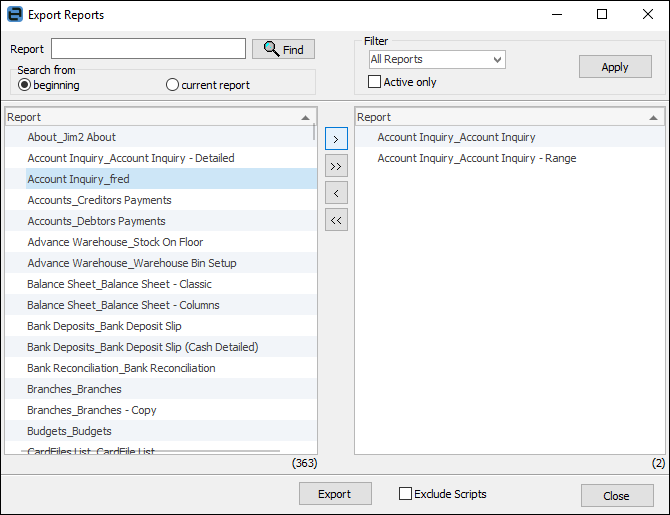
To export a report, simply select Export on the ribbon in Report Explorer. You will now see a screen asking which report you want to export. You can export just one, several or all reports.

If you highlight a report in Report Explorer and then click  , the report that was selected will automatically be placed in the Selected Reports side of the screen.
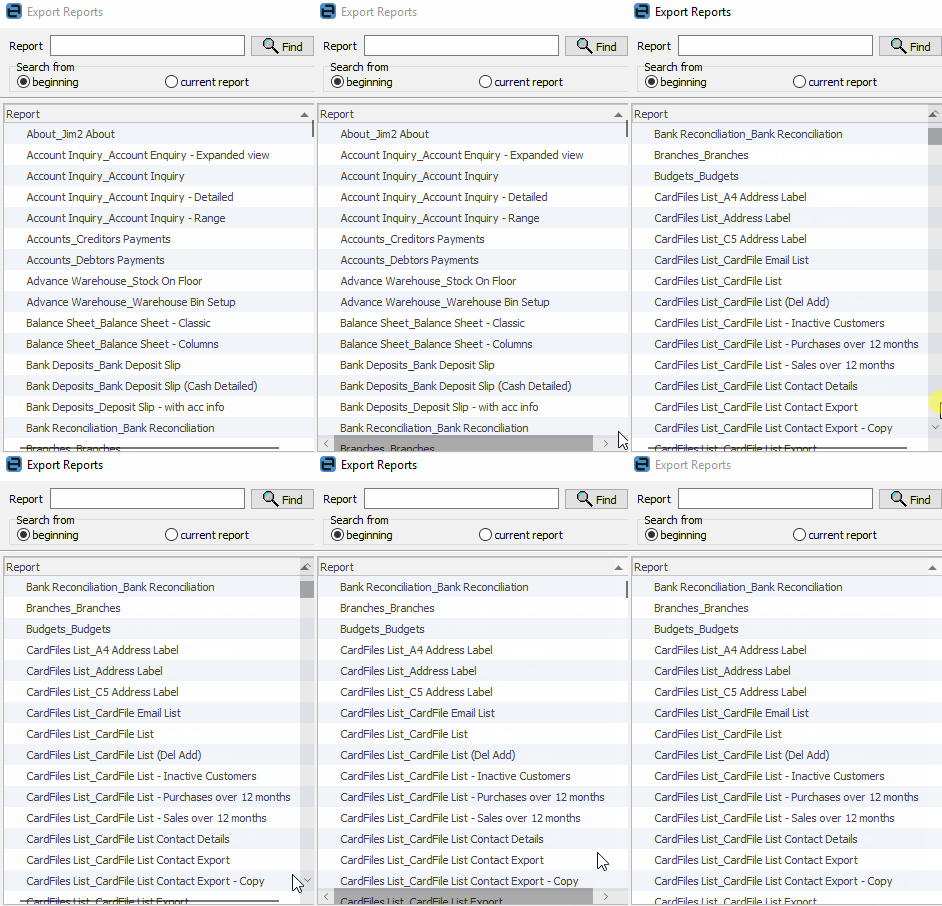
To select other reports for export, you can either use the slide bar to move up and down through the Reports list, or you can use the Search field to locate reports for export.

See the Locating Reports for Export section.
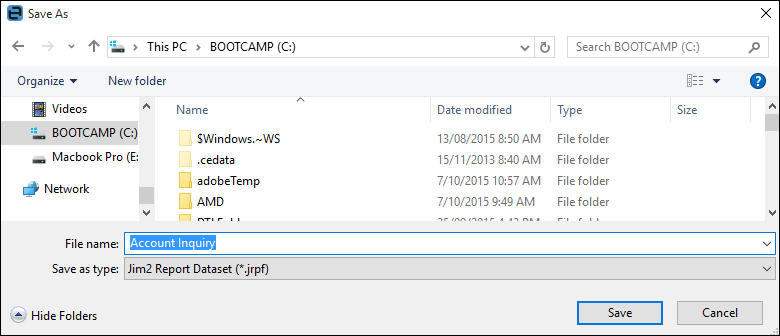
Once you have selected the report you want to export, you will see a screen asking where on your computer or network you want to export the report to.

 |
Save as type will automatically select Jim2 Report Dataset. Please do not change this setting. The file name will also default to the name of the folder and report, which is useful when you have reports with a similar name with different scripts. |
If you have selected to export multiple reports as one dataset, you will need to enter a name for this group of reports.
Once you have exported the report, the following confirmation screen will be displayed.

Further information:
Add a Signable Report for Jim2 Mobile |
|
For more detailed information regarding Report Designer please refer to www.digital-metaphors.com (copy and paste into a web browser).