
Office 365 best practice enforces multi-factor authentication. The following explains the configuration requirements so Jim2 can retrieve Office 365 email using the Microsoft Graphi API, and how to configure within Jim2. This applies to both Jim2.Cloud and Jim2 on premises.
Set up application
1.Create an application at admin.microsoft.com, logged in with suitable access to Azure Active Directory.
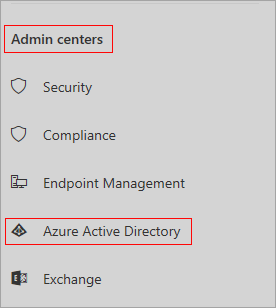
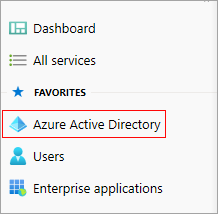
2.Select Azure Active Directory.
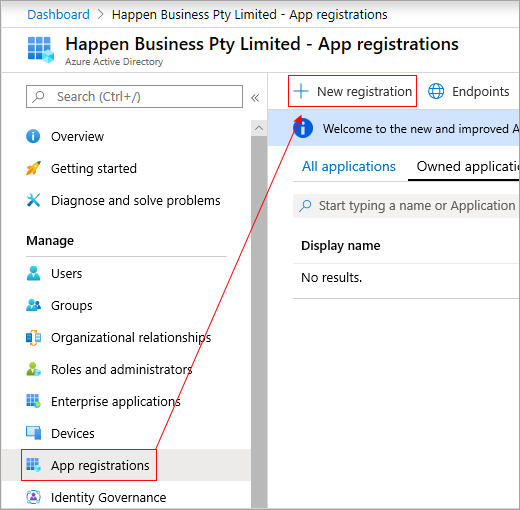
3.Select App registrations, then New registration.
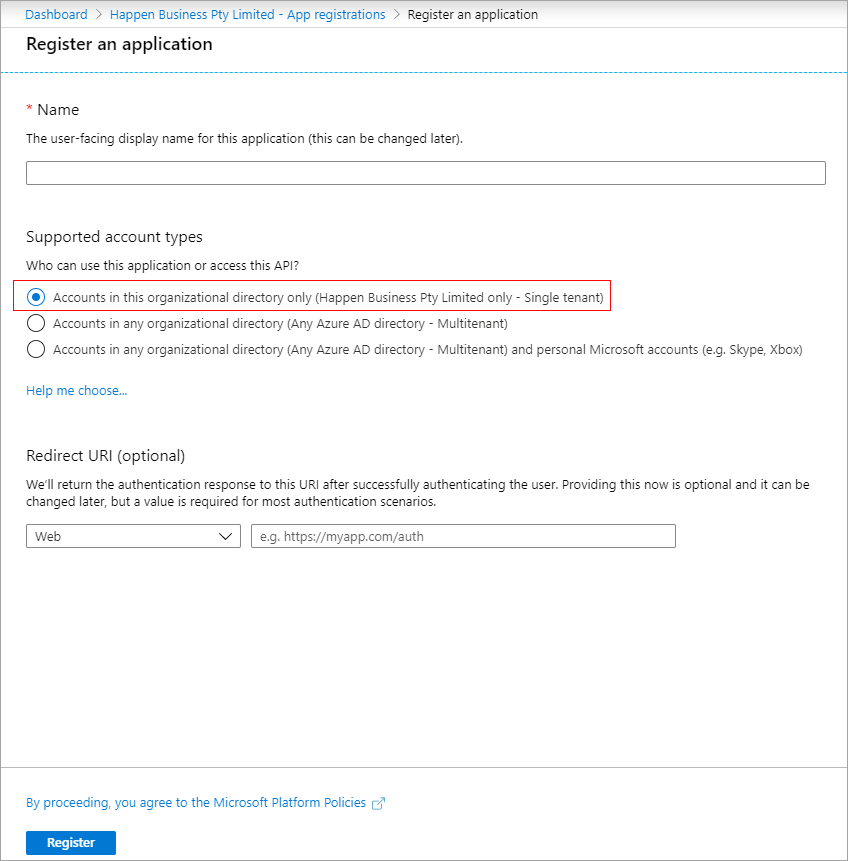
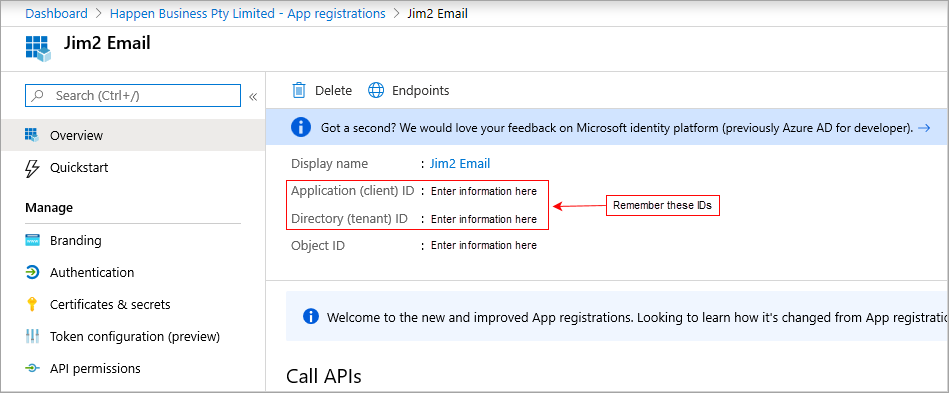
4.Enter a name for the application. It is suggested to name it Jim2 Email. Select Accounts in this organisation directory only (<name> only – single tenant).
|
Remember the Application and Directory ID as these need to be entered when setting up email accounts in Jim2. |

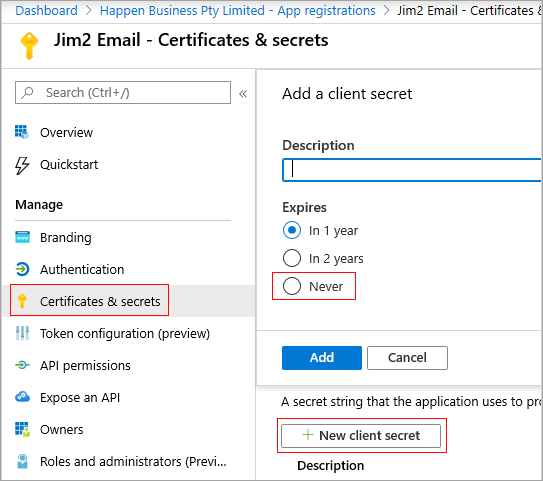
5.Create a secret for the application. Select Certificates & secrets, then New Client secret. It is suggested to select Never expire. If it is required for the secret to expire, a new secret needs to be created and then updated in Jim2 before the secret expires.
|
If this is not done, Jim2 will fail to retrieve emails once the secret has expired. |
6.Copy this secret and keep it for entry into Jim2.

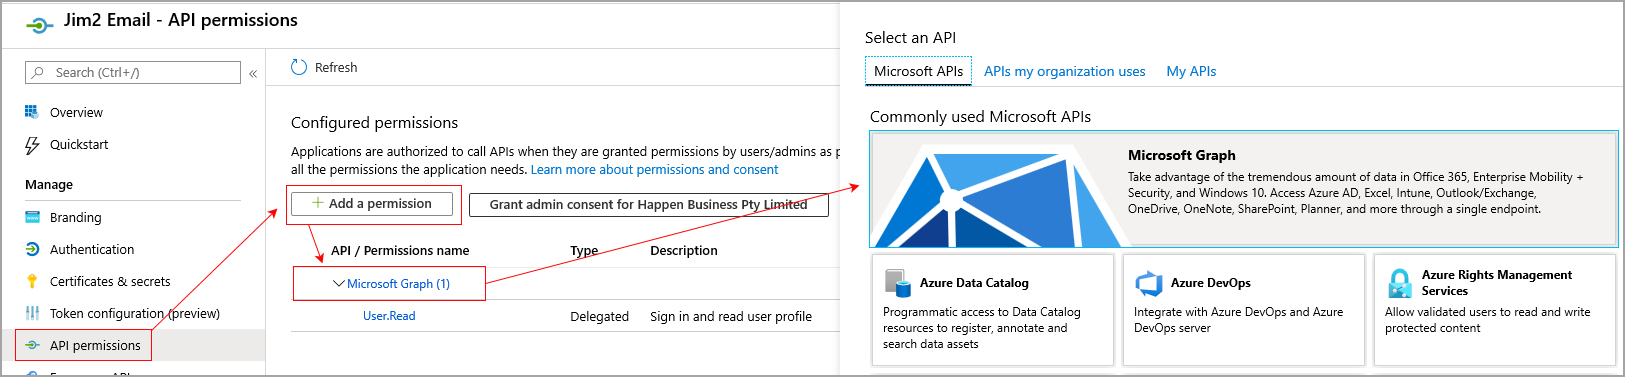
7.Go to API Permissions, click Add a permission, then select Microsoft Graph.
8.Select Application permissions.
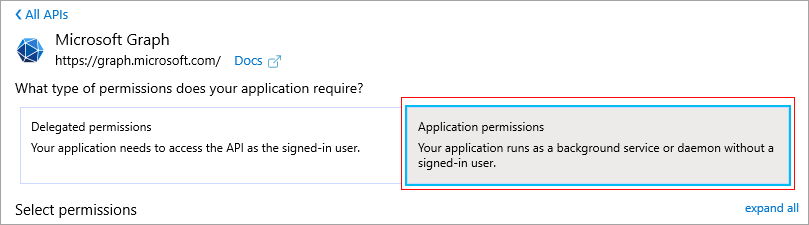
9.Select Add permissions and wait a few minutes as per instructions from the Azure portal. In this area, grant the application access to the accounts Jim2 will download emails for.

10.Go to Enterprise applications and find the application just created (a suggested name for the application would be Jim2 Email) in the search field.
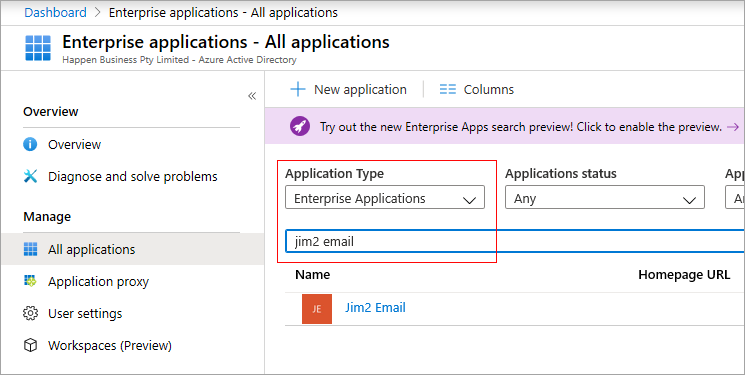
11.Select the applications, then select Users and groups.
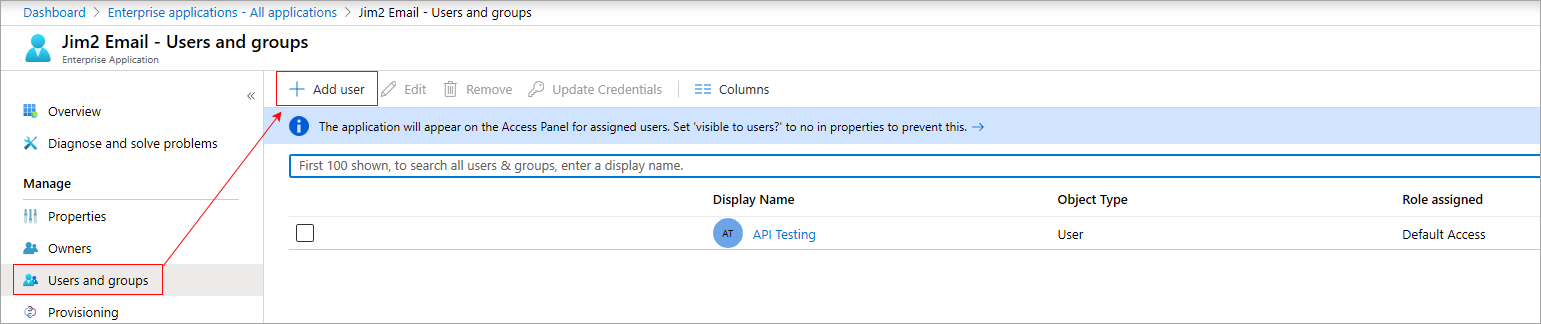
12.Add the users Jim2 will download email for.
Jim2 setup
Prior to the following, please ensure you are on a Jim2 build greater than 6820. You can find this information by going to Jim2 on the ribbon and selecting About Jim2.
If your build is prior to that, please go to jim2.com.au/support/latest-update/ and download and install the latest update from that page.
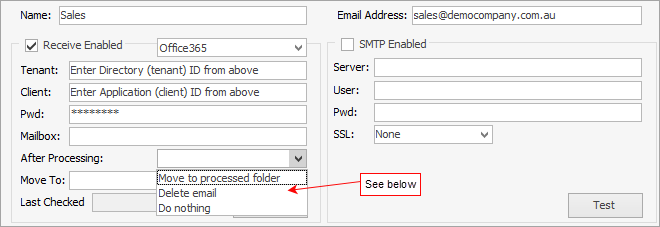
Name and Email Address: If it is not required to have an email address available for staff to select when sending emails, leave the email address blank. If left blank, enter the email address in Mailbox (see above) where the emails are to be retrieved from, ie. sales@democompany.com. If emails are to go out as support@democompany.com, but they are forwarded by email servers to a mailbox of support@democompany.com, set the email address and Mailbox to support@democompany.com.
Received Enabled must be ticked. SMTP details are not to be entered here.
▪Tenant – Enter the Directory (tenant) ID from above
▪Client – Enter the Application (client) ID from above
▪Pwd – Enter the Secret from step 6 above
▪Mailbox – Enter the email address where the emails are to be retrieved from.
▪After Processing – Select an action to take:
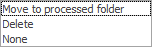
–Move To processed folder – After the email is downloaded it is moved to the nominated folder in Office 365.
–Delete – After the email is downloaded, it is deleted from the mailbox.
–Do nothing – Email is left in mailbox (the last checked date is used to determine which emails to download).
|
This is not recommended. |
▪Move To – it is recommended to create a folder such as DownloadedtoJim and have emails moved here.
▪Last Checked – This is the last date and time Jim2 checked for emails (as long as None is not selected above).
▪Server – Enter the email server here
▪User – Enter the email address here
▪Pwd – enter the password for the email address.
▪Select SSL.
Once set up, select Test to ensure everything is correct.
Follow the links below for information on setting up email:
Follow the links below on email how to: