
Email lists are just like any other list in Jim2, with the exception that they must be based on an email folder. For example, your sales team can run a Sales email list (this is an email folder) which will show only emails related to them, saving time by not having to sort through other departments' emails.
Email lists can be named, pinned and published just like all other lists in Jim2.
Email Lists need to be set up in Email Security first, to allow them to be viewed.
Folders need to be set up via Tools > Setups > Email > Folders first.

Go to Email > Create Email List, enter the folder name you wish to create the list for.

 |
You will see some letters underlined in the field names within the header, eg. Folder. Using Alt+ the underlined letter will jump you to the field beside that heading. |
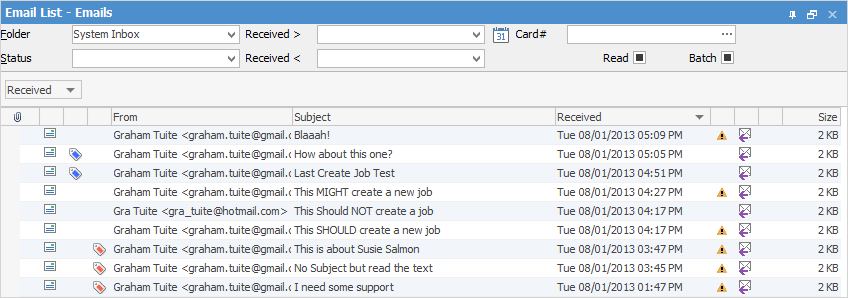
Below is an explanation of the fields that appear in the Email header area:
Field |
Description |
|---|---|
Folder |
Select the folder you wish to set up as a list, based on those already set up earlier. |
Received > |
Select the date after which you want to run the list for. You can also select the calendar icon beside this field where you have a large number of options to choose from, ie. This Week, This Month, etc. |
Card# |
You can select a single card file which will show only emails relating to that card file. |
Status |
Choices: None, Error, Attention or OK. |
Received < |
Select the date before which you want to include in the list, or selecting the calendar icon beside this field will populate this field automatically based on what you choose, ie. This Week, This Month, etc. |
Read |
Options here are All Read emails (ticked), All Unread Emails (unticked), All Emails (black square within the tick box). |
Batch |
Selecting this will show emails that have been batch sent. |
Sent From |
You can further define what you want to see in your list by entering information here, ie. Support will show only emails sent from Support. |
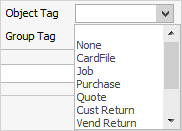
Object Tag |
Choose from a range of criteria here to narrow down what will appear in your list. Choices are:
 |
Subject |
Enter information here which will further refine your list to only show emails with this wording in the subject line. |
Sent To |
Enter information here which will show only emails within the list that are sent to the wording you have entered here. |
Group Tag |
This relates to all the email folders you have created. Select another group to show emails tagged to that group. |
Size > |
Specify that the email is larger than a certain amount. |
Mb dropbox |
Select Kb, Mb or Gb in relation to the Size > information |

Sorting, searching and grouping are all available as per other lists in Jim2. Click on the column header in the grid you wish to sort, then drag it to the Group By area to group.
Above are the columns that show within the email list. You can right click within the grid to add more columns via Grid Columns...
You can also search using the Find panel.
Unlike other email clients, email lists can display both incoming and outgoing emails within the email list, regardless of which email address the email was sent to or replied/forwarded from.
While not strictly necessary, email group tags should be used to determine which email appears in which email list. For example, all emails tagged with the Support email group will be displayed in the email lists using the Support email folder.
Other list criteria include date ranges, read/unread and email process status (error, attention, etc).
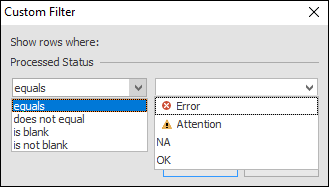

The yellow Attention icon means that there is some manual process to be performed on that particular email, ie. it requires linking to a card file, job, etc.
As with all lists within Jim2, they can be named, pinned and automatically refreshed (live list).
From an email list, certain operations (like read/unread, delete, move and re-tag) can be performed on multiple emails. Multiple emails can be selected in the normal Windows fashion, by using the shift or control keys simultaneously with the left mouse button.
If an email is tagged to Jim2 objects, like a job or quote, you can simply right click and view the related object directly from the email list.
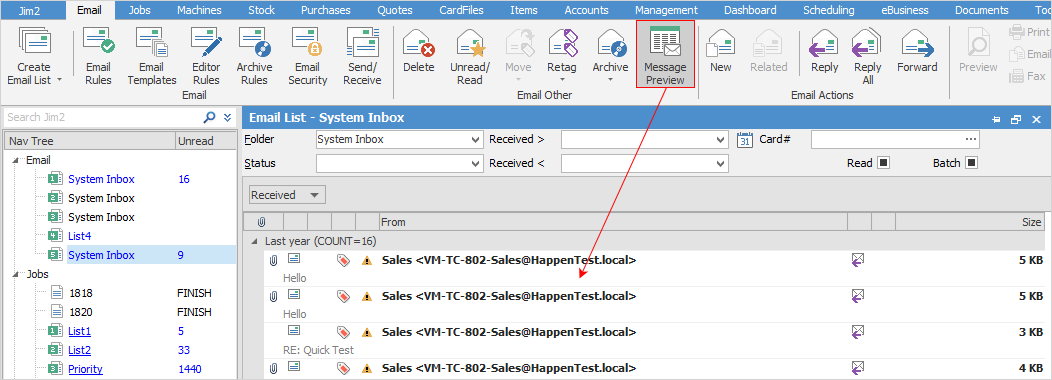
Message Preview
This image shows an email list as normally seen.
This image shows that the message lines have been expanded to show more information when Message Preview is selected.
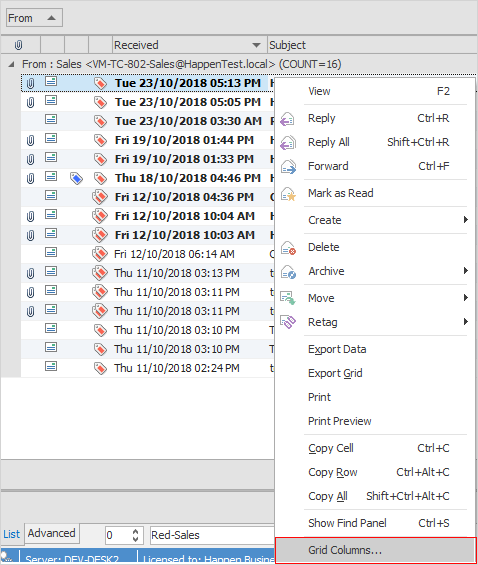
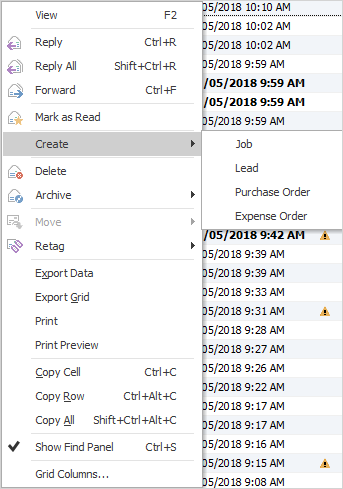
Right-Click Options in the Email List
Right Click Option |
Function |
||
|---|---|---|---|
View |
View the highlighted email. |
||
Reply |
Reply to the highlighted email. |
||
Reply All |
Reply to all people in the original email |
||
Forward |
Forward the email to someone else. |
||
Mark as Unread |
Marks the email unread (bold type). |
||
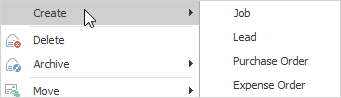
Create |
Creates a job, lead, purchase/expense order etc. and links to that object.
 |
||
Delete |
Deletes the email. |
||
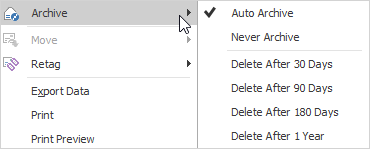
Archive |
Allows you to perform the following archive tasks.
 |
||
Retag |
Allows you to re-tag from one email folder to another. |
||
Export Data |
Exports data from the grid to a spreadsheet file. |
||
Export Grid |
Exports the grid to a spreadsheet exactly as is. This is particularly useful if your grid has more than one header row, as it will export all header rows. |
||
Print the list. |
|||
Print Preview |
Preview the list to be printed. |
||
Copy Cell |
Copy the cell you have clicked on. |
||
Copy Row |
Copy the entire row you have clicked on. |
||
Copy All |
Copy all, which can then be pasted into a spreadsheet |
||
Show Find panel |
Show/hide the Find panel:

|
||
Grid Columns... |
Allows you to select more columns to add to the grid. Extra columns: Archive, Card#, Contact, Delivery Status, Group Tag, Object Tag, To, User. |
 |
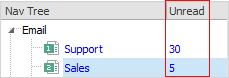
The Nav Tree will show the number of unread emails in the Email list.
 |
Right Click Options in the Nav Tree
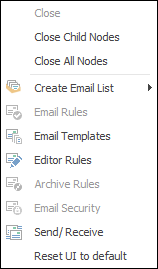
After the top 3 (which are self explanatory), these options mirror what is in the ribbon in the Email tab, except for the last tab, which will reset all tabs to default.
Further information: