
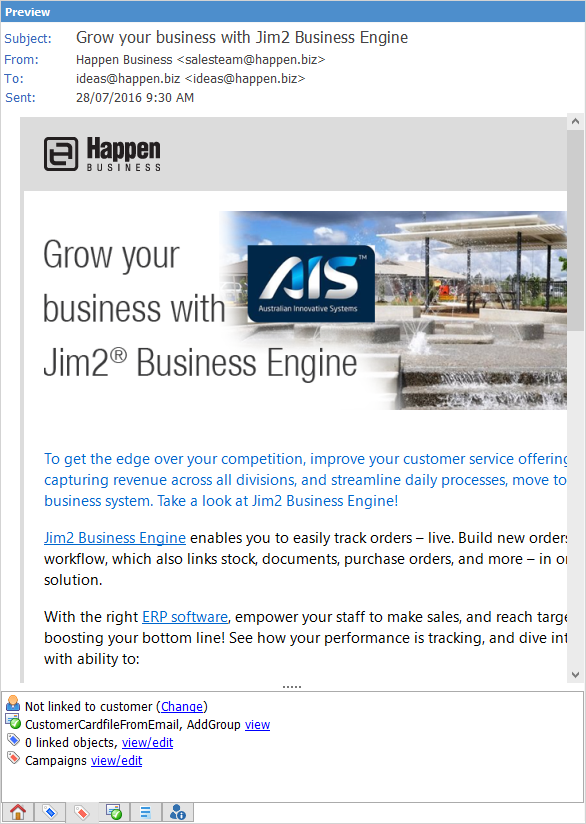
The email preview pane sits to the right of the email list in Jim2.
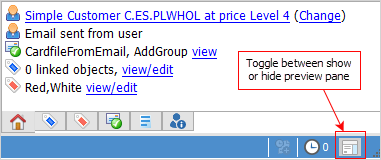
The Preview Pane icon in the bottom right of the Jim2 task bar allows you to show/hide the preview pane, and the pane splitter  allows you to resize the preview pane.
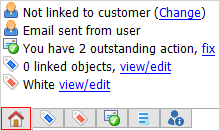
Footer Icons
Home Icon
Field |
Explanation |
Not linked to customer (Change) |
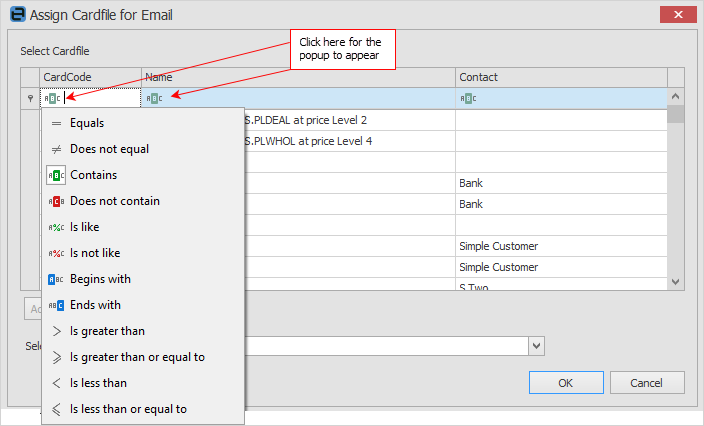
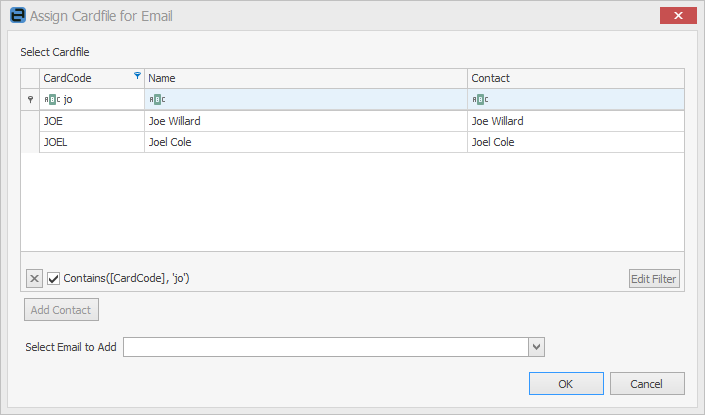
If the customer card file isn't already showing, you can click Change and link to the correct card file (Assign Cardfile to Email). Within this screen, you can further filter results as per below:
 |
Email Sent By |
This displays the user's name/email address who sent the email. |
Job# |
Shows the job number the email is tagged to. If the Job# is not automatically tagged when the email is received, you can add a Job# at this stage by right clicking on the email and selecting Create Job. |
Tag |
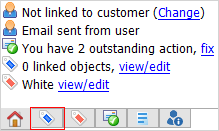
Shows the email folder(s) this email is tagged to. |
Object Tag Icon
Field |
Explanation |
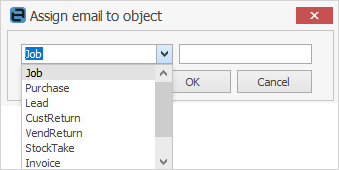
Object Type |
If not assigned, choose from the drop-down options.
 |
Object Ref# |
This is the object reference number. If a card file has been assigned, you should see the object number(s) for that customer in the drop-down options.
 |
Folder Tag Icon
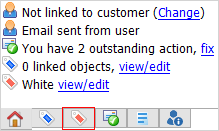
Here you can select the folders you wish to re-tag the email to.
Email Action Icon
Shows a list of Email Rules related to this email.
Summary Icon
Displays a brief summary of the email content, which you can edit.
CardFile Icon
Displays the card file related to this email. You can assign a contact if no card file is found.
 |
At times you may see the Show Remote Content button within the header of the email in the preview pane.

This means that there are images within the body of the email which are actually links to an external secure server. |
Further information: