
The following information is to assist with the setups and procedures to send and receive emails from Jim2. The concepts are:
▪Send a normal non-templated email from Jim2.
▪Search for email contacts.
▪Create related emails.
▪Email comments.
▪Create a template for emails from Jim2.
▪Create Email Lists.
▪Add tags and folders to filter emails in lists.
Setup
(after adding a Jes instance in Jim2 Configuration Manager)
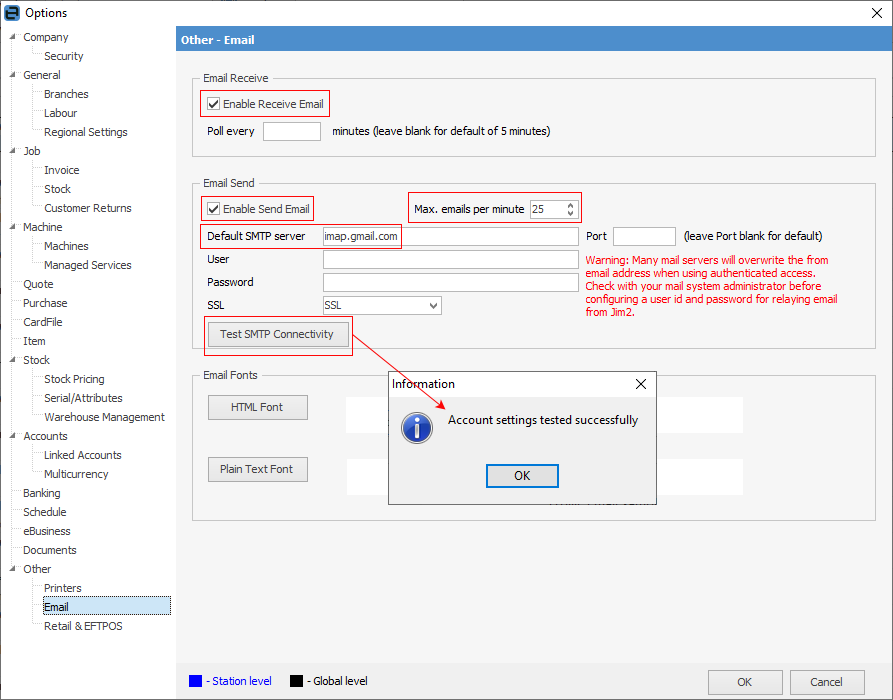
| 1. | On the ribbon, go to Tools > Options > Other > Email. |
▪Tick Enable Receive Email.
▪Tick Enable Send Email and enter the Default SMTP server details. As some internet service providers view batch emails as spam, consequently filtering these emails, consider setting the Max. emails per minute to between 20 and 25 per minute.
▪Click Test SMTP Connectivity. If all works, select OK.
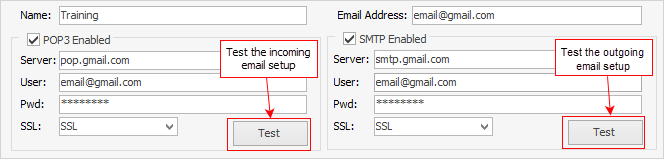
2.On the ribbon, go to Tools > Setups > Email Accounts (specific email account settings, per email address)
▪Click Add.
▪Enter name and email address (for generic email addresses, such as sales@ or service@).
▪Enter POP3 information and select Test.
▪Enter SMTP information and select Test.
▪Save and close.
3.Each user cardfile has a Jim2 email address associated with the user. This is set in the User tab. This email address is the default From email address, until other information is added to email templates. This From address can be amended in the email message to select the email address added in step 2 (above).
Create a new email
To create and send an email from Jim2:
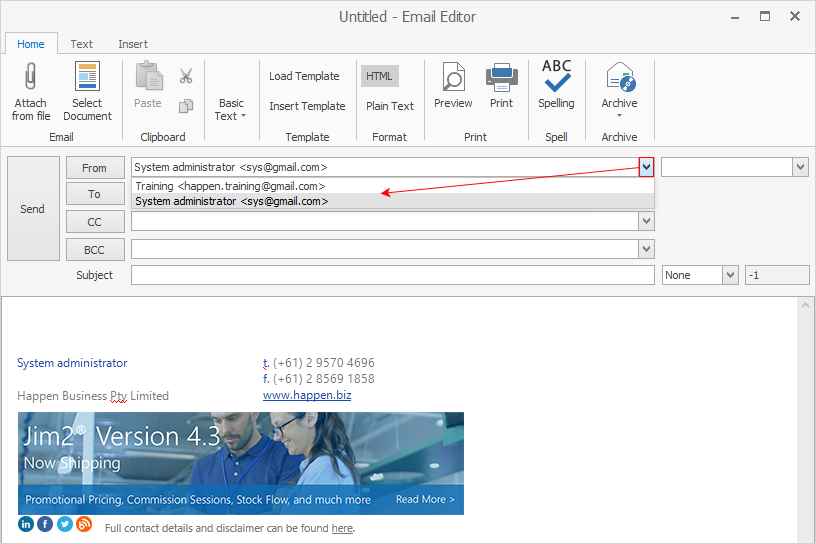
▪On the ribbon, go to Email.

▪Click New on the ribbon. The Email Editor will open, along with display tabs and ribbons associated with the email function. The From field can be edited to display options, by selecting the down arrow to the right of the field.
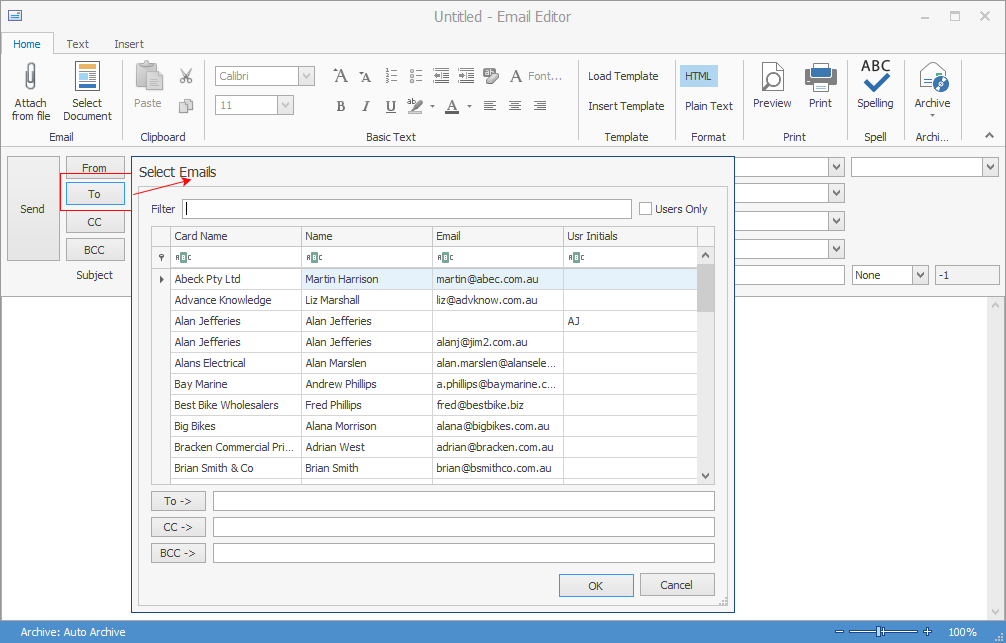
▪In the To field, enter the specific email address for the email to be sent to, or select To, which will bring up a screen to search for email addresses stored within Jim2. This search function can be used to locate email addresses by entering search criteria such as the contact name, cardfile name, part of the email address, etc. Selecting the email address in this manner allows searching and double clicking on the required contact to select them for the email, then continues if more recipients are required. When all recipients have been included, select OK. Repeat the process for the CC and BCC fields as required.
▪Enter the subject and the message. The email also supports attachments and, by attaching a file, a copy of this file will be stored within Jim2. Use Attach File on the ribbon to search for files.
▪Format the email body text using the format tools available on the ribbon (font, size, colour, etc.).
Create a related email
To send an email that is related to a job, purchase order or quote in Jim2:
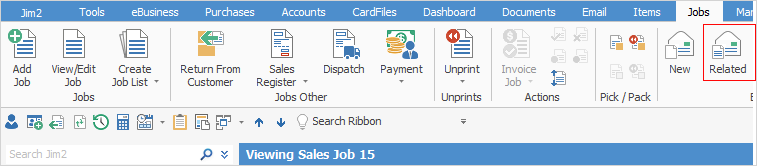
▪Open the relevant job, purchase order or quote.
▪Click Related on the ribbon.
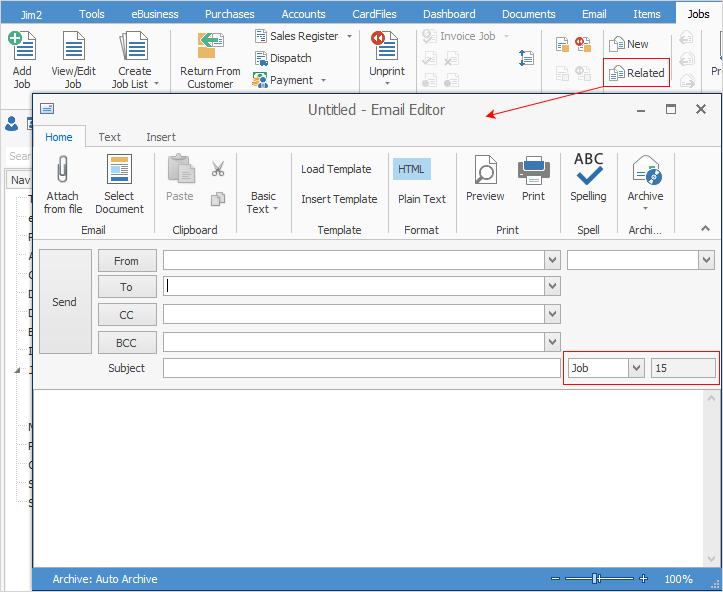
▪The Email Editor window now displays the job, purchase order or quote number that it is related to, adjacent to the Subject field.
▪Edit and send the email.
 |
Whilst related emails can be sent from a cardfile, these emails are not stored against the cardfile. |
Email comments from objects
Comments within jobs, purchase orders and quotes can be emailed from within Jim2.
1.To email a comment from a job, purchase order or quote:
▪View the relevant Jim2 object.
▪Right click on the comment to be emailed.
▪Select Send comment via email. This can be done in either View or Edit mode.
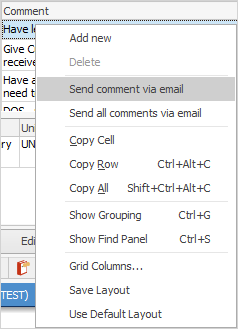
▪Jim2 will open the Email Editor to select recipients. From there, edit and send the email.
Email reports
▪Open the relevant Jim2 object.
▪Select the report required from the Report menu on the ribbon – in the image below, a picking slip is being emailed from a job.
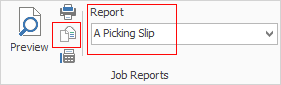
▪On the ribbon, select the Email icon, then select the recipients and edit the email as required.
▪Click Send.
When adding, editing or viewing an object (job, quote, cardfile, etc.), it is possible to write and send related emails. The email is then automatically related to the current object.
|
When sending a related email while adding an object, the email will stay in the System Outbox until the object is saved. At that time, Jim2 will send it as per normal. Cancelling adding the object after the email has been written will purge the email, which means the email cannot be retrieved. |
Related functionality extends to most objects within Jim2 including cardfiles, jobs, quotes, purchases, return to vendor and return from customer.