
1.You can select the Create PO List icon in either one of these ways:
▪Select the Purchases Tab of the ribbon and then select Create PO List
▪In the Nav Tree, right click Purchases and select Create PO List
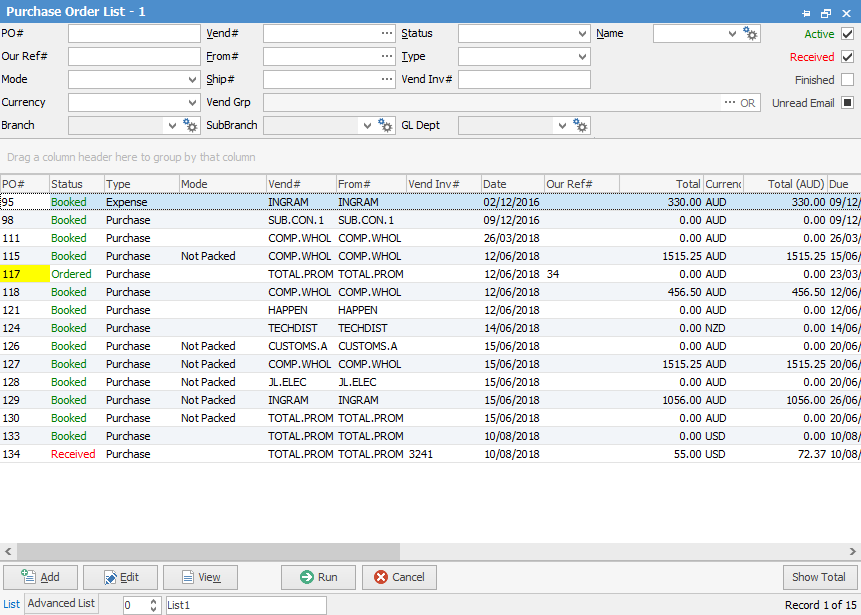
2.The Purchase Order List is displayed. You can use any of the fields in List or Advanced List tab as your search criteria. When you generate a Purchase Order List using a PO# as a search criteria, that PO plus any related Back orders will be displayed.

|
You will see some letters underlined in the field names within the header, eg. Vend#. Using Alt+ the underlined letter will jump you to the field beside that heading. |
|
On the right-hand side of the Groups field within the list you will notice ...OR. If you click this, it will change to &. This relates to how you want to use groups within your search. For example: If you want to search two groups and find purchases that belong in both groups, use the & option. If you want to search two groups and find purchases belong in either group, select the OR option. |
3.Once you have selected your search criteria, click Run and the query will be executed. The resulting Purchase List will appear.
|
Any Back-Order purchases in the list will be displayed with the PO # field in yellow. |
4.You can name your Purchase lists so that they represent what you are searching – this helps the user if they have multiple lists running at the same time.
Further information:

